
Creating botanical Gelli prints at home is one of my favorite things to do.
But thinking about teaching 20 elementary students how to create Gelli prints in art class without mass chaos erupting strikes fear in my heart.
The best way to conquer my fears would be breaking each step down to the very basics and adding onto each step as it made sense. These are the steps we took creating our art:
1. Our first step was printing with a partner. We had limited Gelli plates so this came from not having enough for each student to print at the same time, but it turned out to be very helpful.
2. The students sat in chairs across from each other at their desks with a Gelli plate in between them.
3. One person squeezed out a dime sized amount of tempera paint onto the Gelli plate.
4. Then he or she rolled the paint onto the Gelli plate with their brayer.
5. After that, he or she placed paper on the freshly rolled paint (on the Gelli plate) and gently rubbed their hands on the back of the paper. This created a solid color Gelli print.
6. Then their printing partner followed the same process. Each person created a couple of solid prints. The partner brought wet paper towels, or washed materials as needed. 
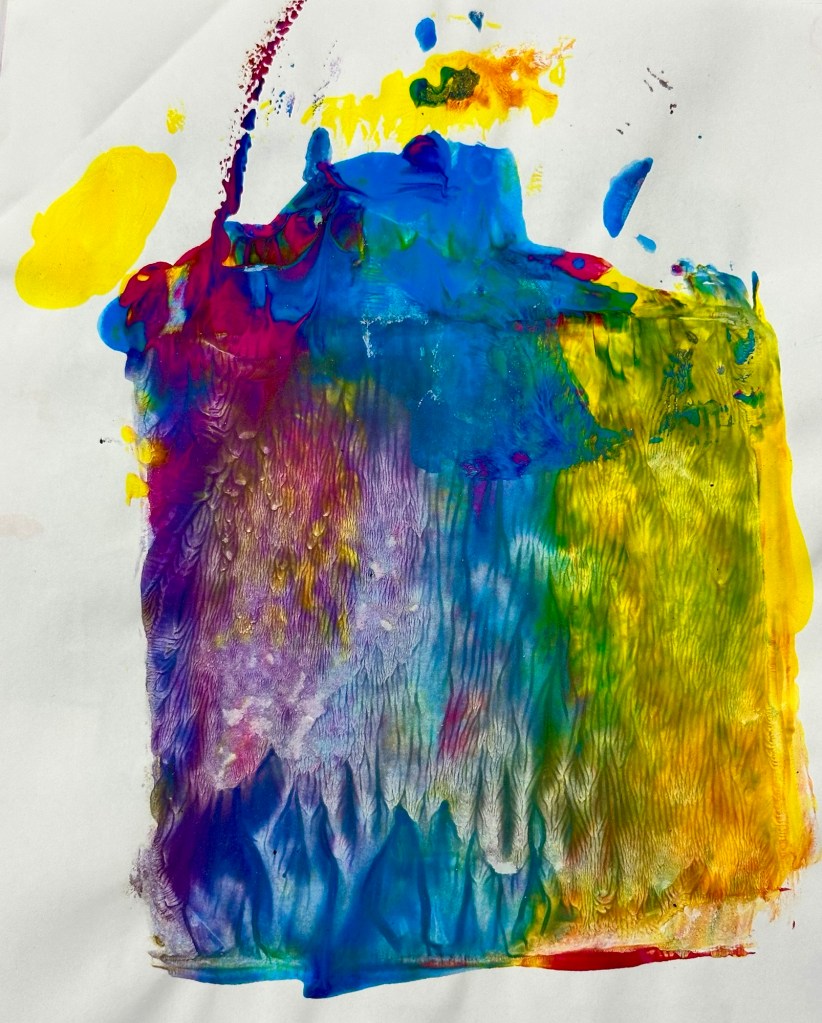
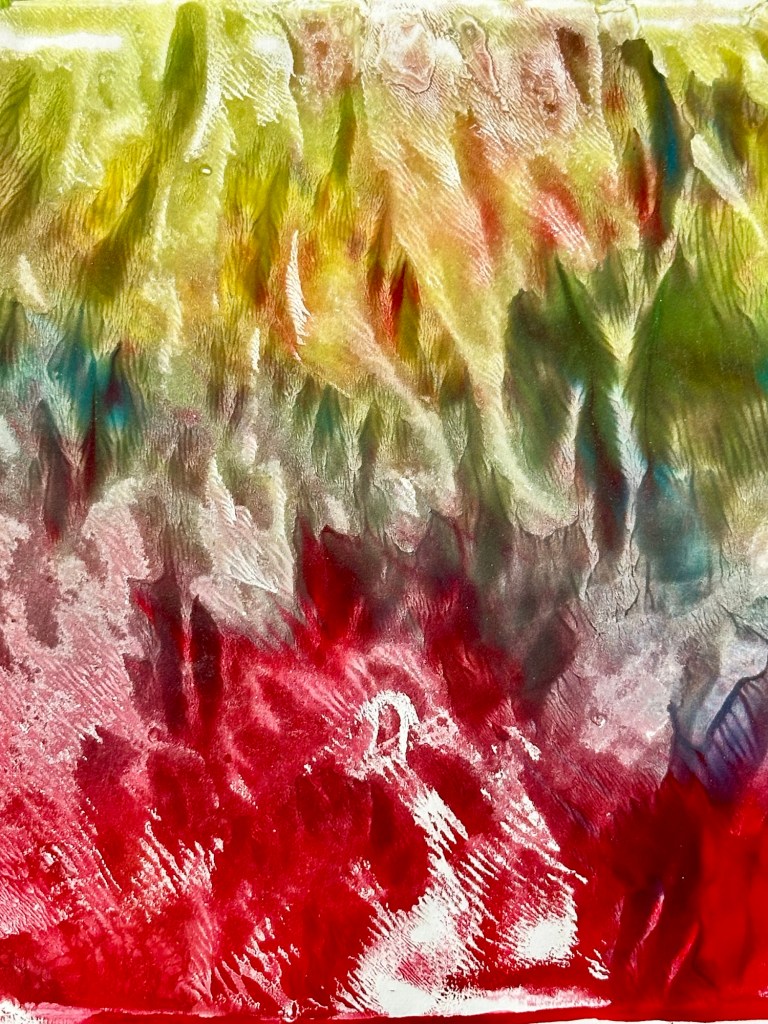
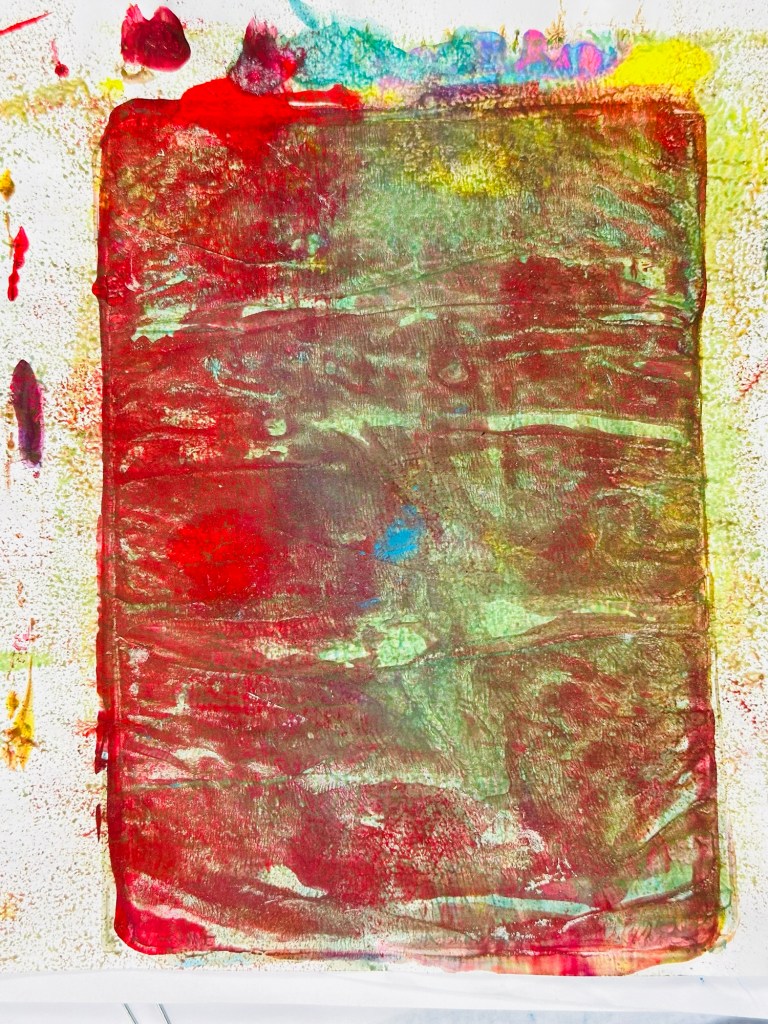
Here are some of the solid prints they created. First we used only one color to get the hang of how to make a print, but after they mastered that part, they could use multiple colors on the same plate if they wanted to. We called these the solid prints.
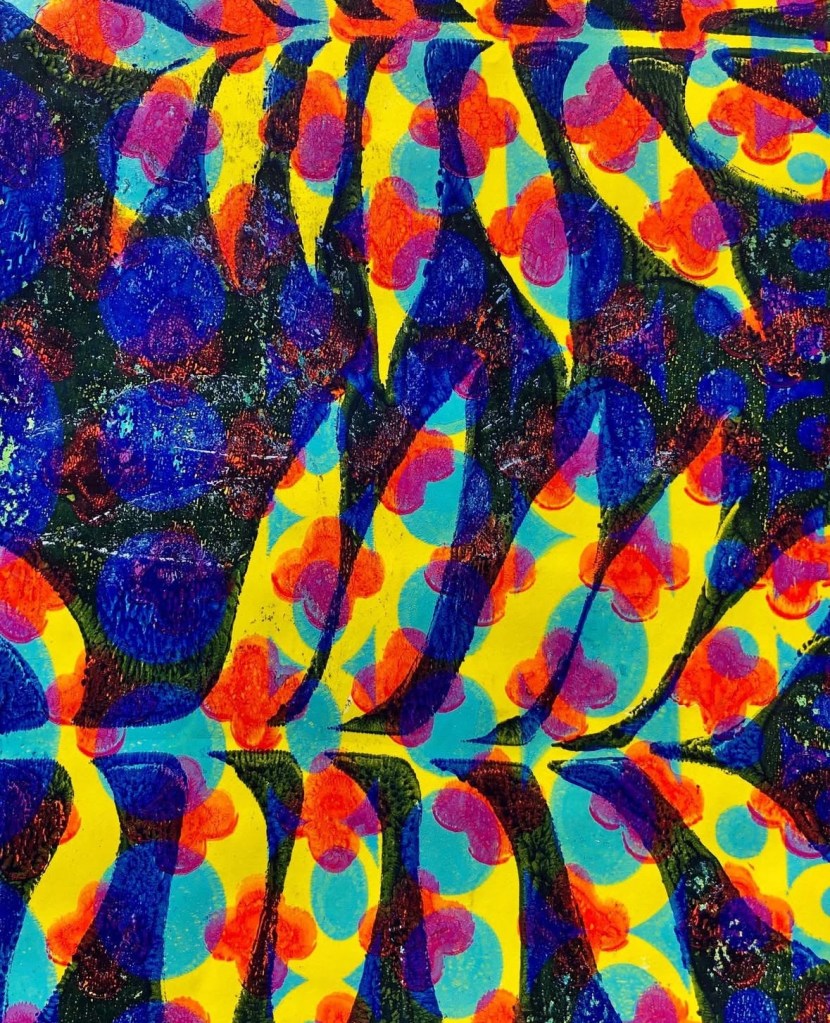
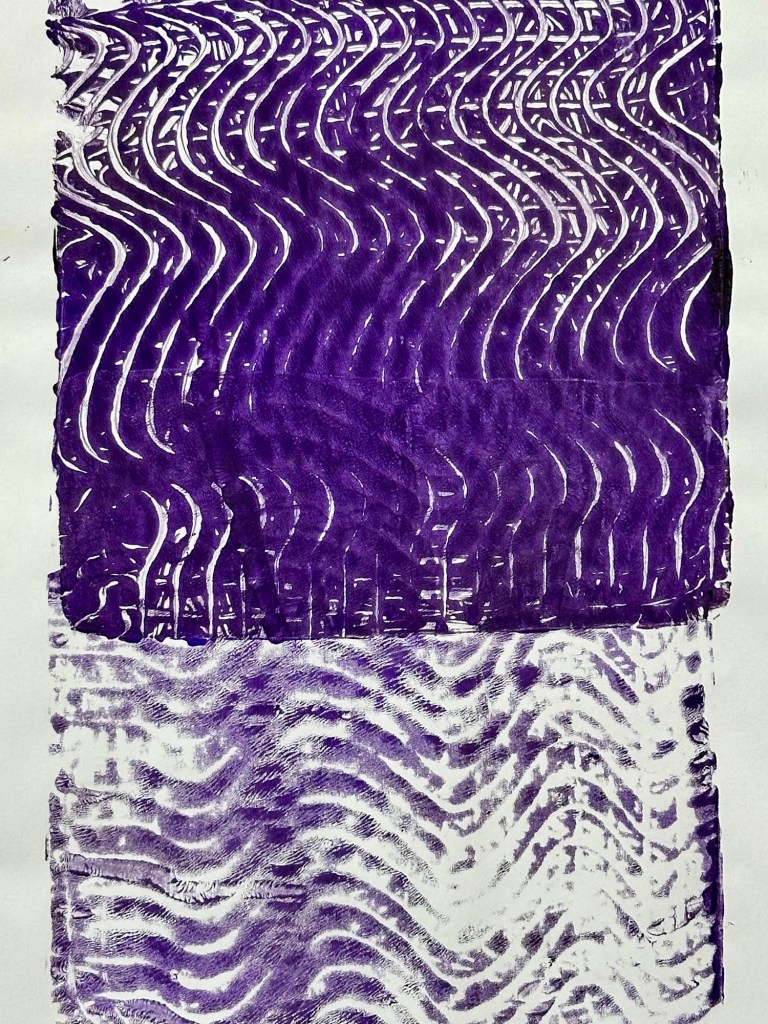
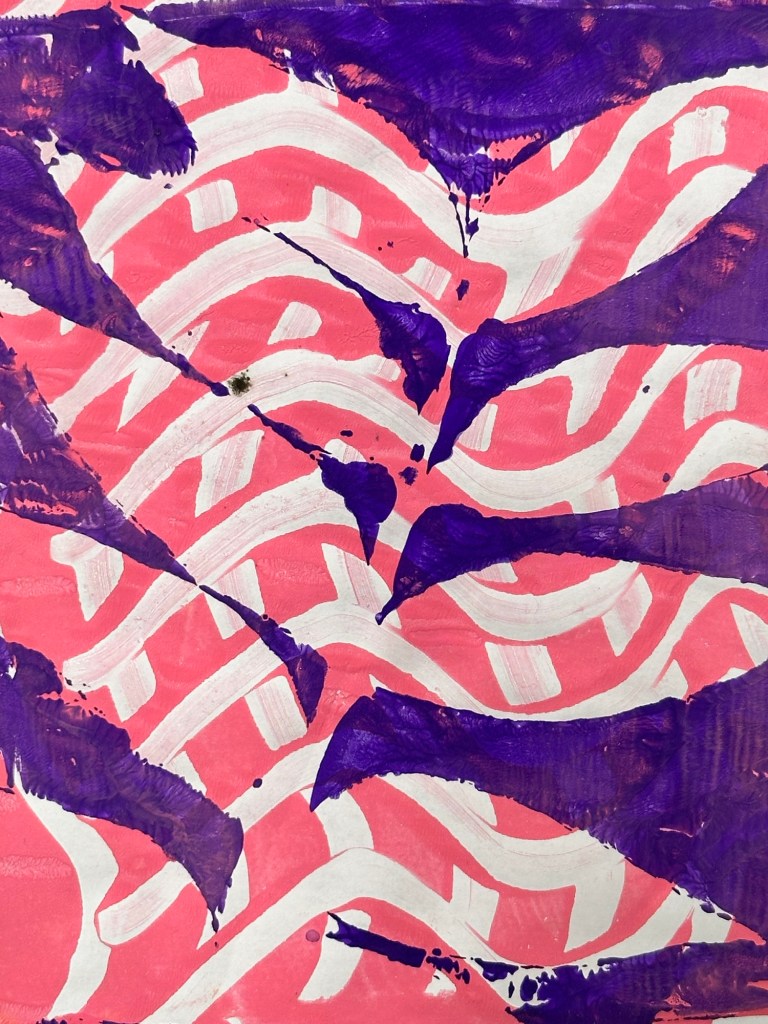
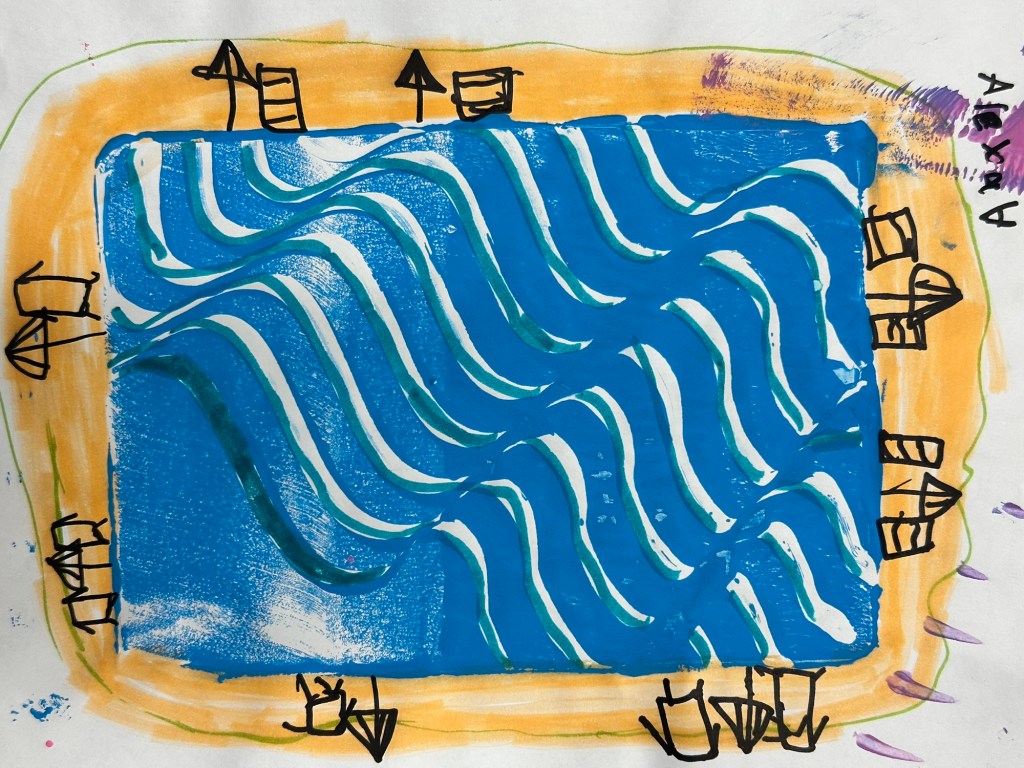
After creating their solid prints, we put a paint scrapers in our hands and twisted our wrists in a wavy motion onto a paint-rolled Gelli plate. This created a wavy print. Each student created a couple of wavy prints.
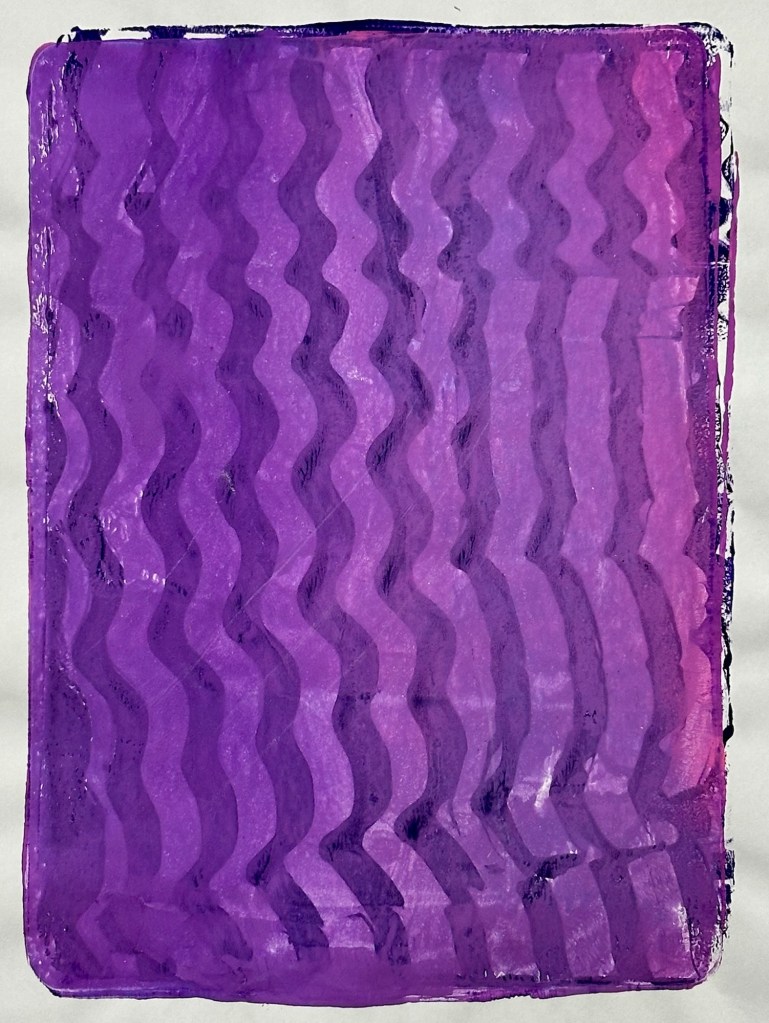
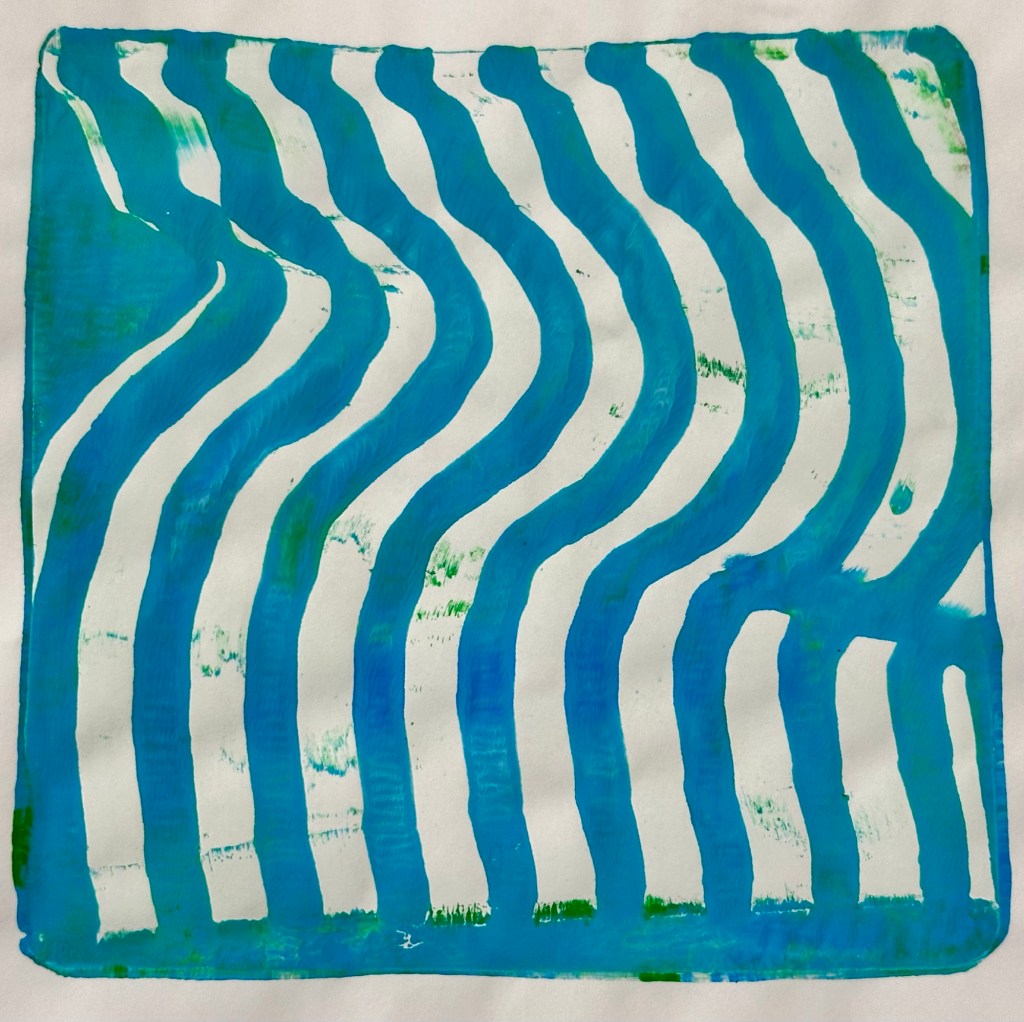
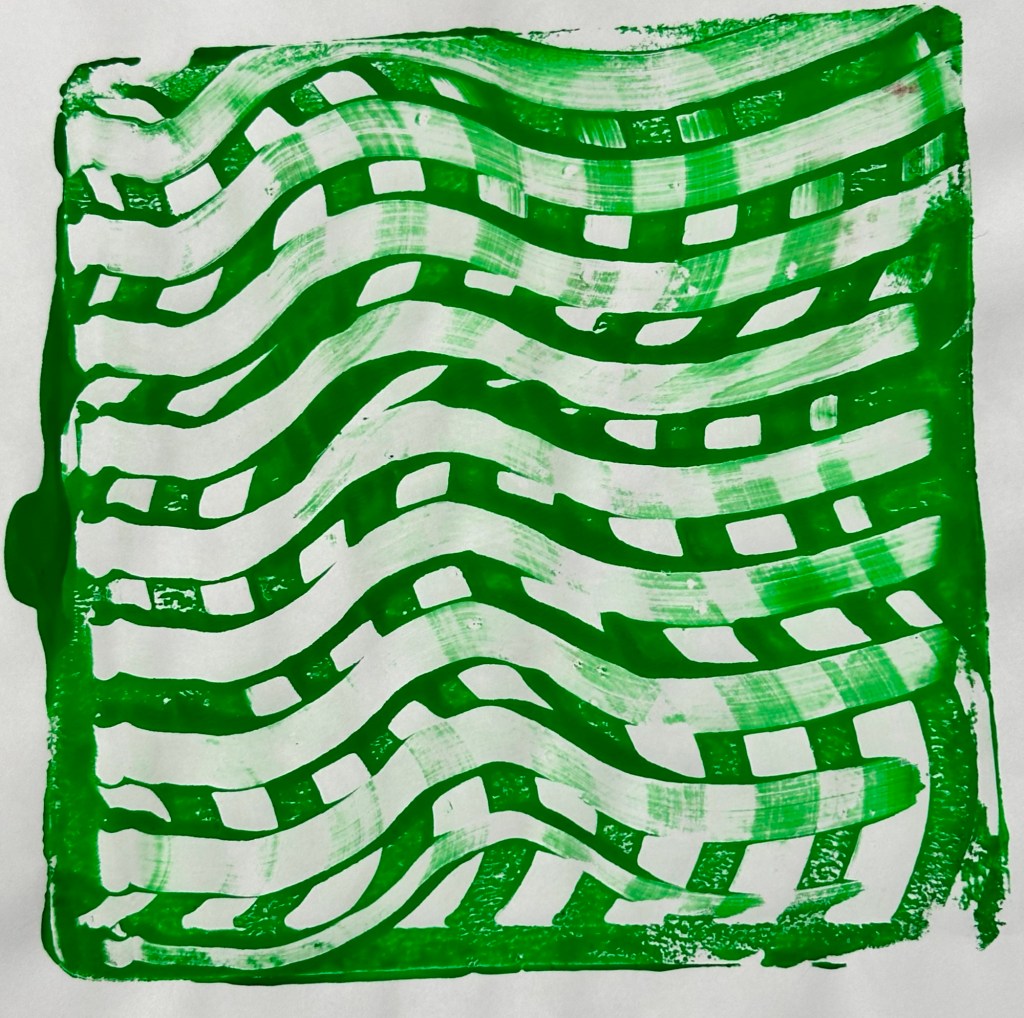
Some students chose to use handled texture rollers on their paint-rolled Gelli prints. Here are a couple of their examples.
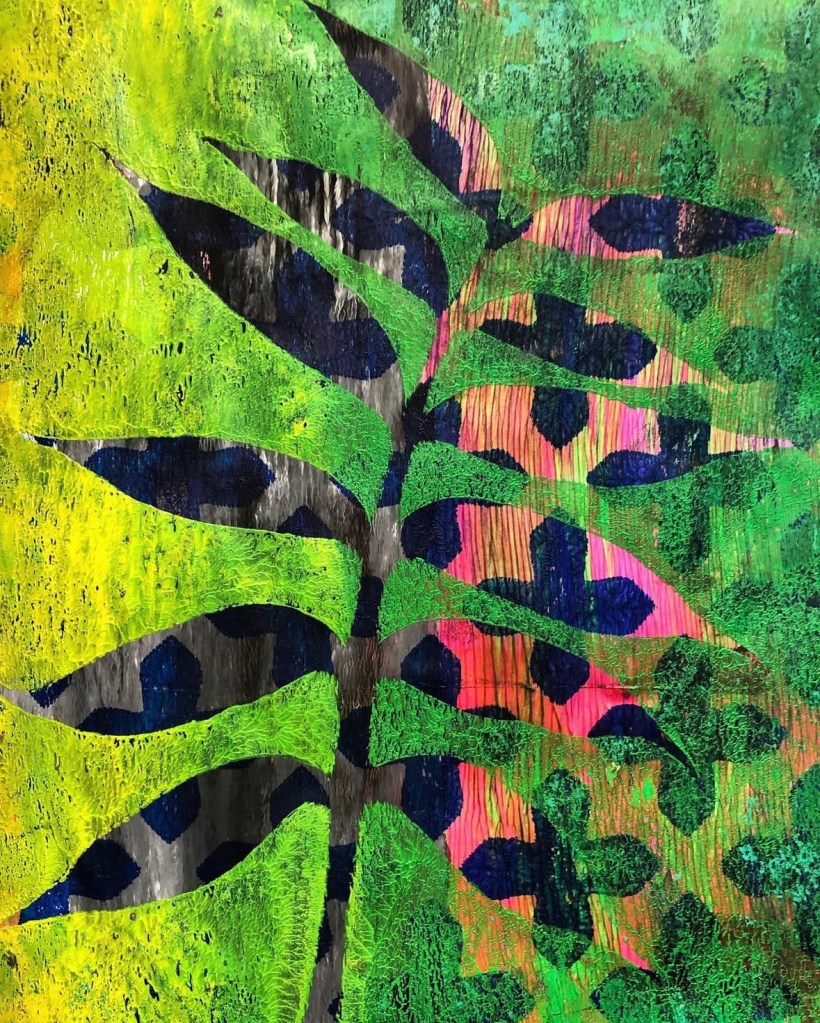
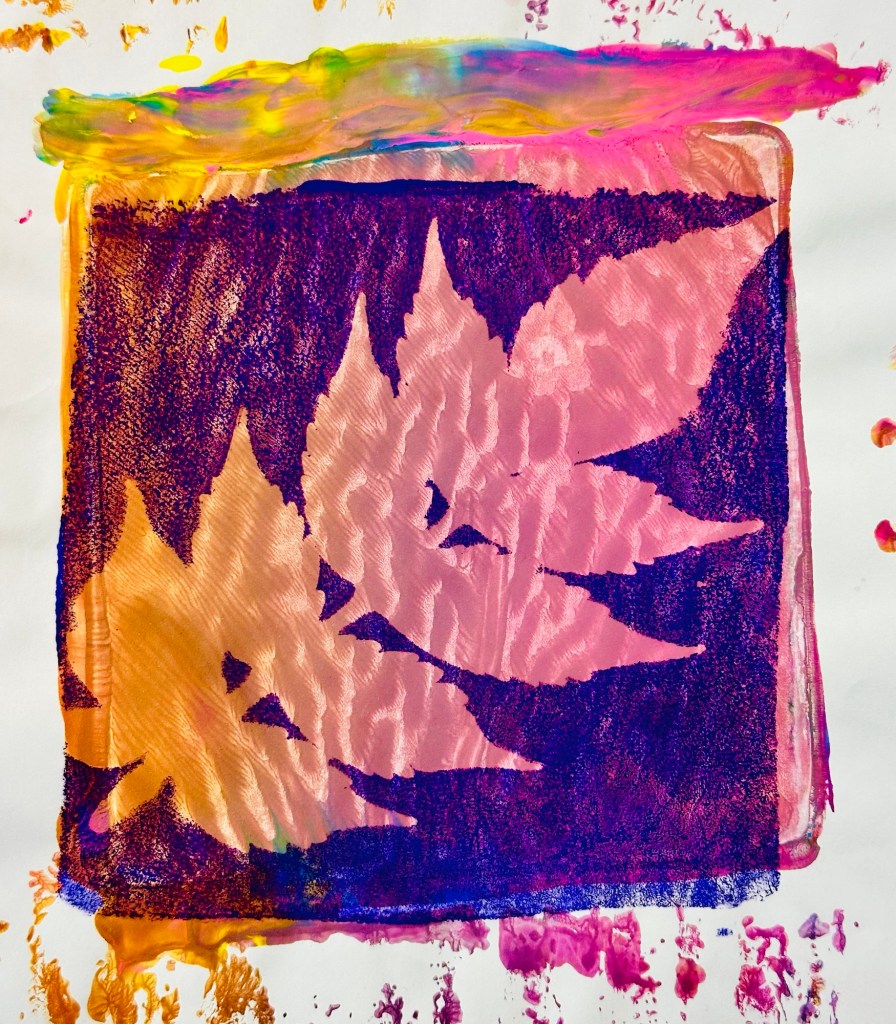
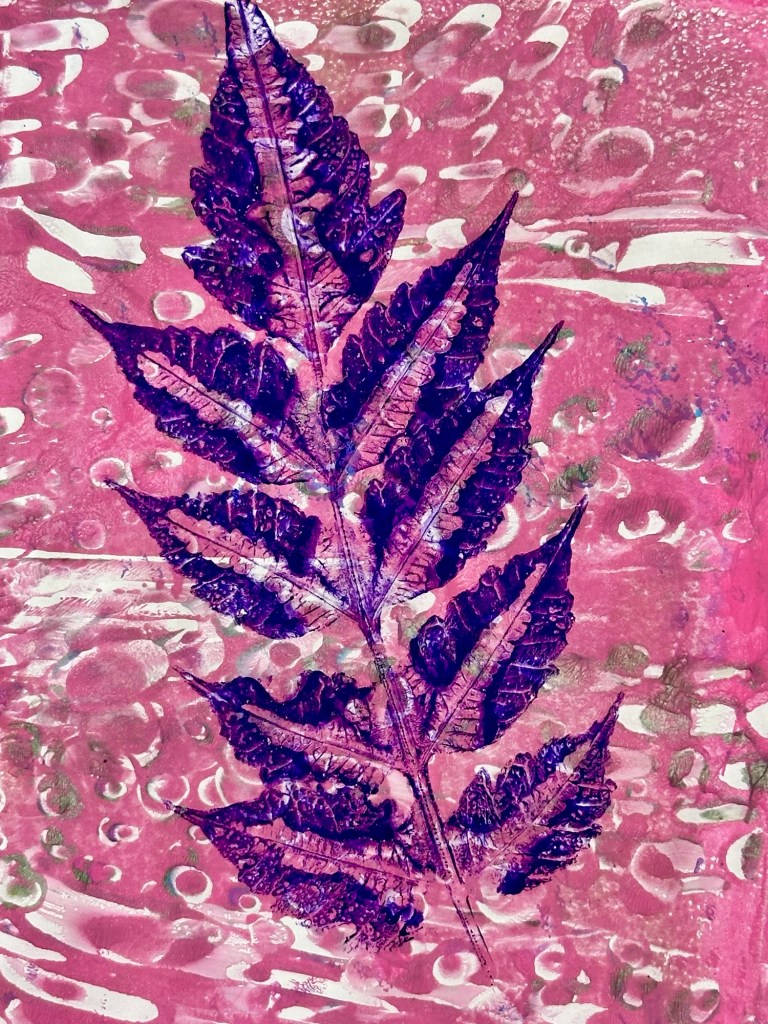
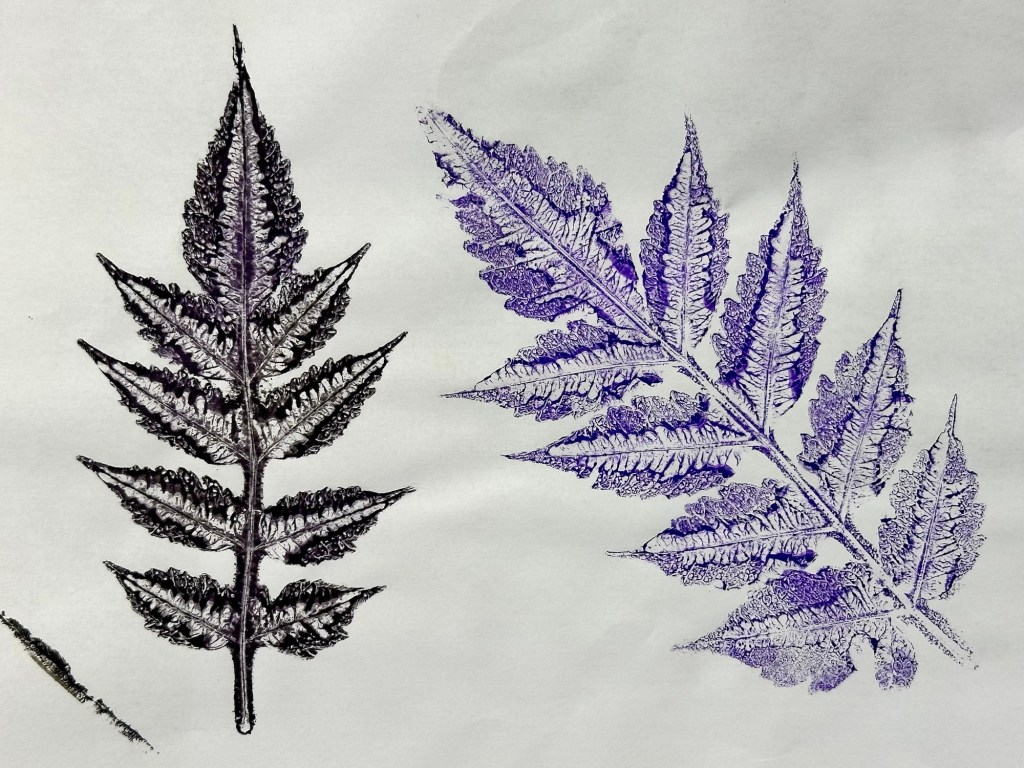
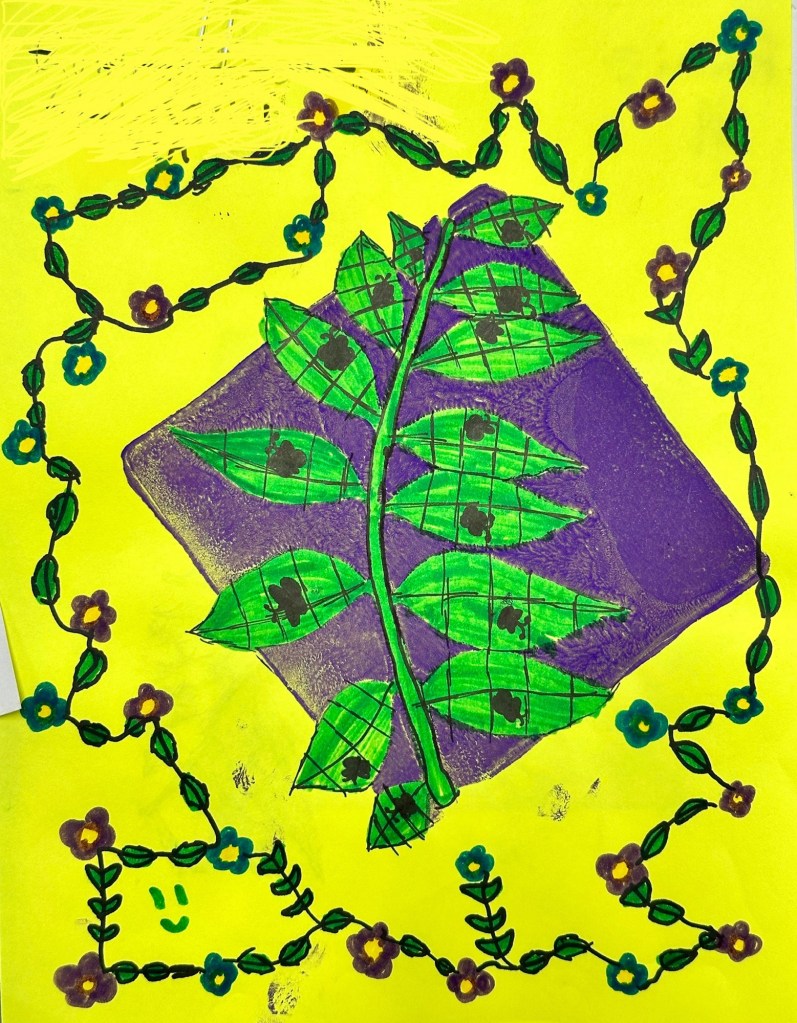
Once each student had a few solid prints and a few wavy/texture rolled prints, we created prints made from leaves collected from bushes at our school. I gathered the leaves before their class so they were ready for printing.
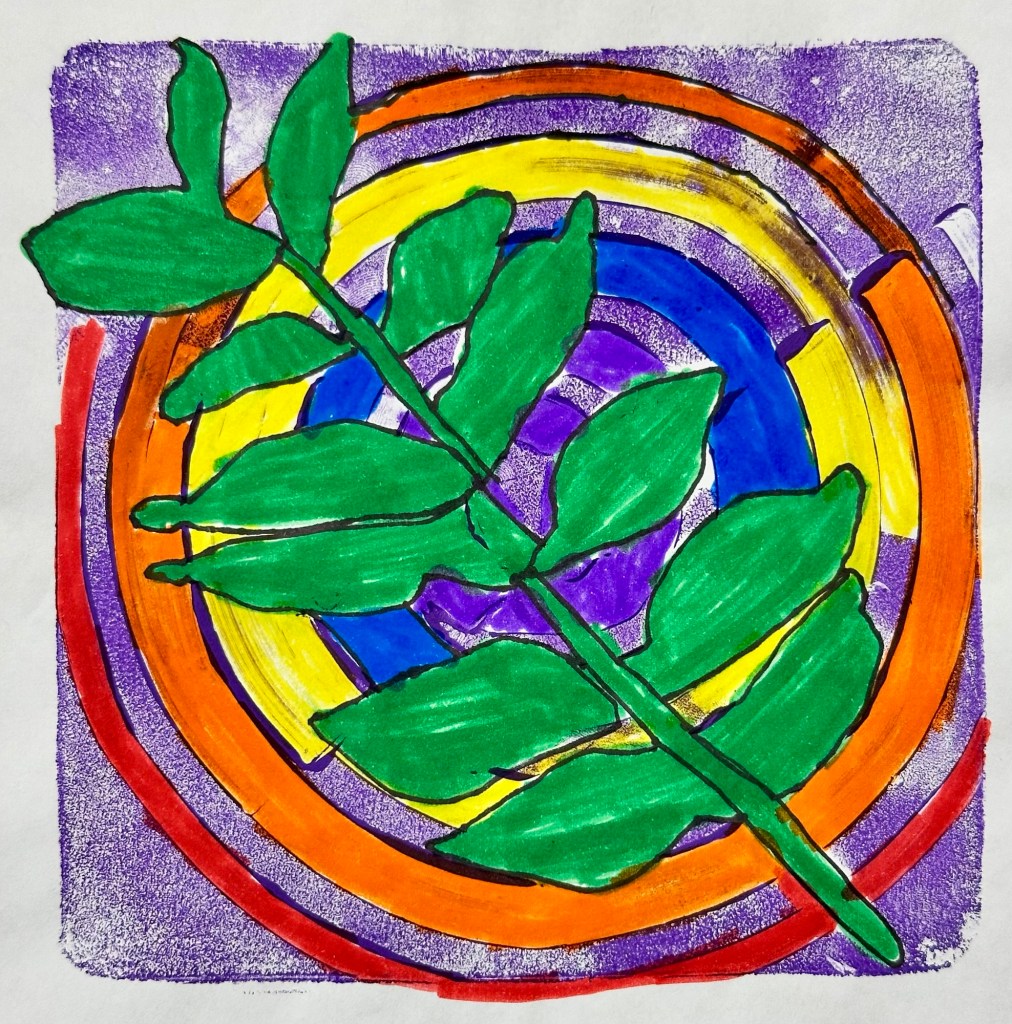
Each students rolled paint onto their Gelli plate, placed their leaves onto the plate, placed their paper onto the loaded plate, and gently rubbed their hands over the backs of their papers. This created a leaf mask print.
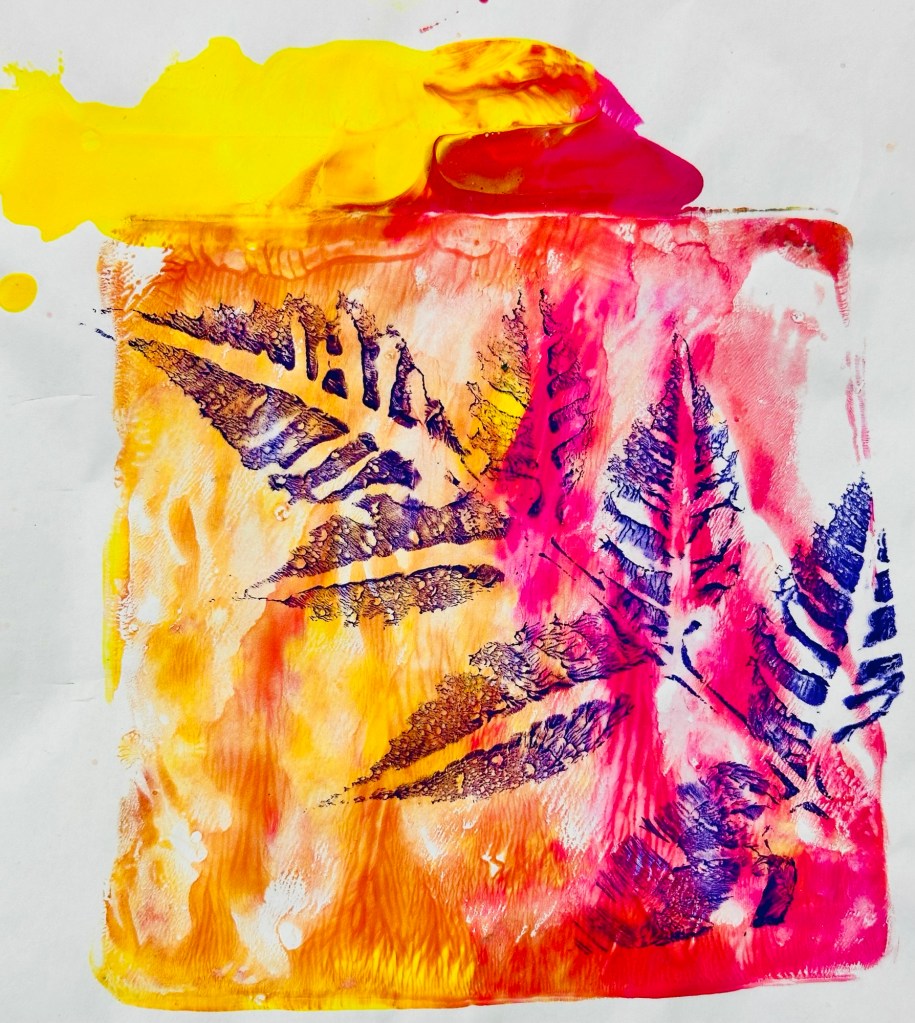
The students chose to make their leaf prints either on the solid prints or their wavy/texture-rolled prints.
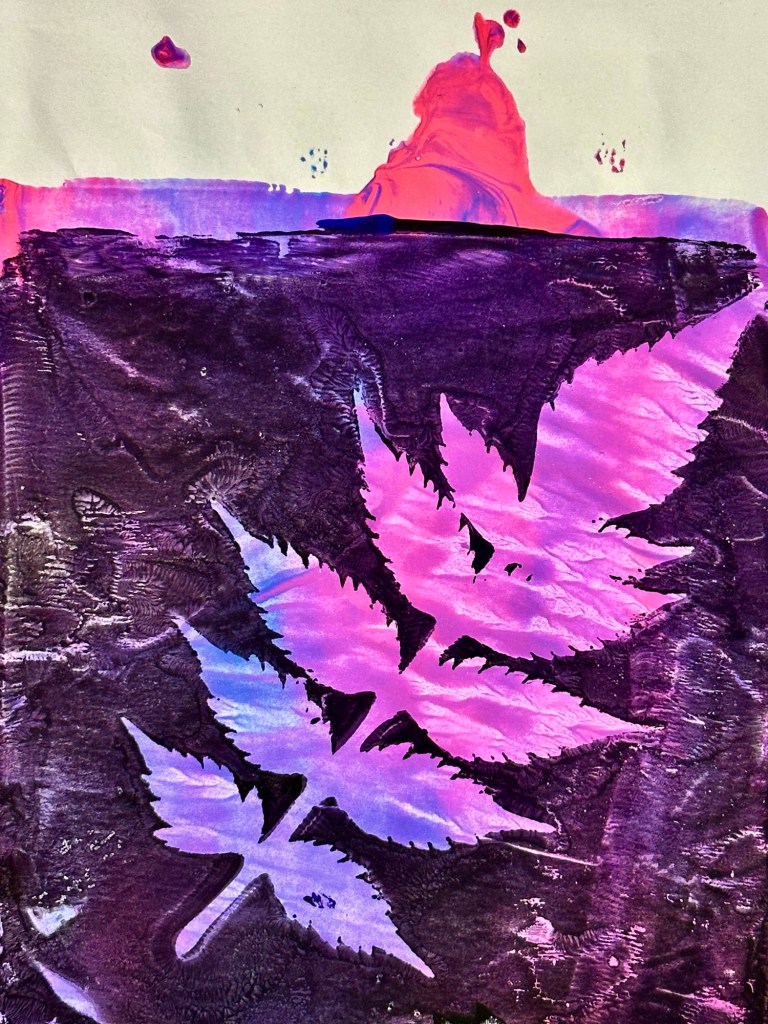

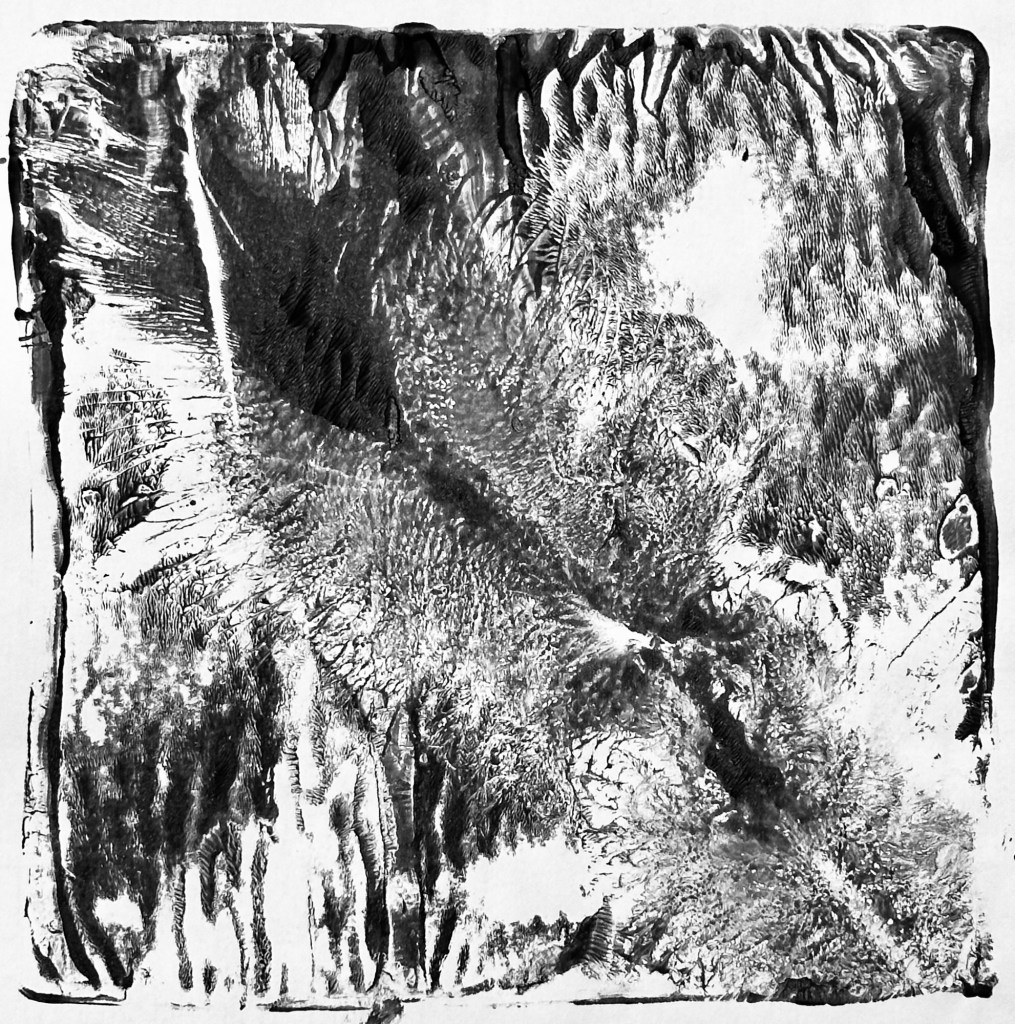
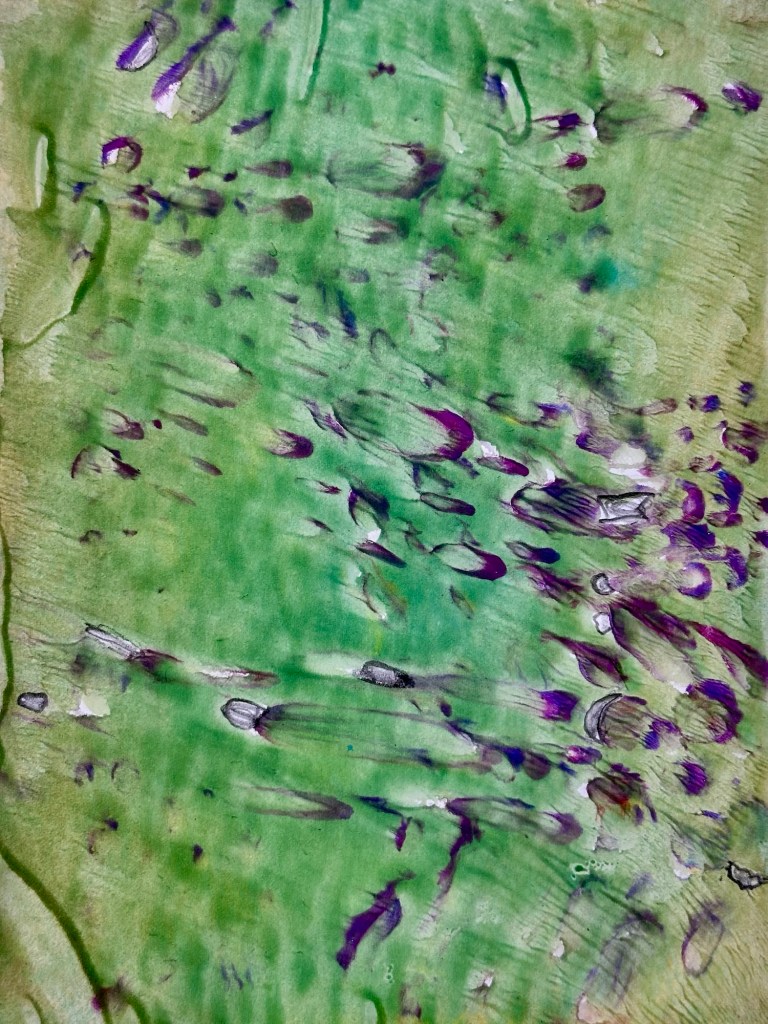
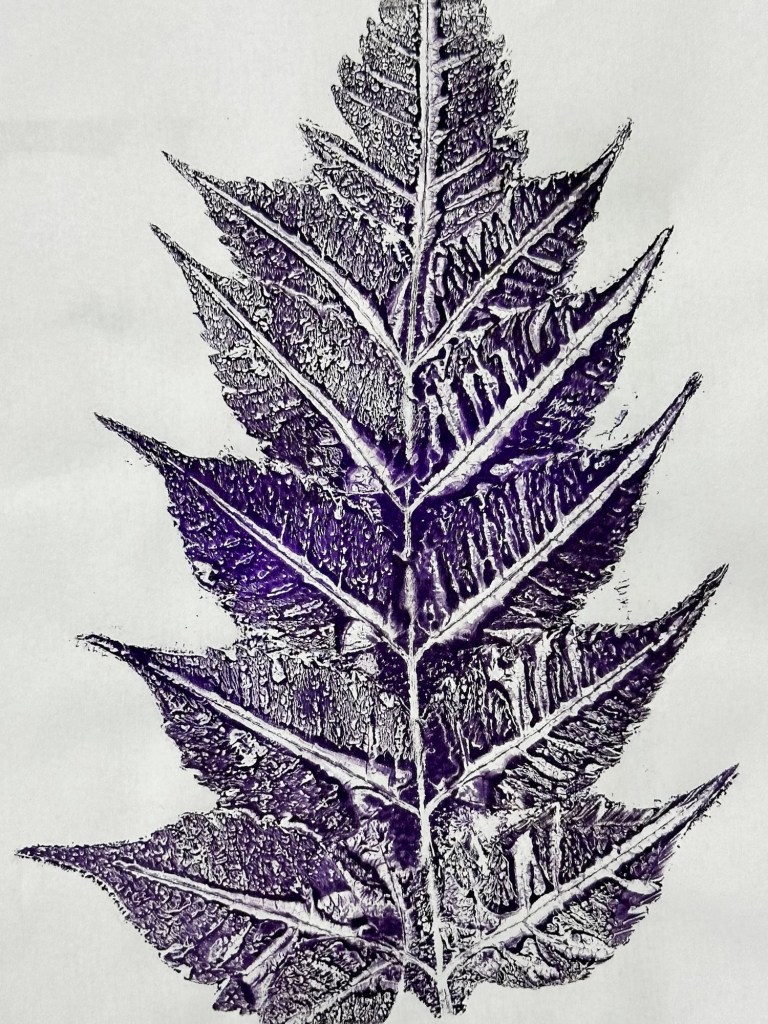
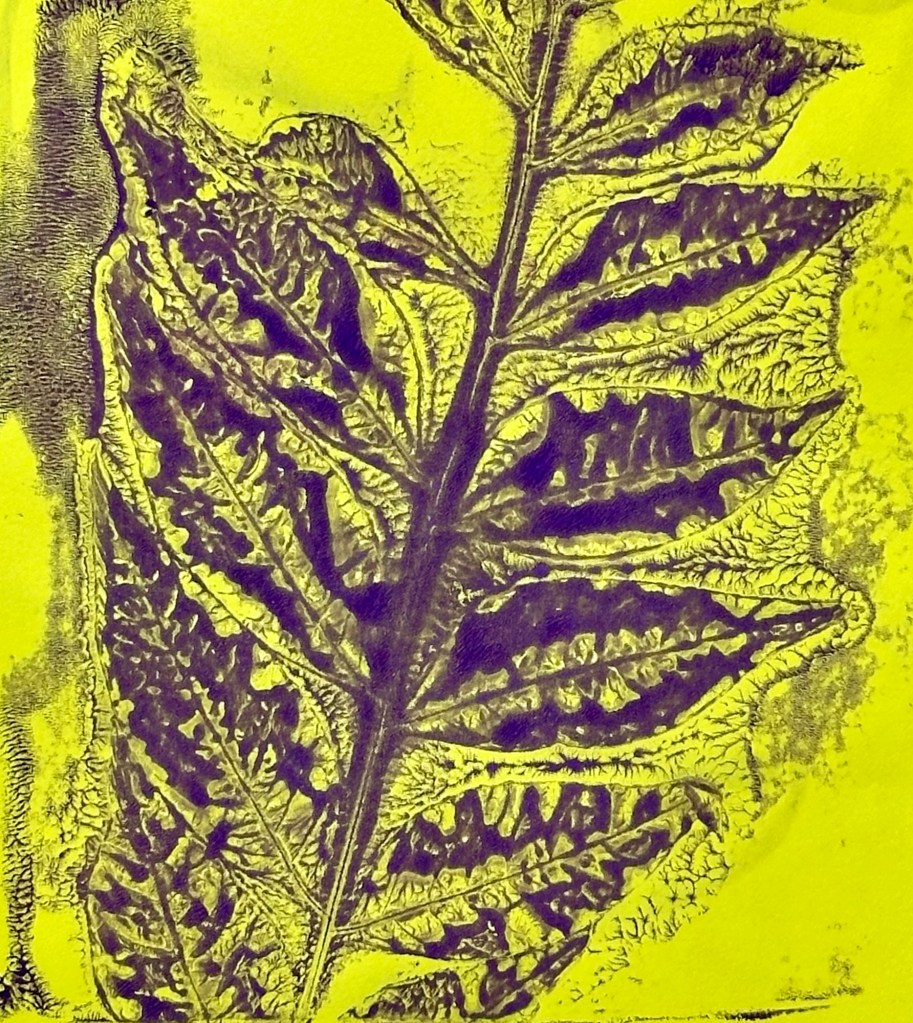
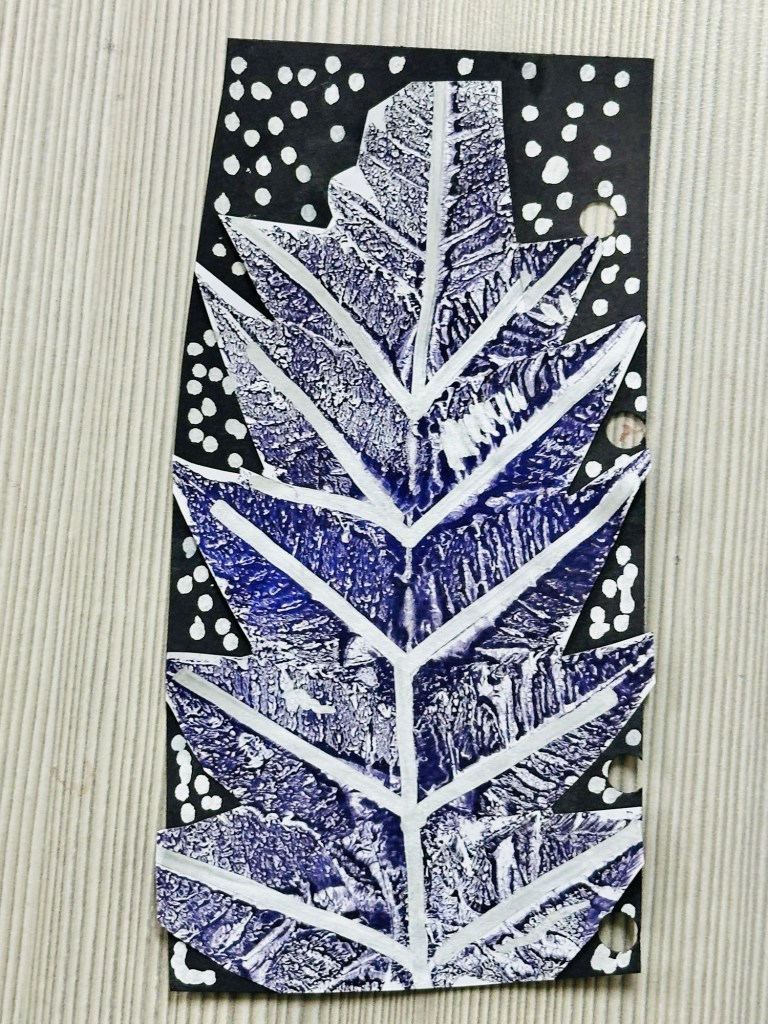
After creating the leaf masked prints, we quickly put a fresh paper (solid, wavy/texture-rolled, or a piece of solid paper like copy paper or a light colored piece of construction paper) onto the Gelli plate. This created our ghost prints. Ghost prints pick up any paint left on the Gelli plate after making a print.
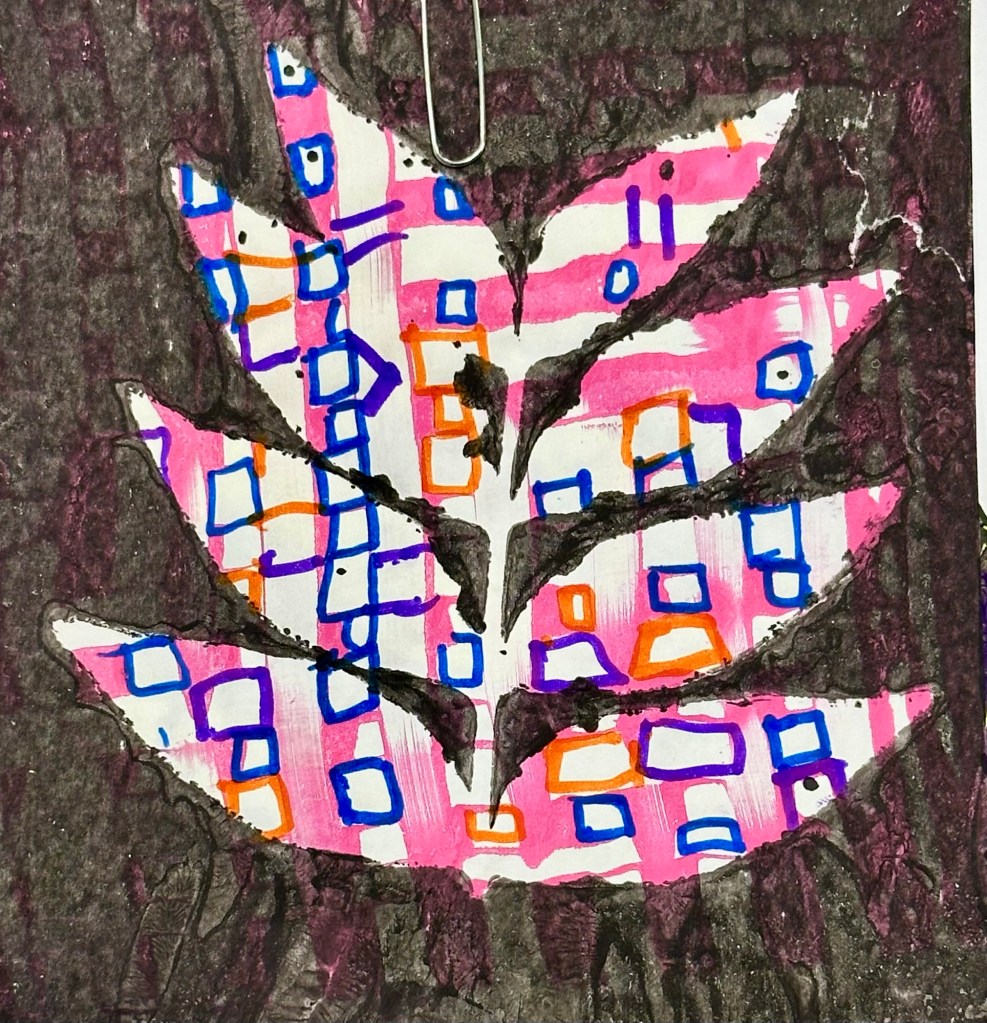
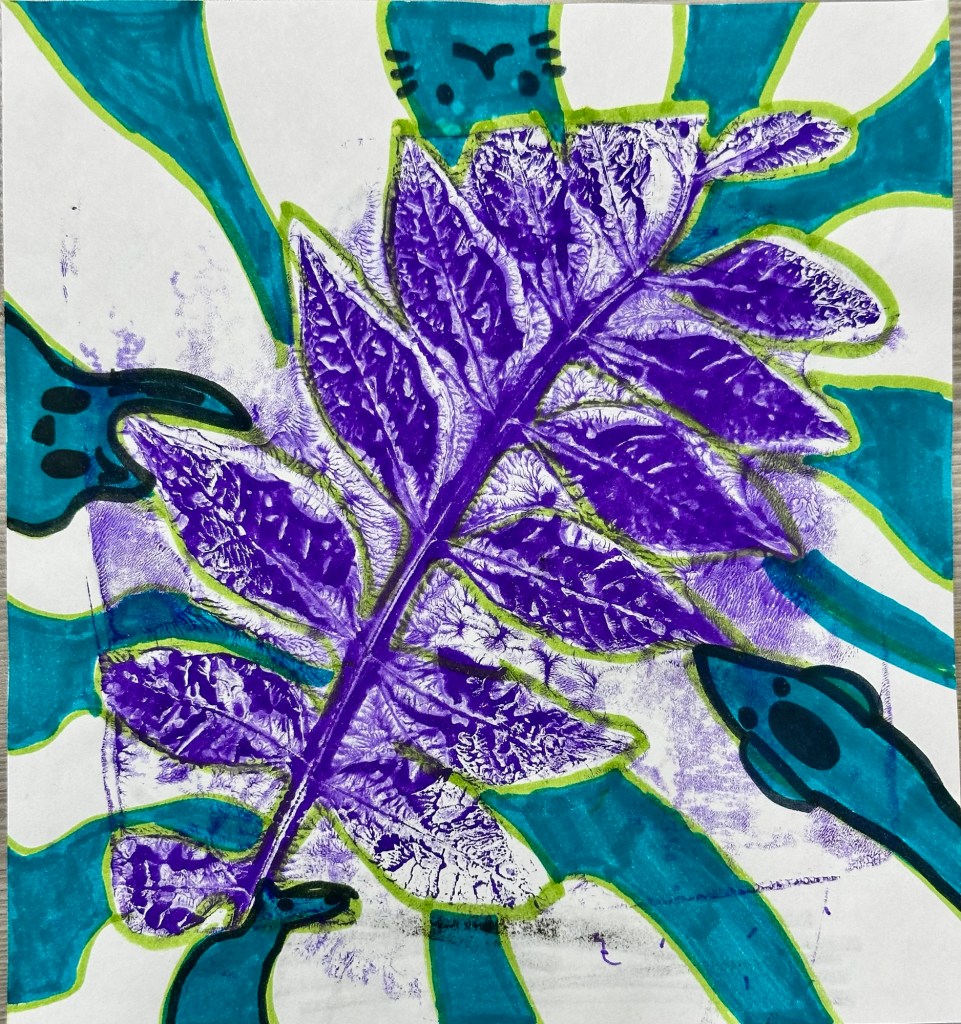
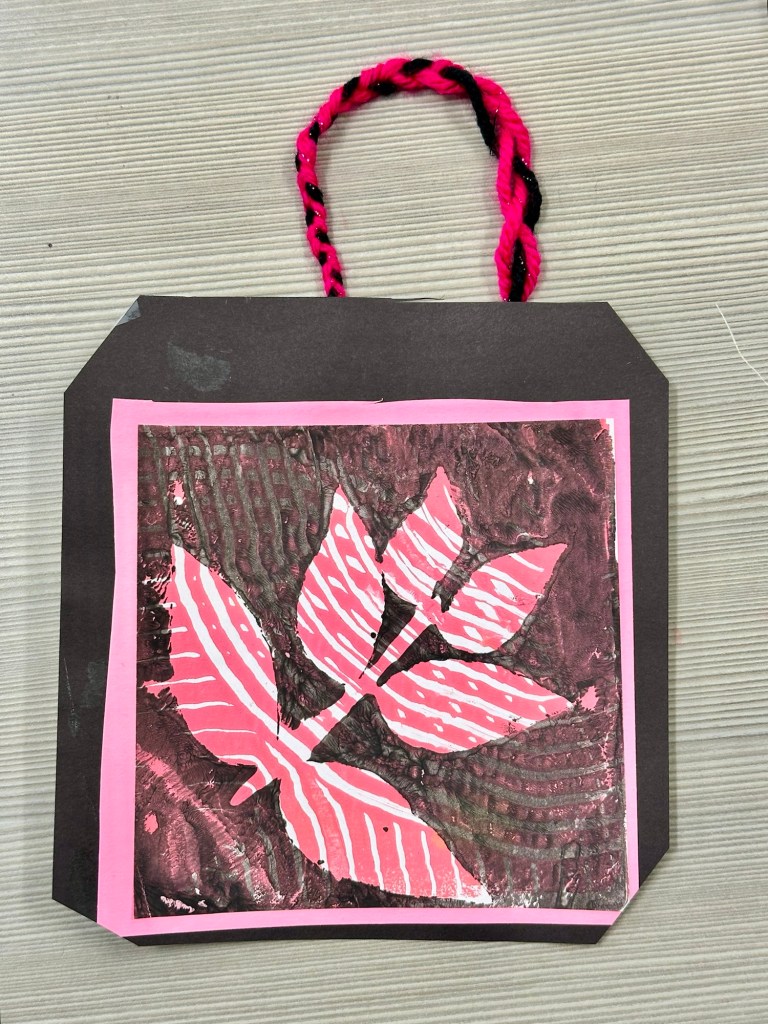
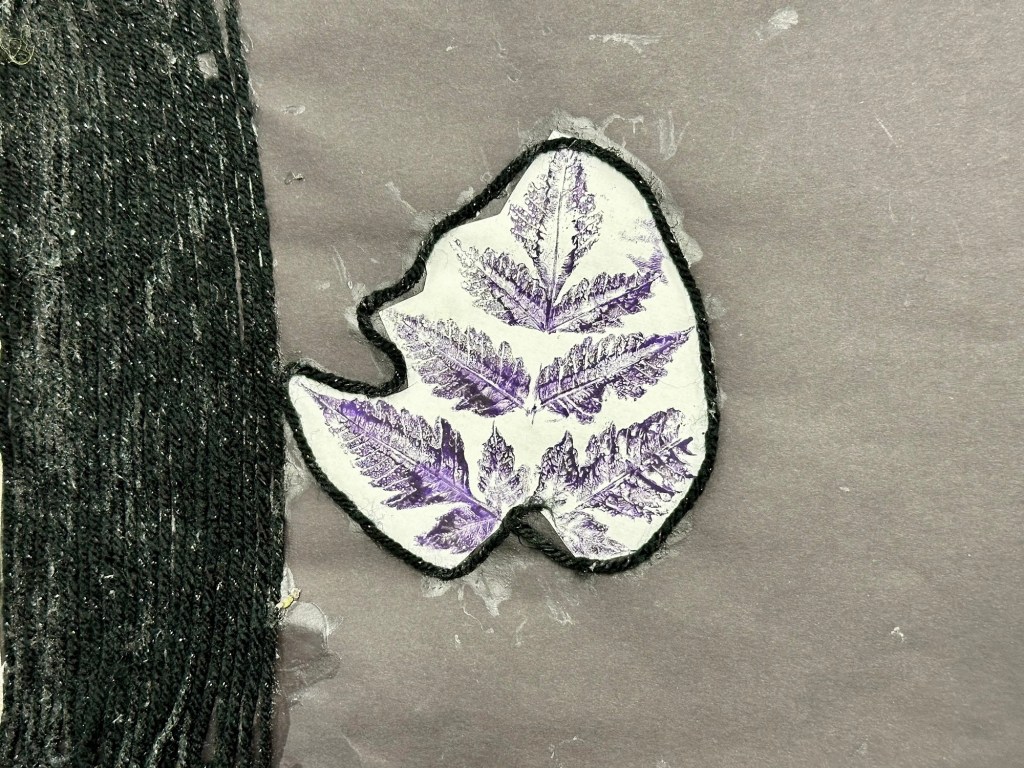
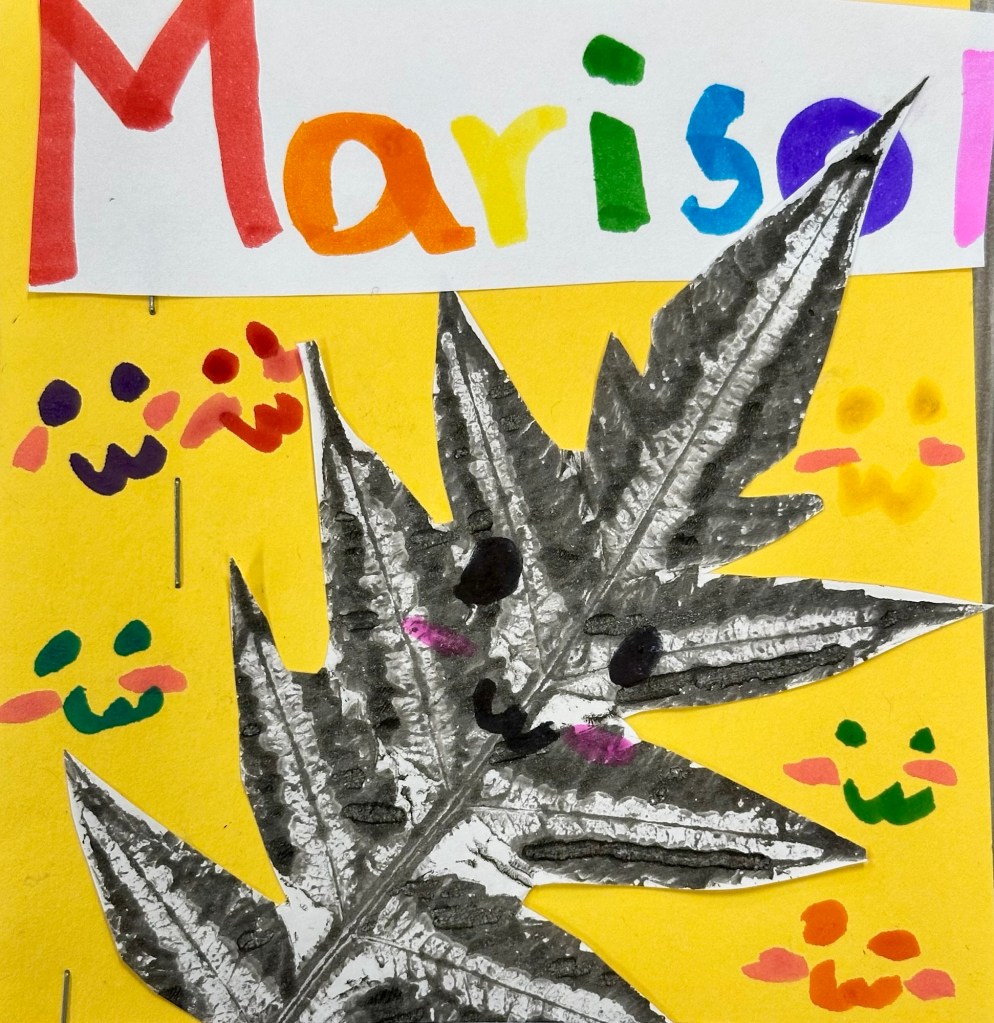
When we made our leaf-masked print, the first print prints up the outline of the leaf. The ghost print from that print picks up all the intricate patterns of the leaf’s veins.


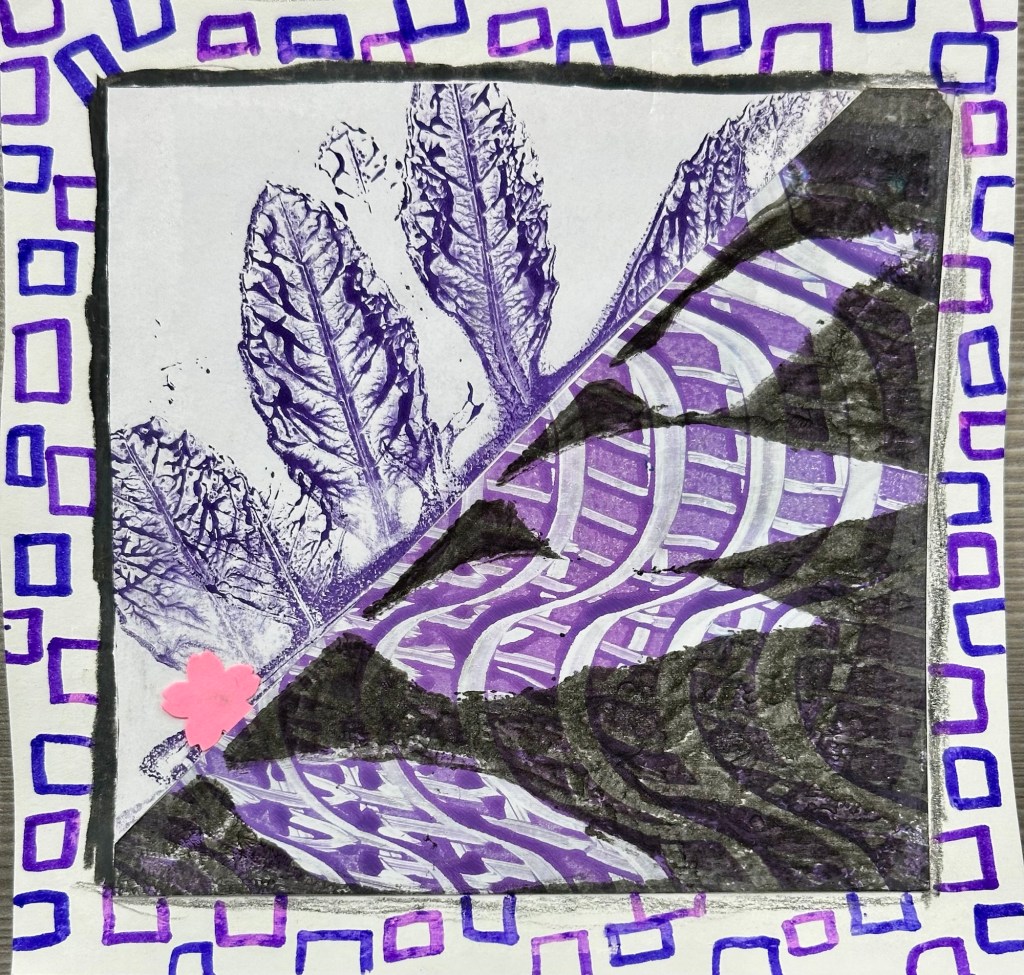
At this point, we were ready to unleash our unique creativity onto all these prints we created. Here are some of the amazing Gelli printed creations made by the art students.
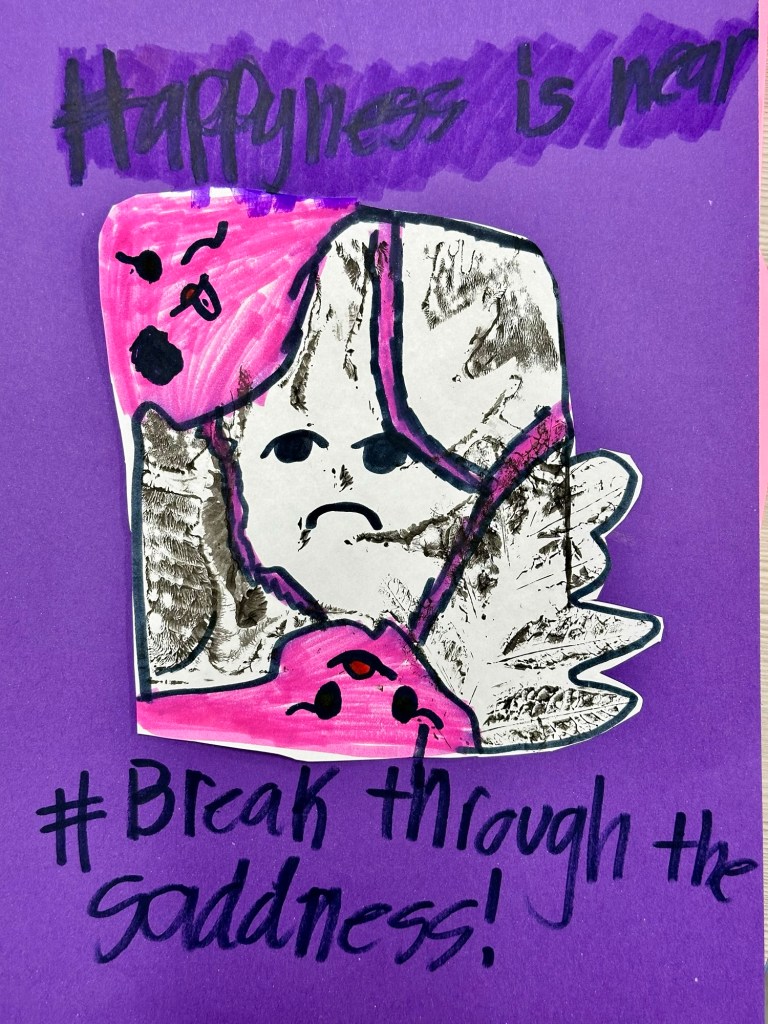
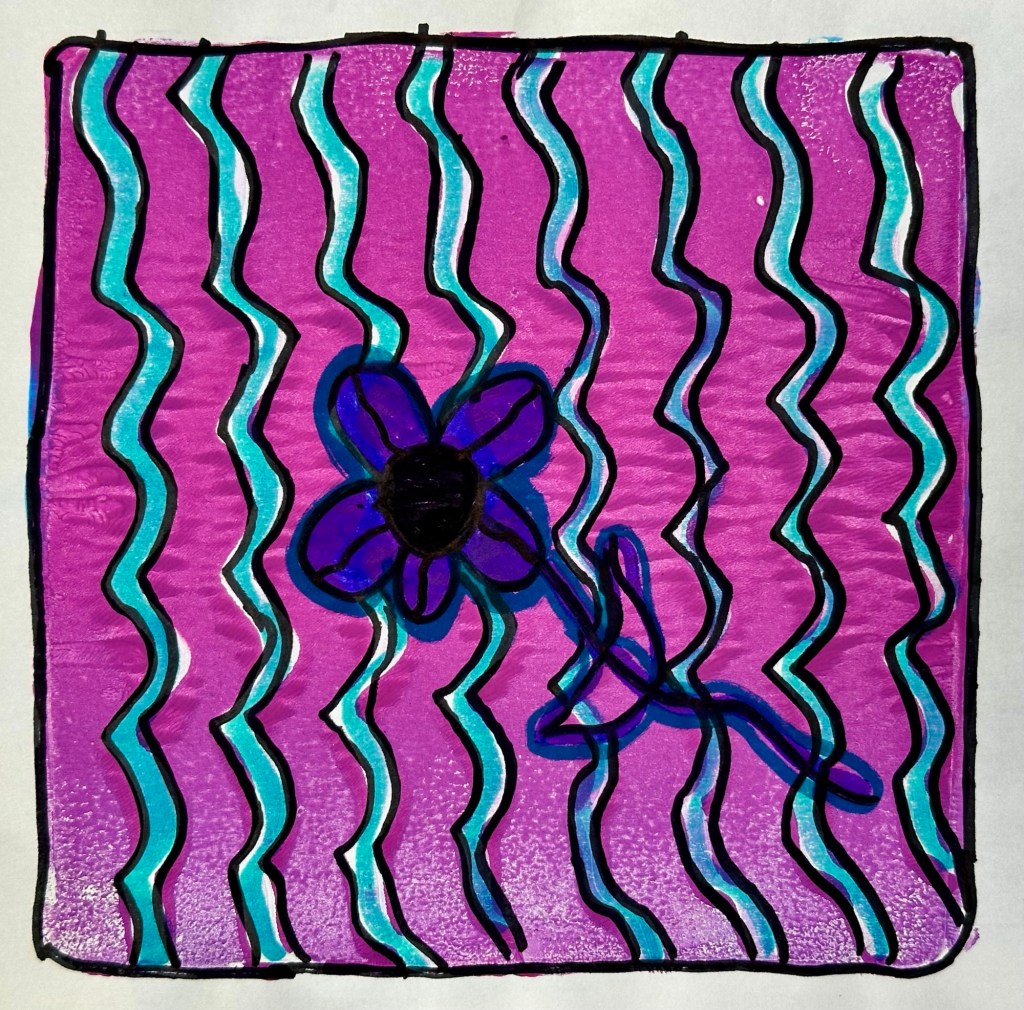
Some students chose to add marker or sharpie details onto their prints.

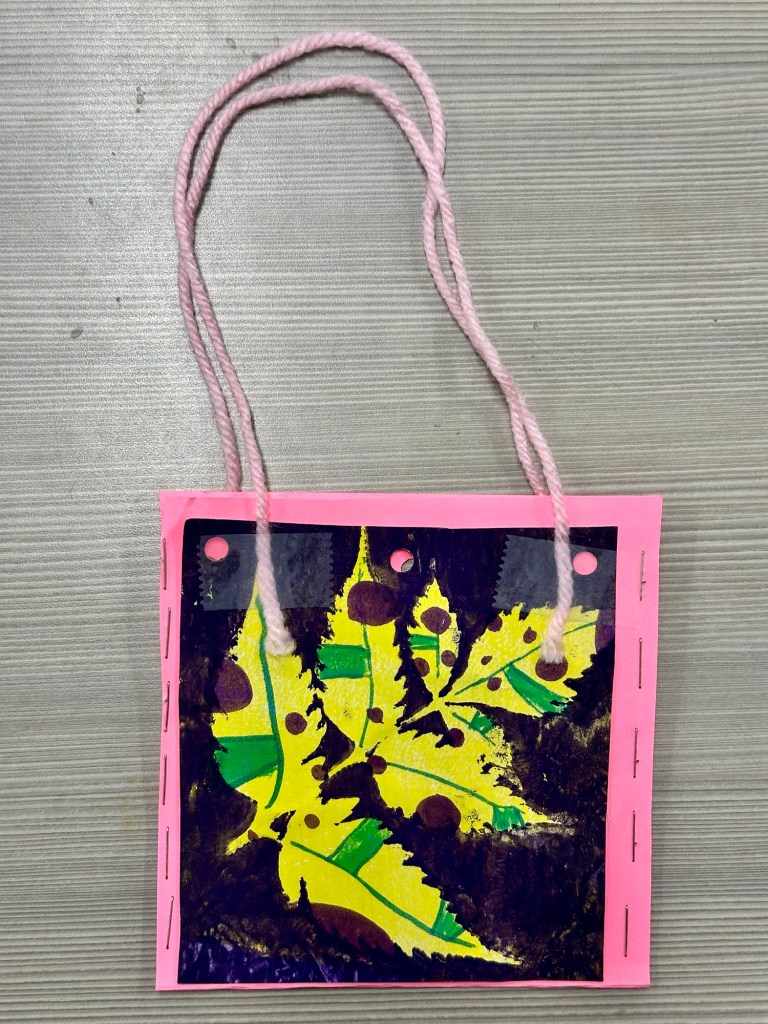
Other students decided to create pouches with yarn handles.
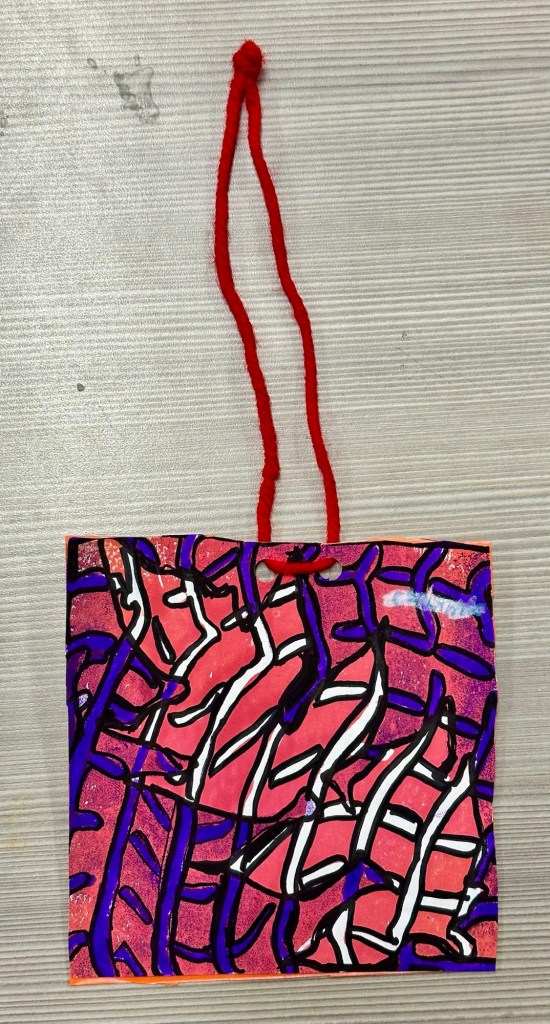
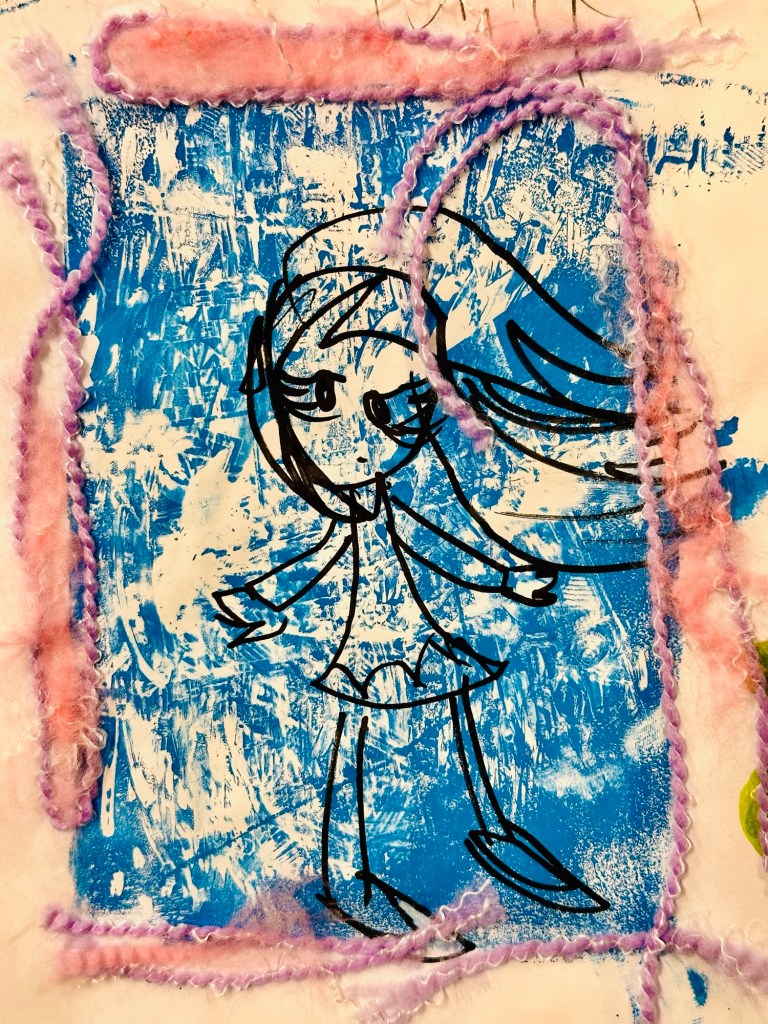
Other students chose to use yarn as a design element in their prints.
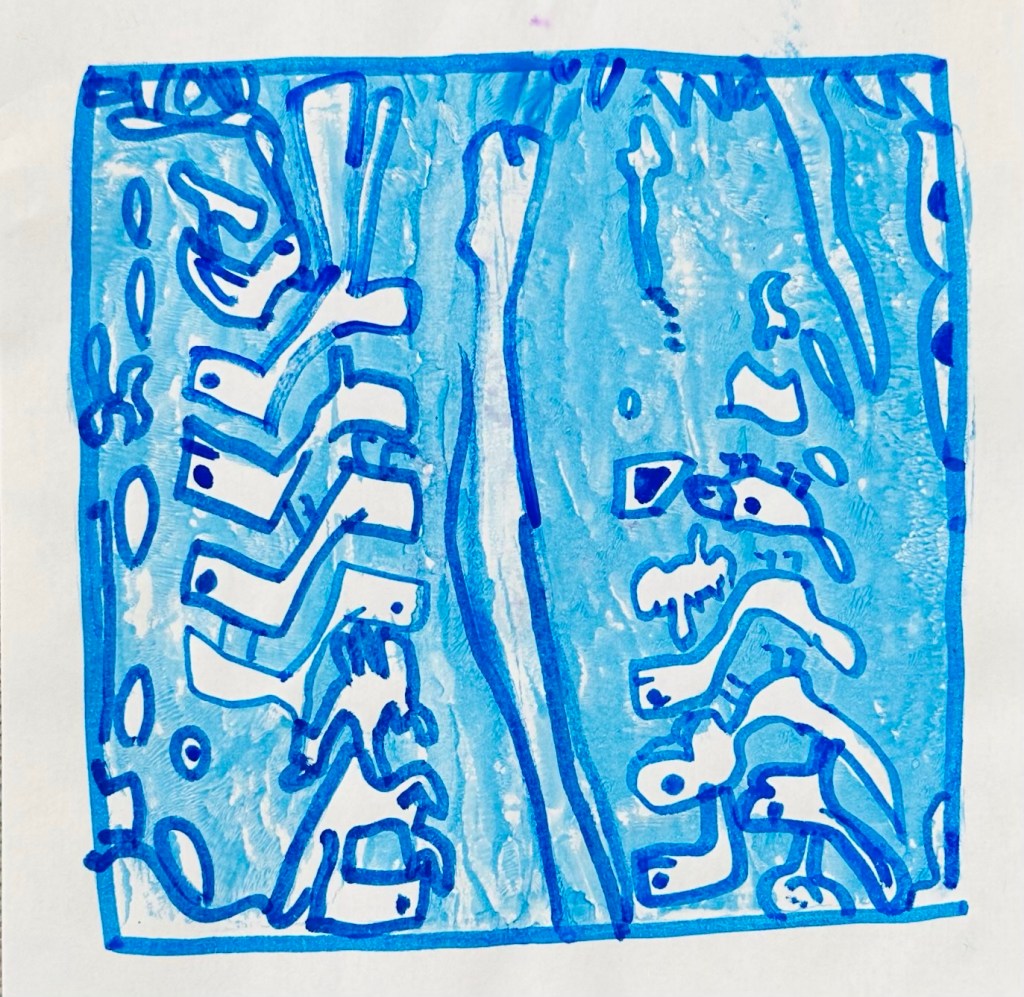
Another popular choice was drawing on their prints.

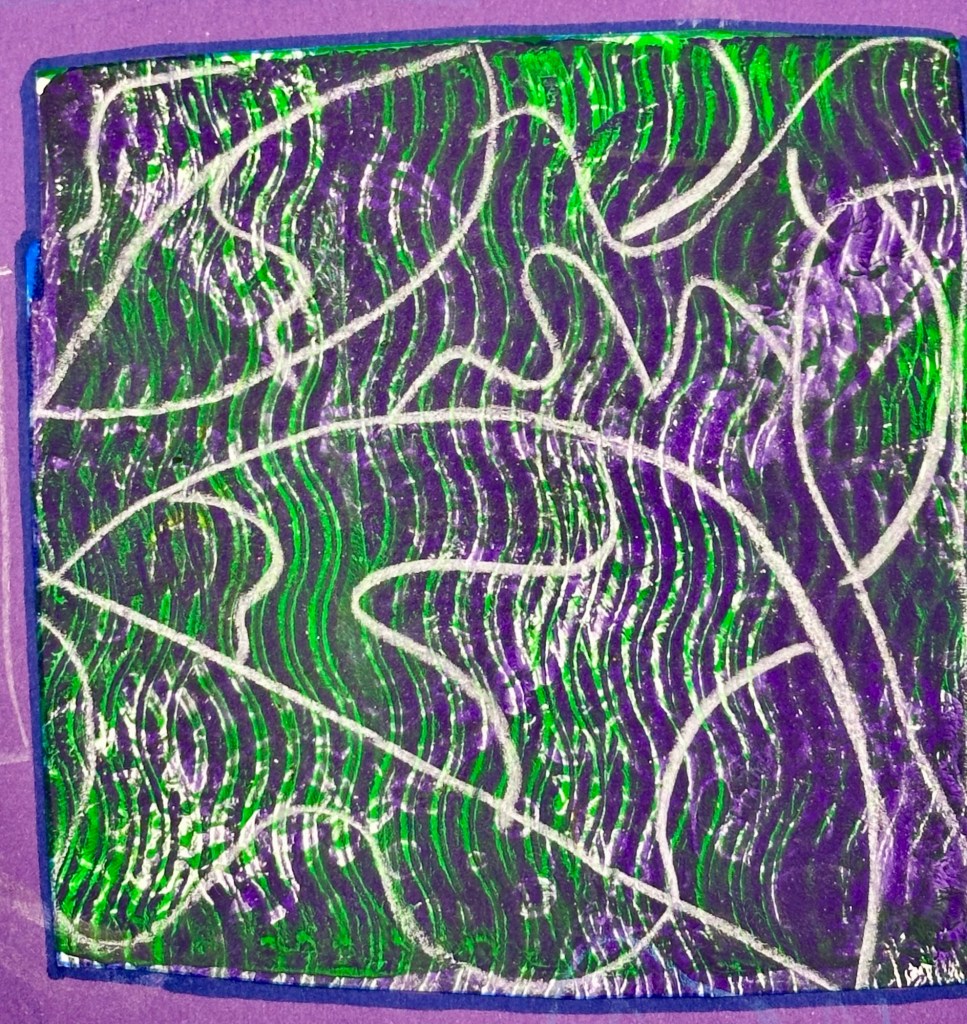
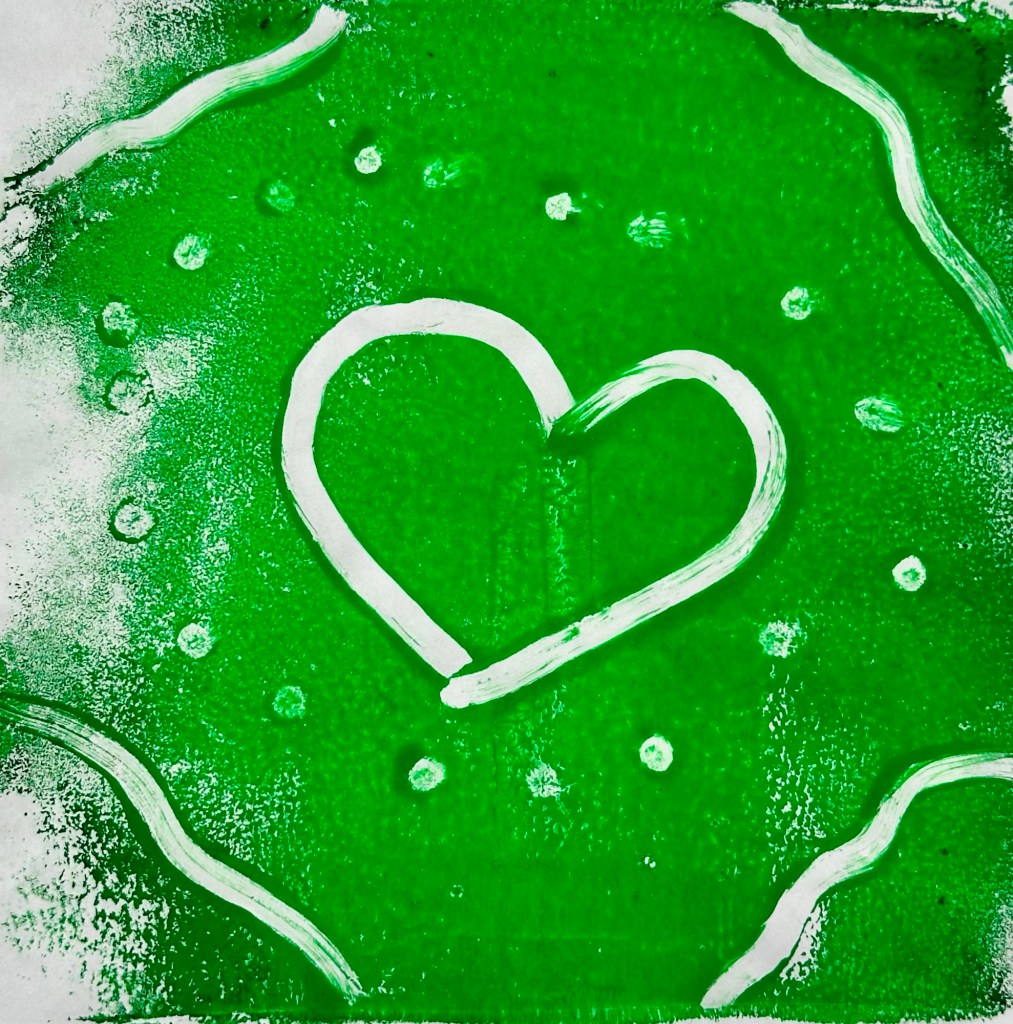
One student created the tried and true Qtip-drawn monoprint Gelli print.
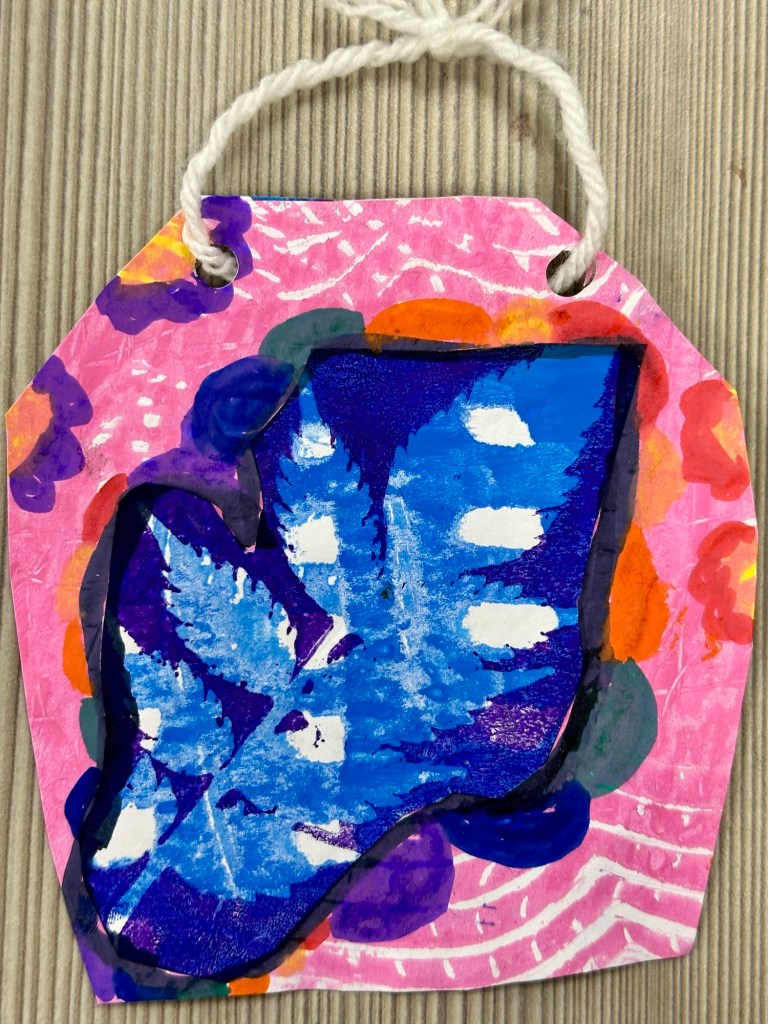
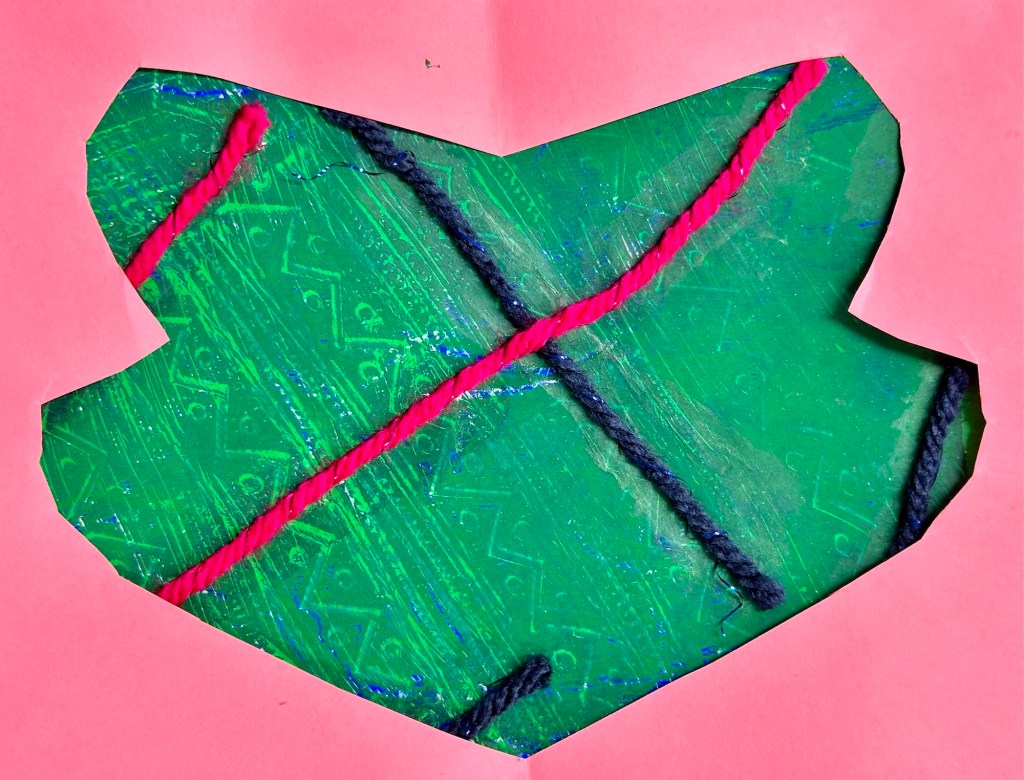
Another student created her composition by filling a cut out negative space with a yarn-lined Gelli print.
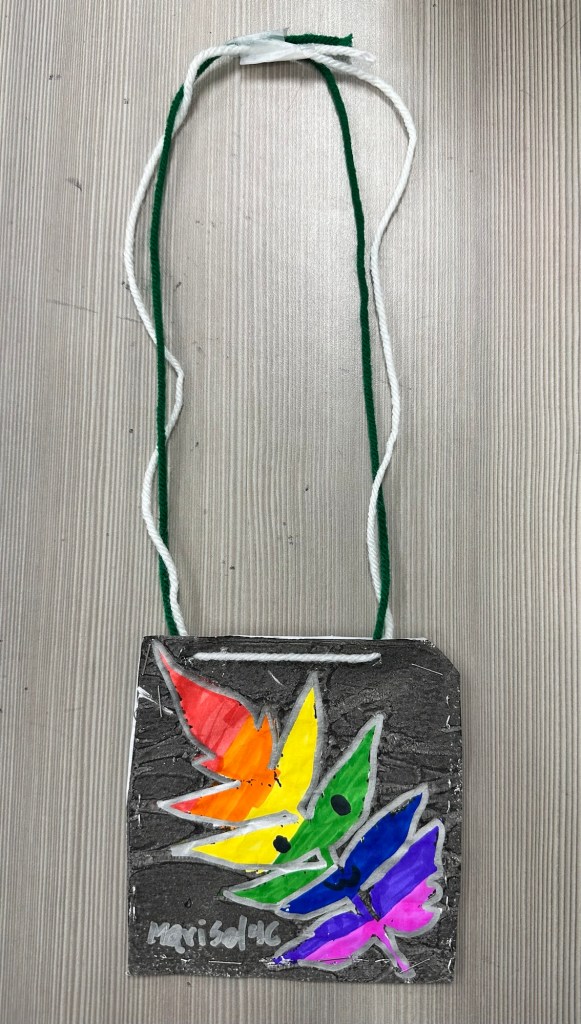
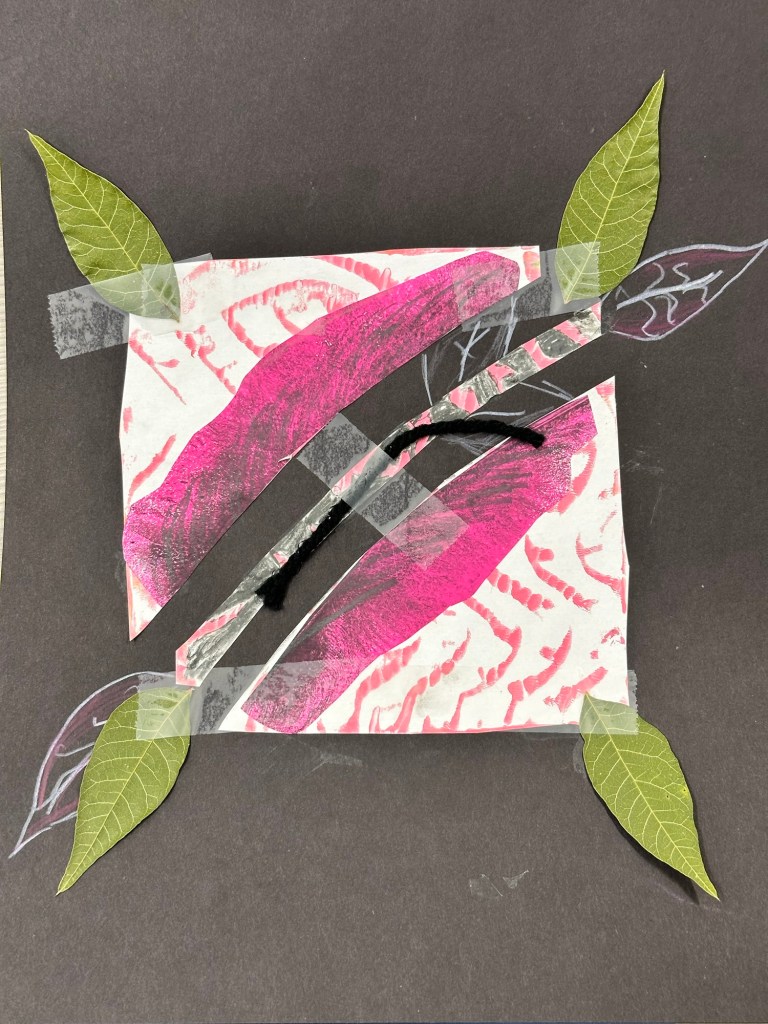
A student used the “all of the above” approach (cutting, using yarn, drawing) plus taped real leaves to create her printed composition.
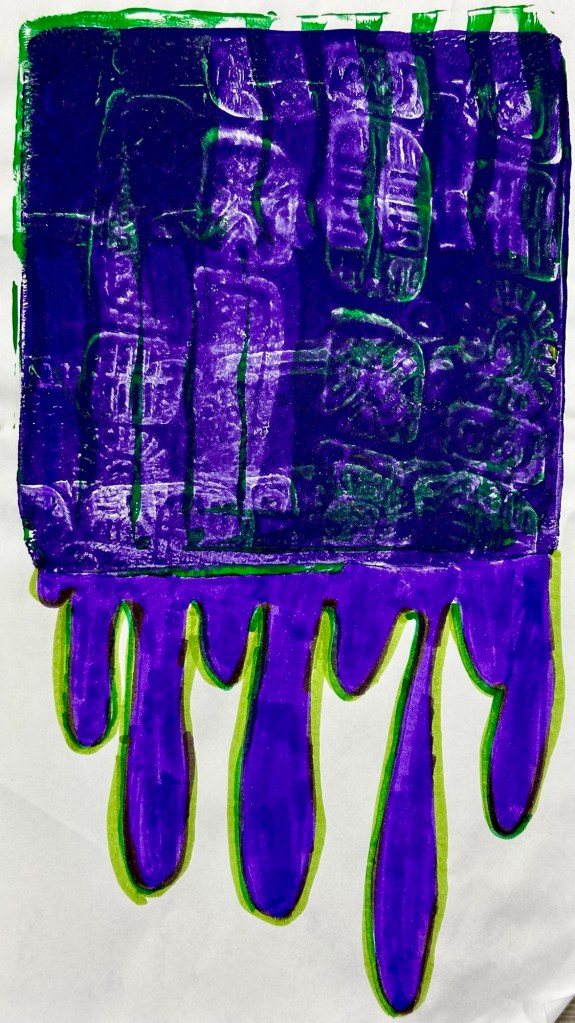
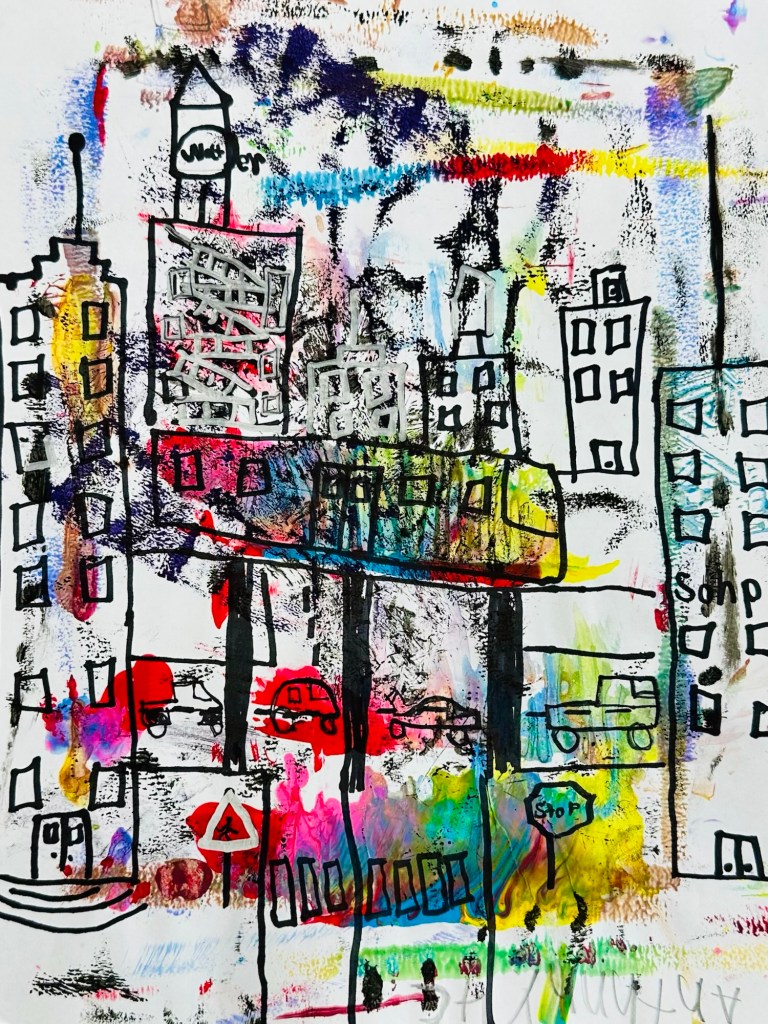
A student created a drawing on an exciting printed paper transforming it from this…
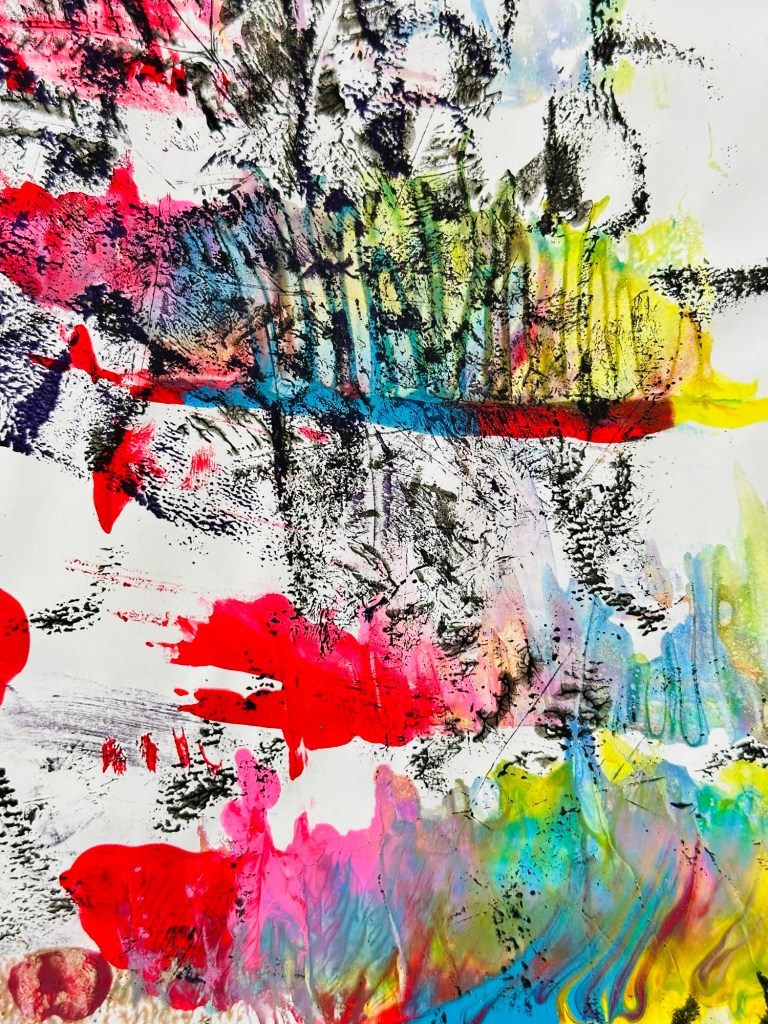
…to this Basquiat-esque subway in the city drawing.
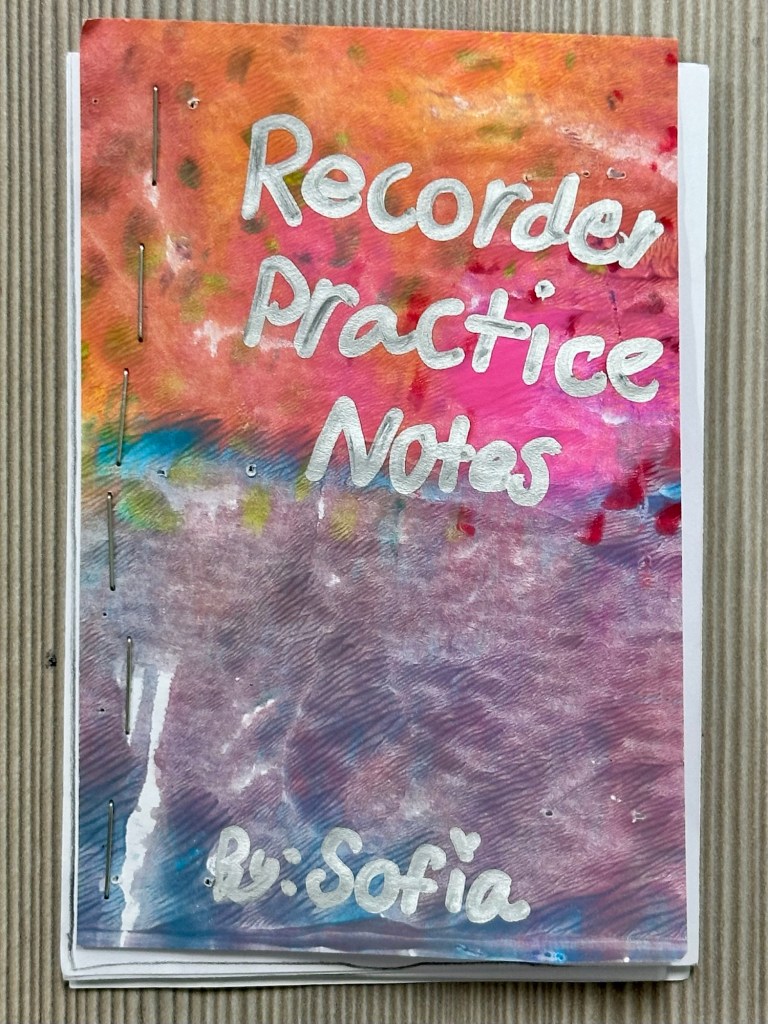
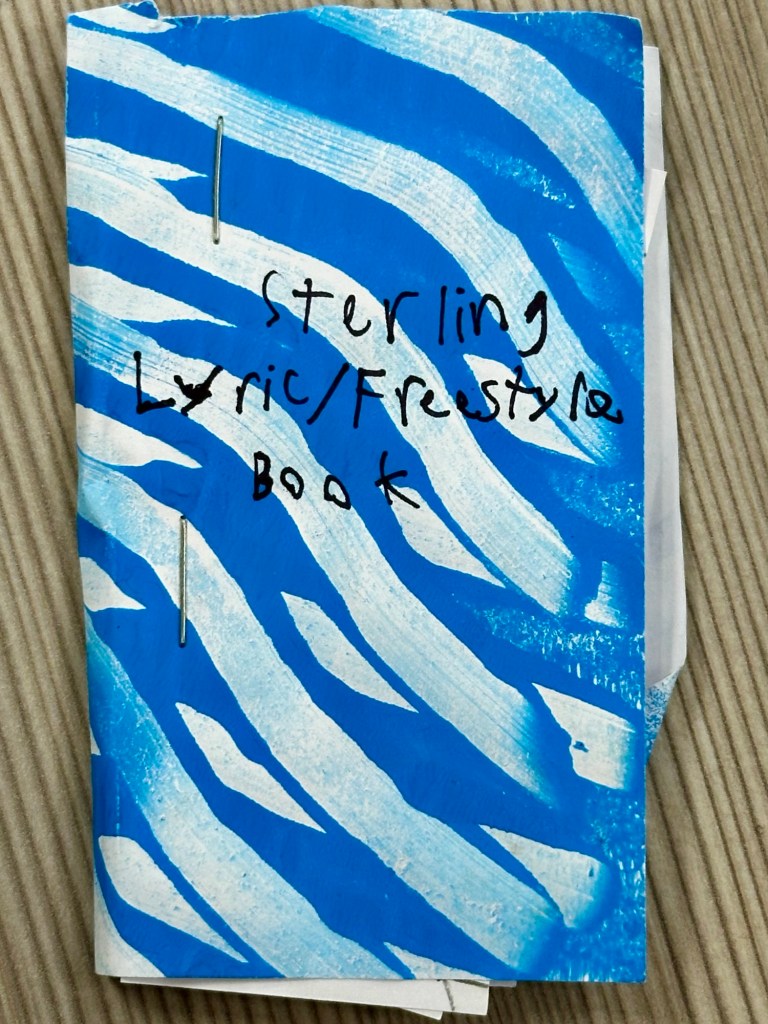
Another popular way to create art with completed Gelli prints was to make a book. This used blank cut paper for the pages and the Gelli print for the front and back covers. They were stapled together.
Students created art zines, a songwriting book, a sketchbook, a recorder practice notebook.
Several students created either double-sided art or kinetic art with their Gelli prints. Here are some videos of their art in action;
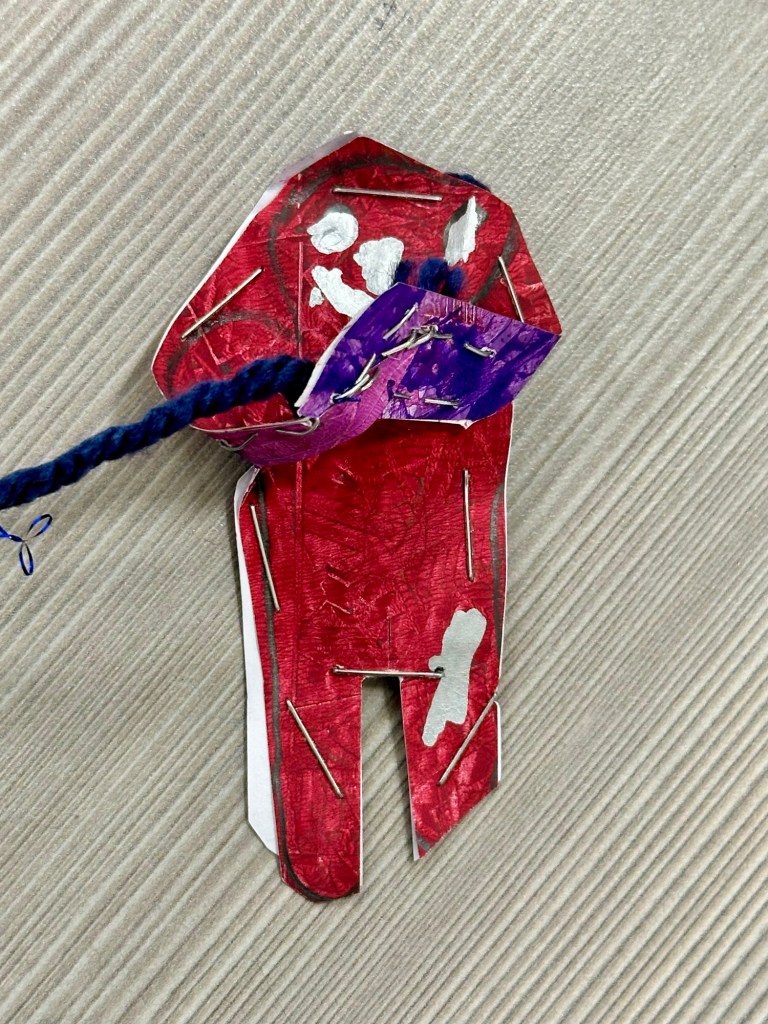
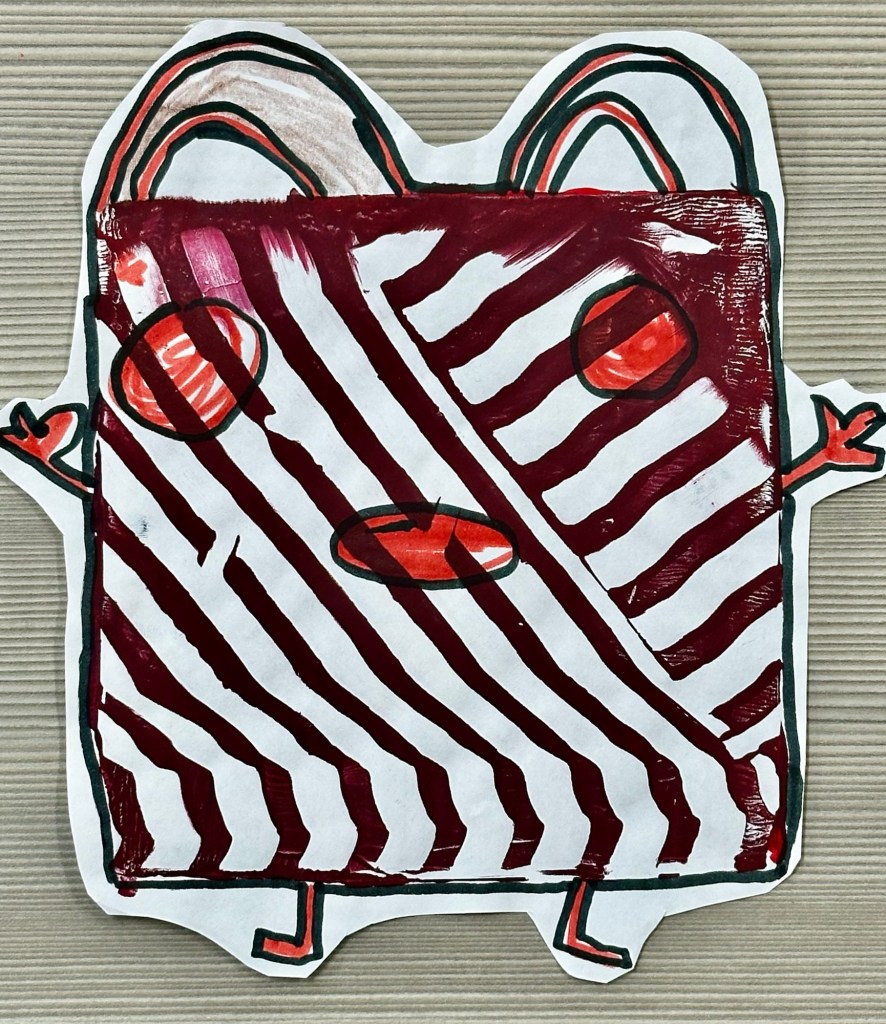
This student created a Gelli print stuffy by putting something soft on the inside and then sealing it with tape or staples on the outside. I thought it was so creative to connect the two top sides with a rainbow shaped cut out ghost print as a decorative handle, and then add a functional yarn handle to the top. 
A student created a Gelli-printed bookmark.
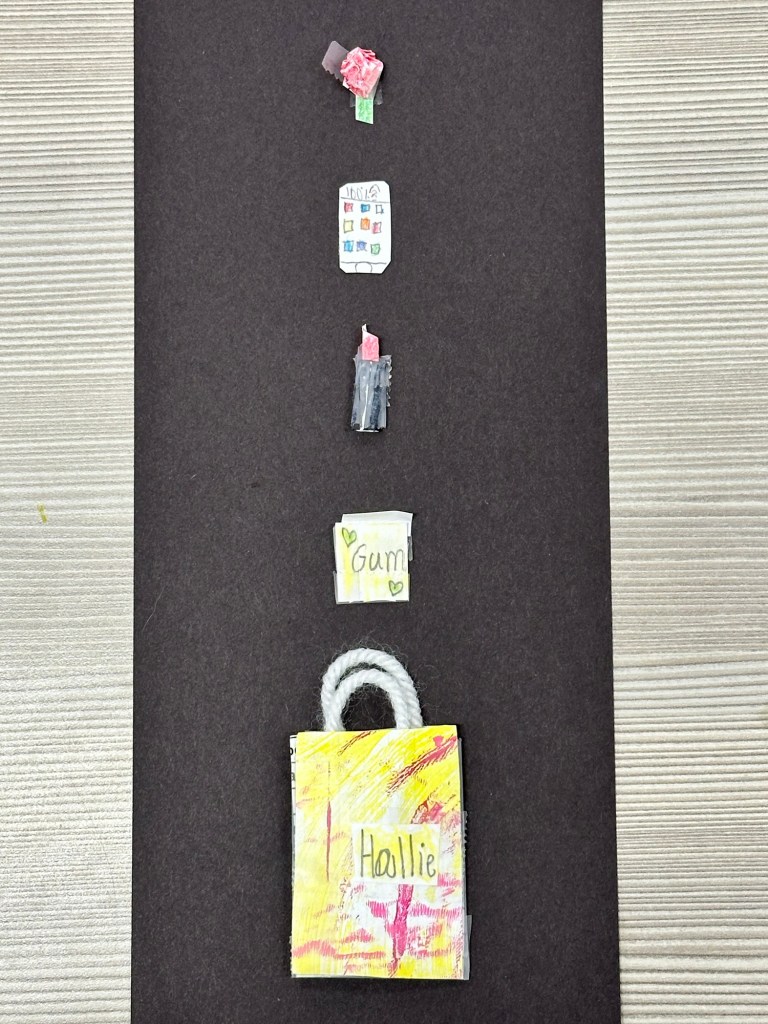
Lastly, a student created a mini Gelli printed purse with mini paper sculptures of lipstick, some gum, a cell phone, and a powder brush that all fit into her purse.
Happy printing!

stunning! 24th grade Gelli prints
LikeLike