
It’s a challenge to find a clay project that turns out great but is finished in 40 minutes or less. It’s a little stressful (for the teacher – the kids loved it!) to finish that quickly, but everyone was able to finish and loved working with clay. I can’t wait to show these to my 2nd graders. Bonus – these cuties fit in your pocket!

I got the idea from 4 Crazy Kings. We started by rolling our pre-cut clay cubes into spheres. Then we flattened them. I realized after the 1st time we did the flattening that I needed to show them how to flatten. Our first group’s pancakes turned out a little too flat.

Once we flattened the clay, then I showed them how to make the belly feather pattern. We finally got to put those marker tops whose markers have long since disappeared to good use!

Then we folded over the wings from both outer sides (West and East) towards the center. I saw in the One Crayola Short post that they smoothed the edges before folding them over. Great idea! We’re gonna do that the next time I teach this.
Next, we folded over the top 1/4 to 1/3 of the owl to make the head. Next time I teach this, I’m going to smooth out the edge at the top before folding. Pinch the top corners to make the owl “ears” (purists call their ear-looking feathers plumicorns…you can impress your 2nd graders with your big science vocab!)
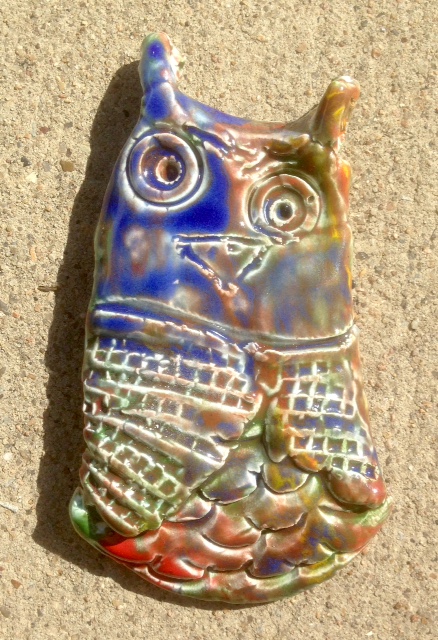
Now for the eyes – time to use that marker-less top again. It has two ends – a hollow end and a shallow end. Use the shallow end because it has this built-in protruding part that perfectly puts a pupil in the middle of your owl’s eyes automatically. And because we discovered that the hollow end can take out too much clay by accident if pushed too hard.

Next we used some clay tools to make a different feather texture on our wings. There were about 5 different tools, so all of the feather textures looked individual. This same tool made the v-shaped beak with optional breathing holes. I demo’ed how to use these tools in different ways and then I passed them out.

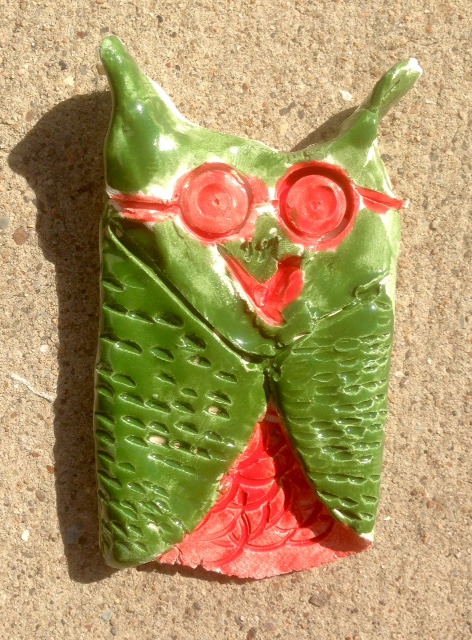
Finally, we added some personality (swag) to our owls. Glasses, a monocle, expressive eyebrows, and eyelashes made the list. If we had even 5 more minutes, we could add even more, but they still turned out really cute.
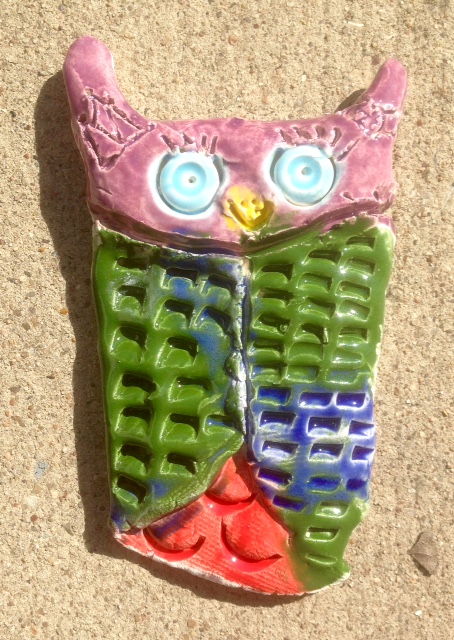
After they dried and were fired, we glazed them the next class period. Enjoy making your very own parliament of owls!
