When I read Hillary Green’s (@mrsgreenartbaby on Instagram) post about a new-to-me artist, I knew I had to learn more. I was intrigued. Who was this artist? How did the art teacher approach learning about this art to help the students create such successful pieces of their own? Research mode engaged! https://www.thehistorymakers.org/biography/howardena-pindell-41
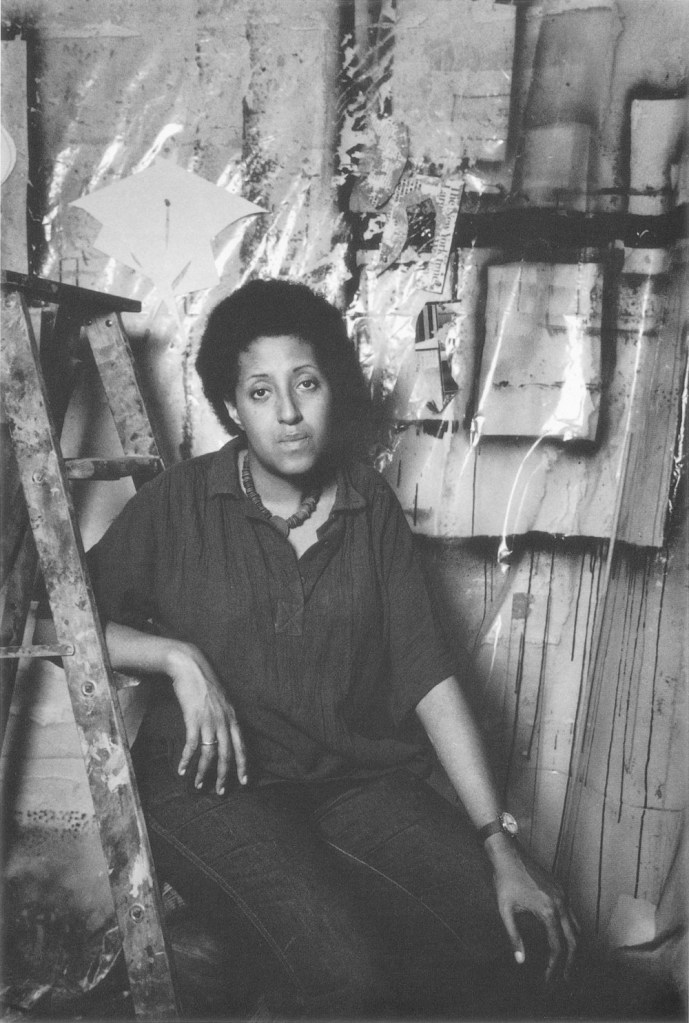
It was fun to learn about Howardena Pindell, and I loved the opportunity to teach my artists about an artist who looks like them. And bonus, as of January 2022, she’s still alive. A living artist – yeah!
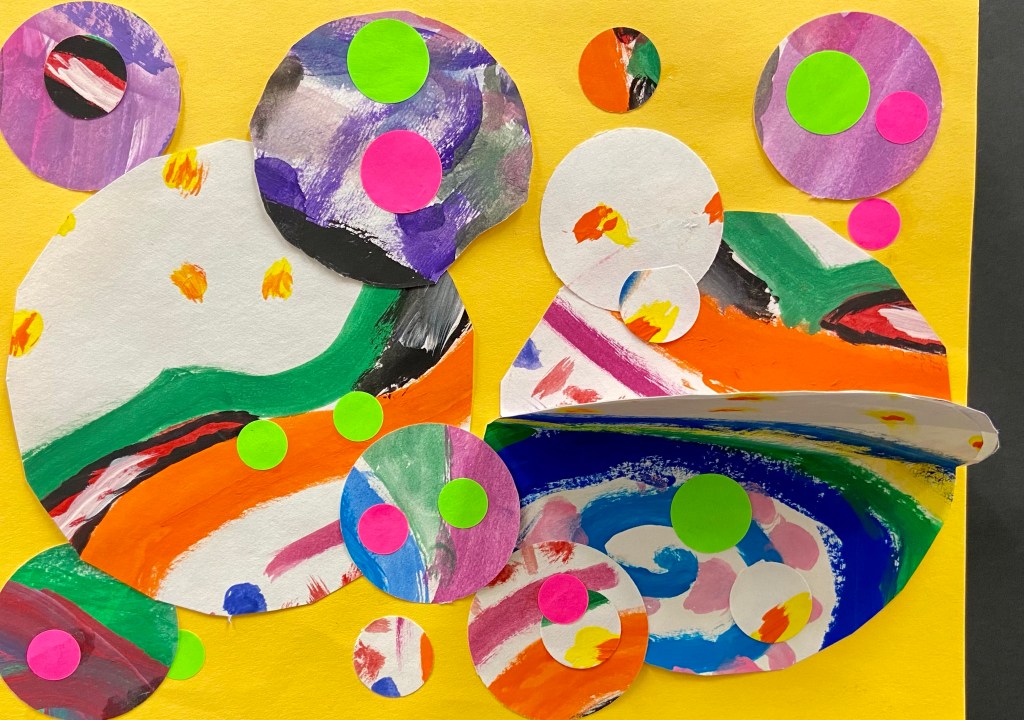
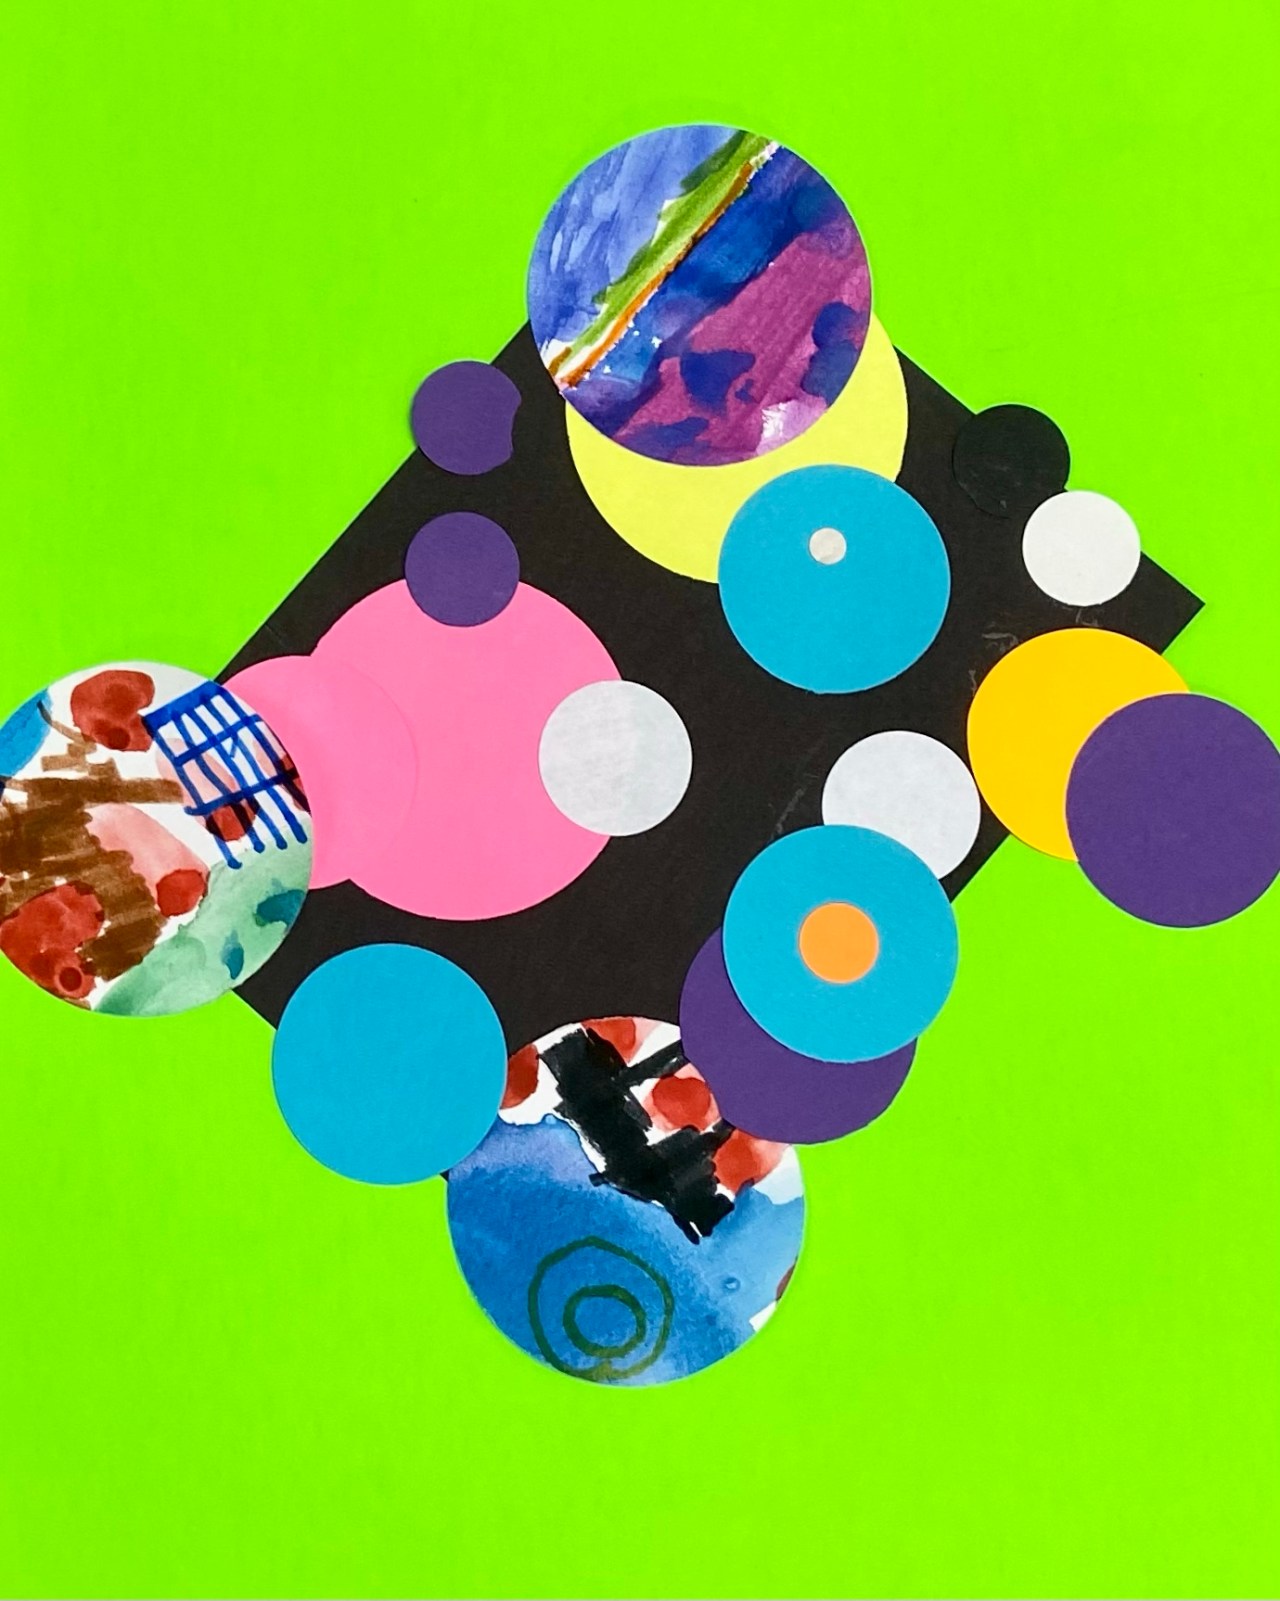
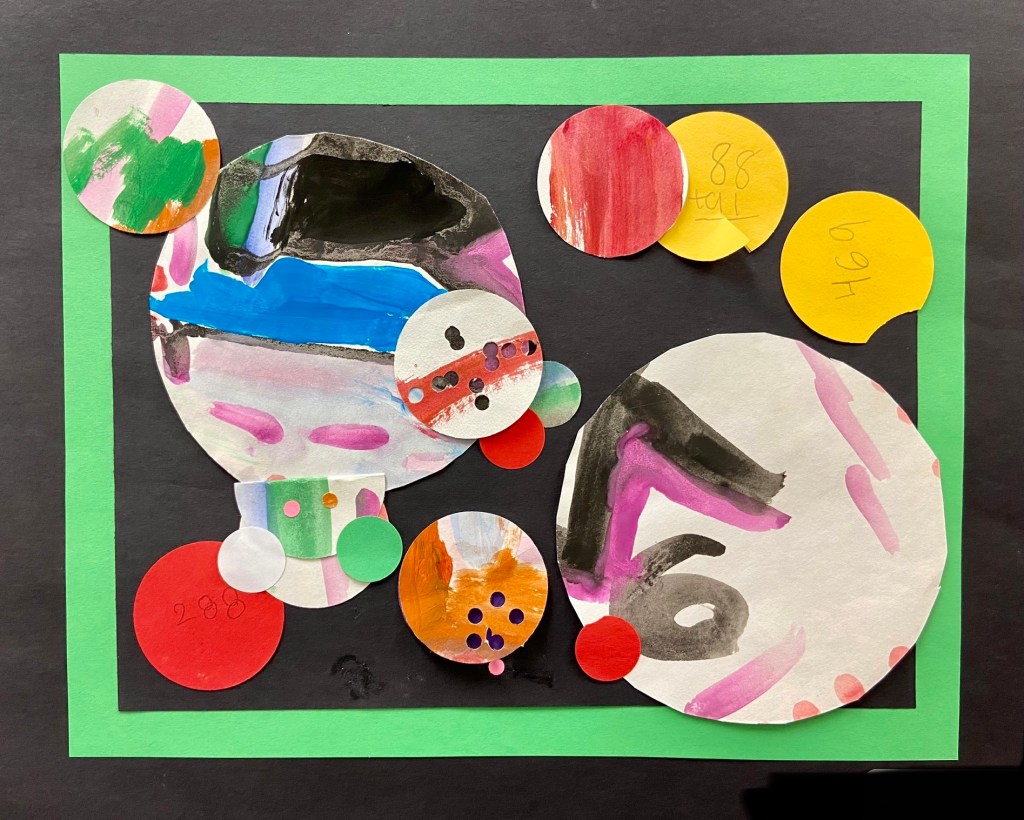
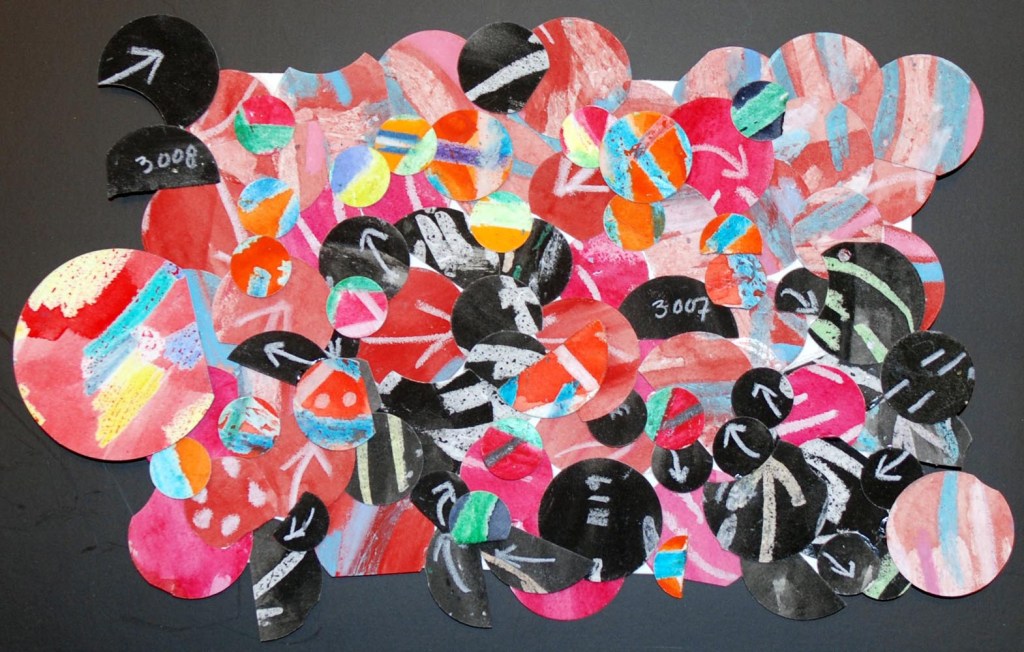
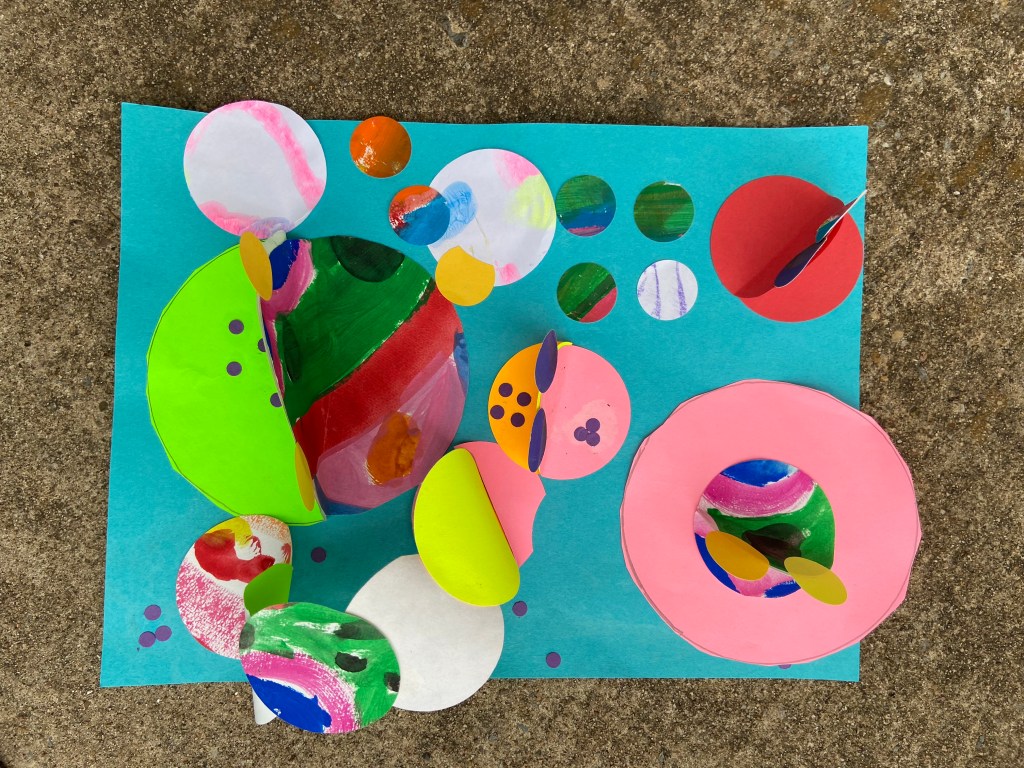
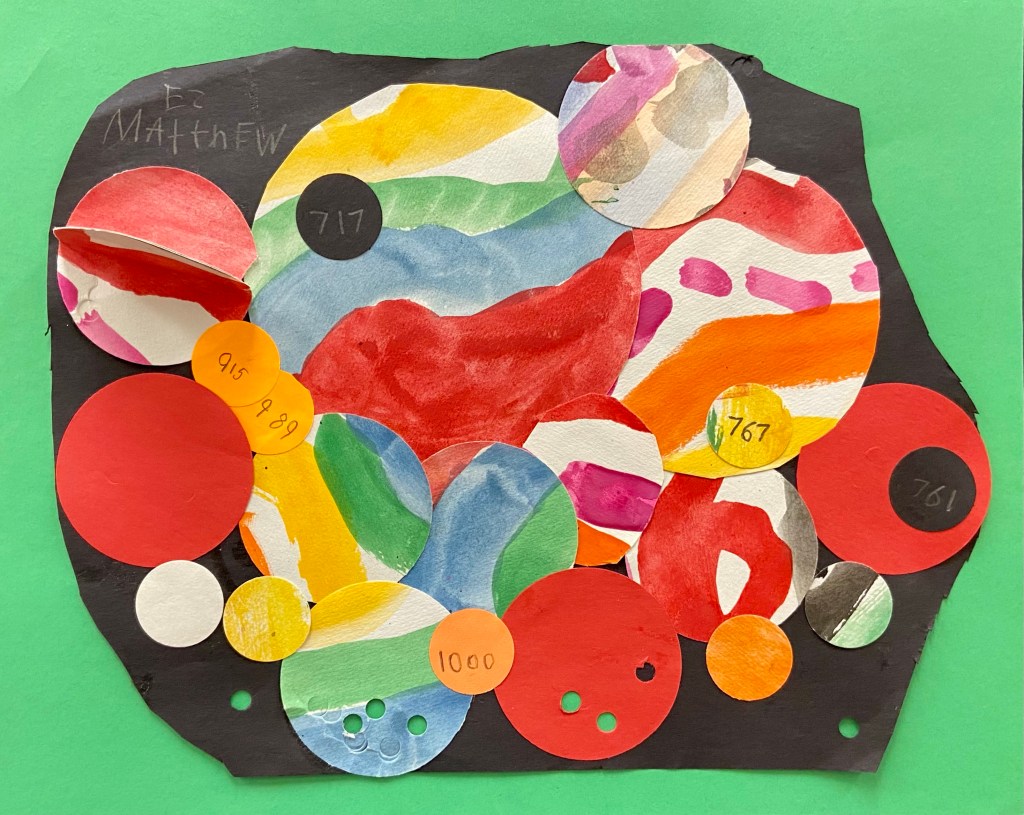
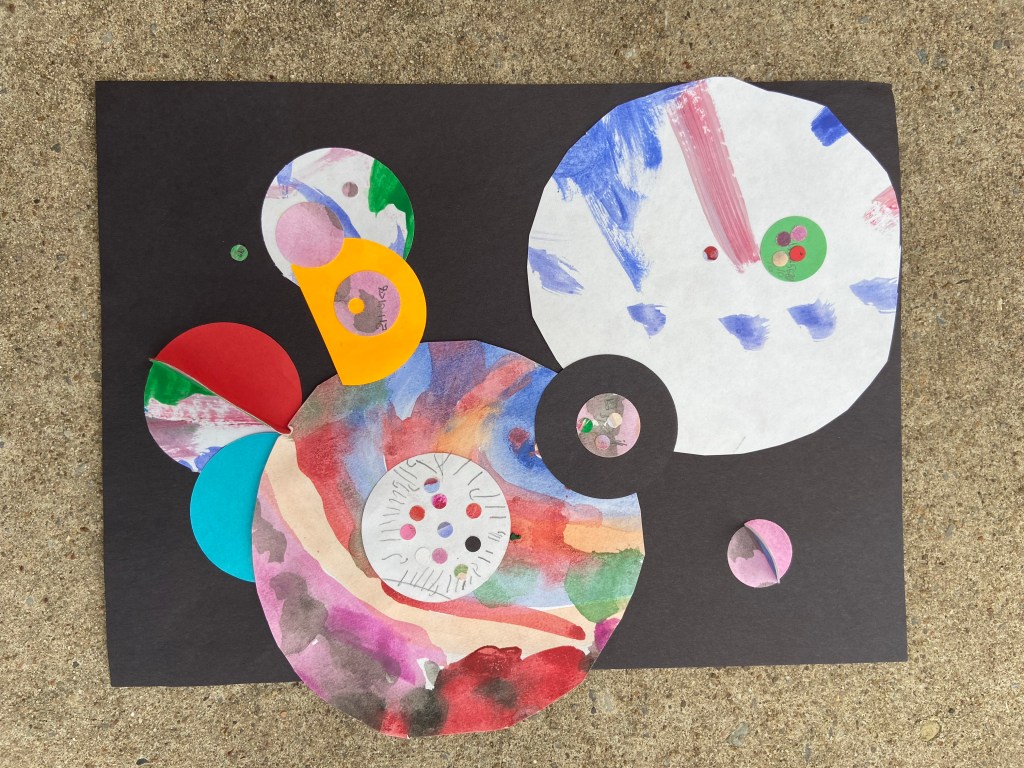
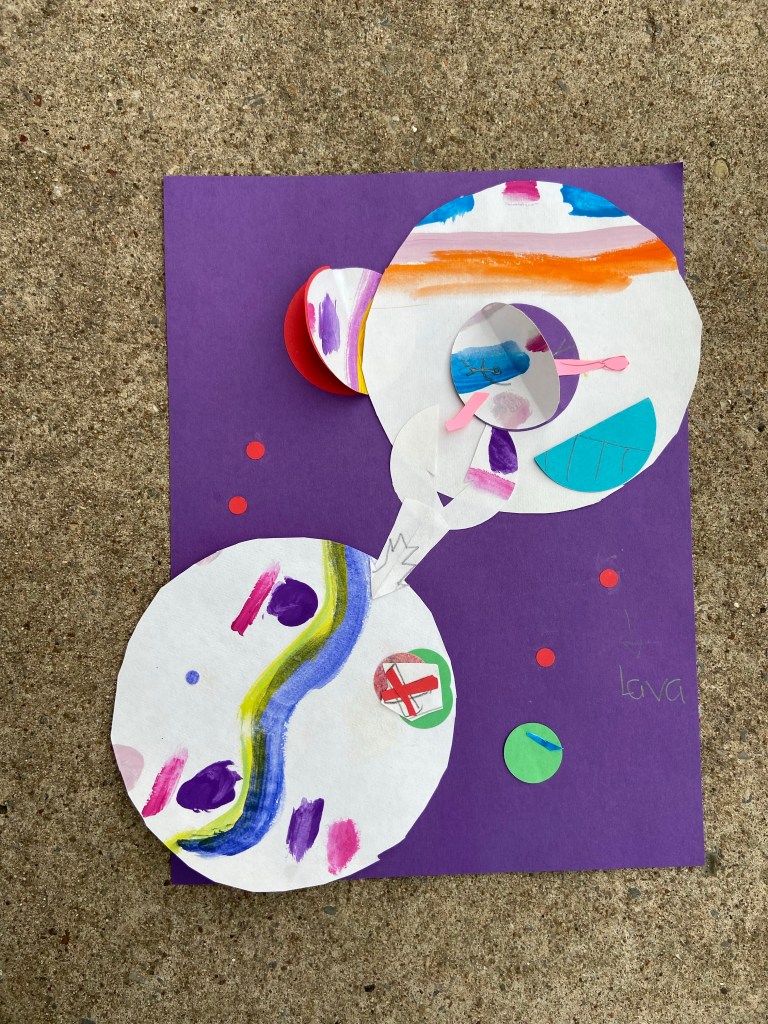
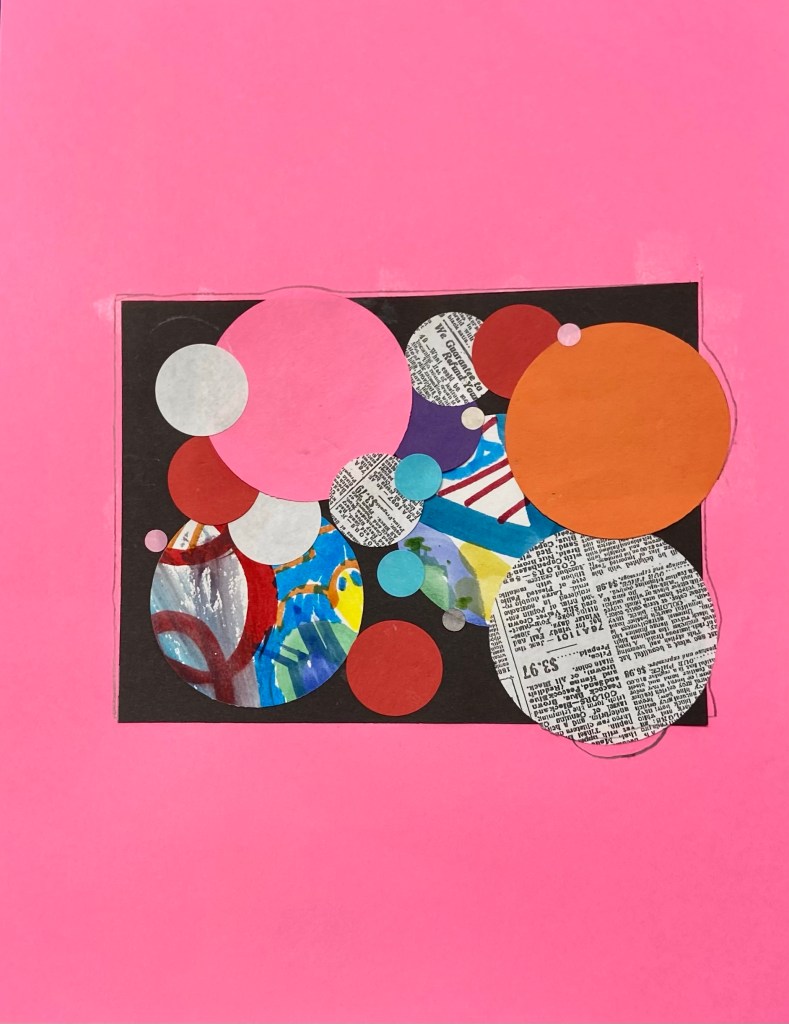
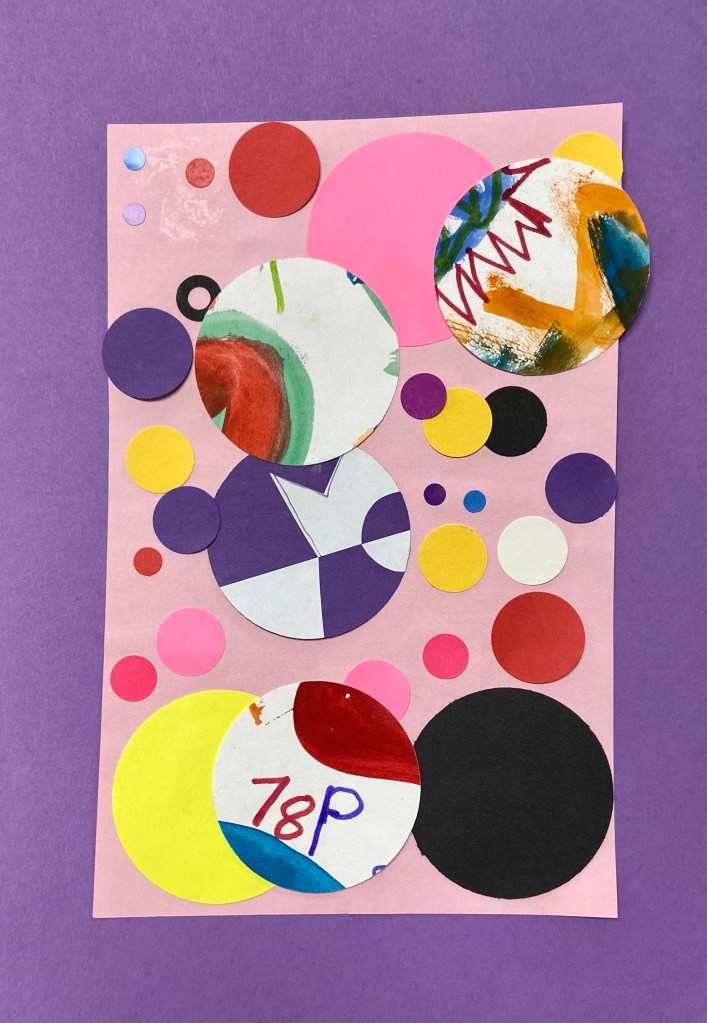
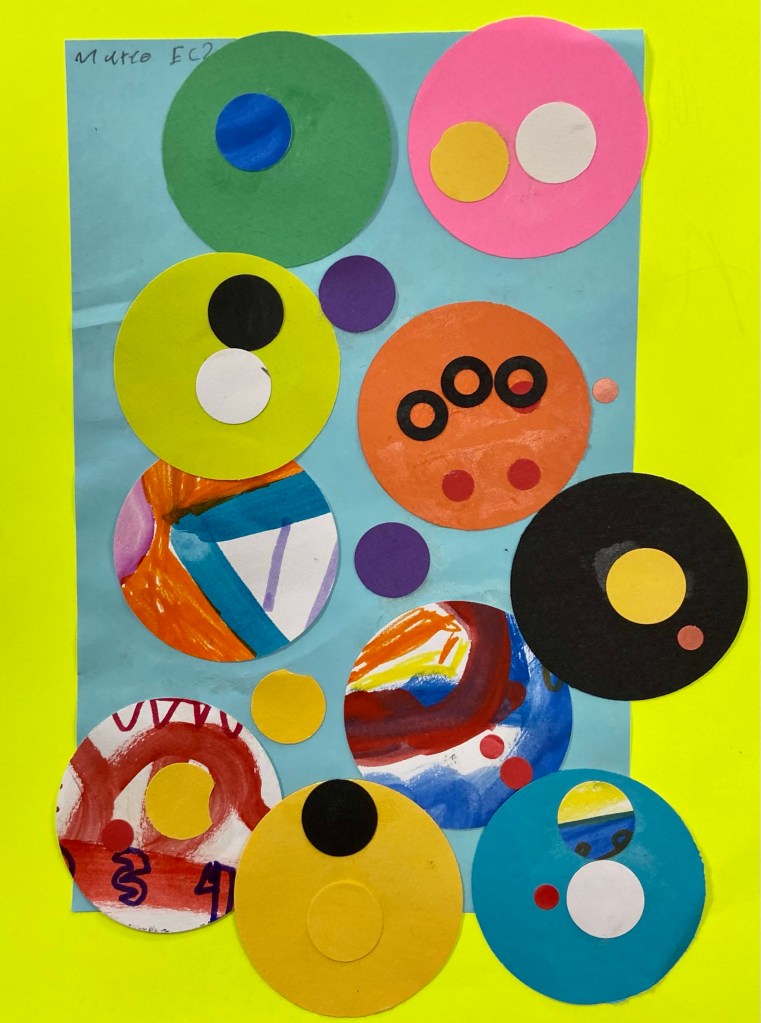
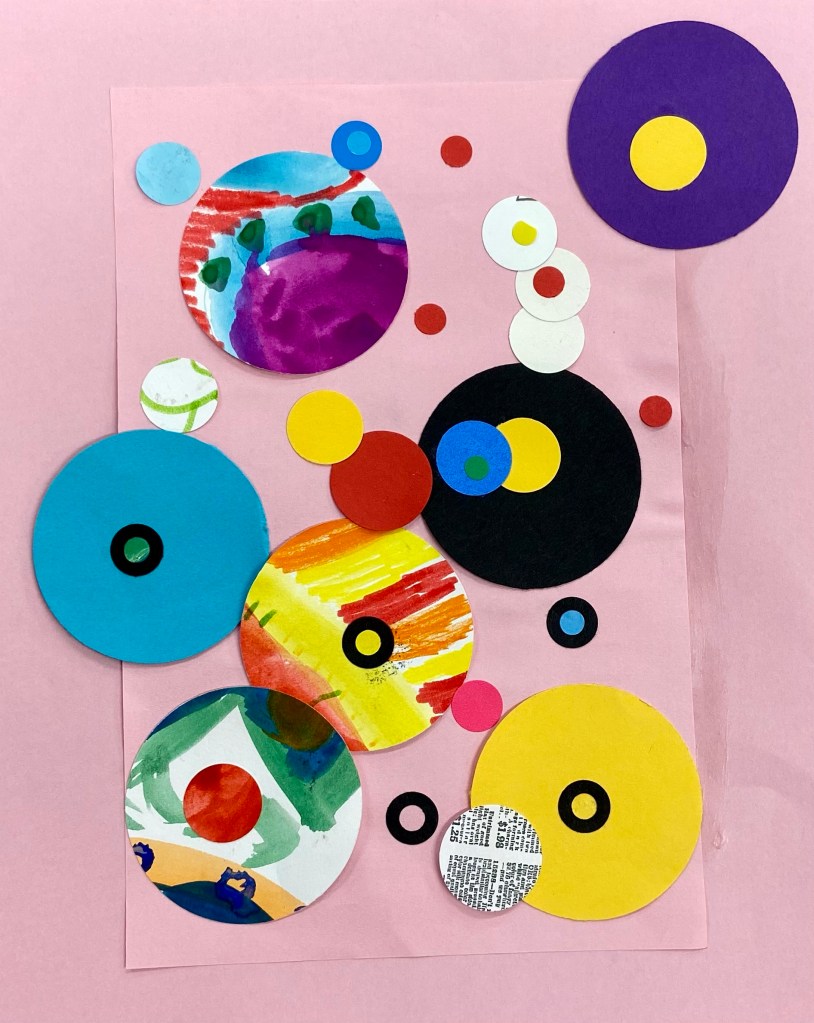
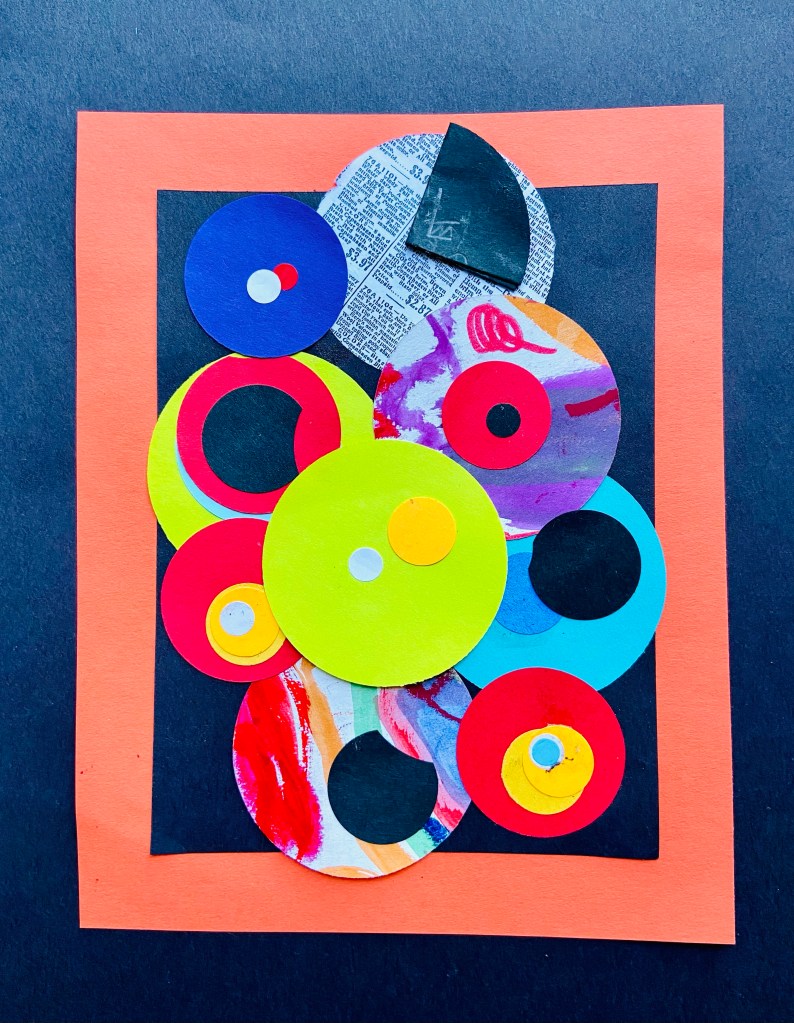
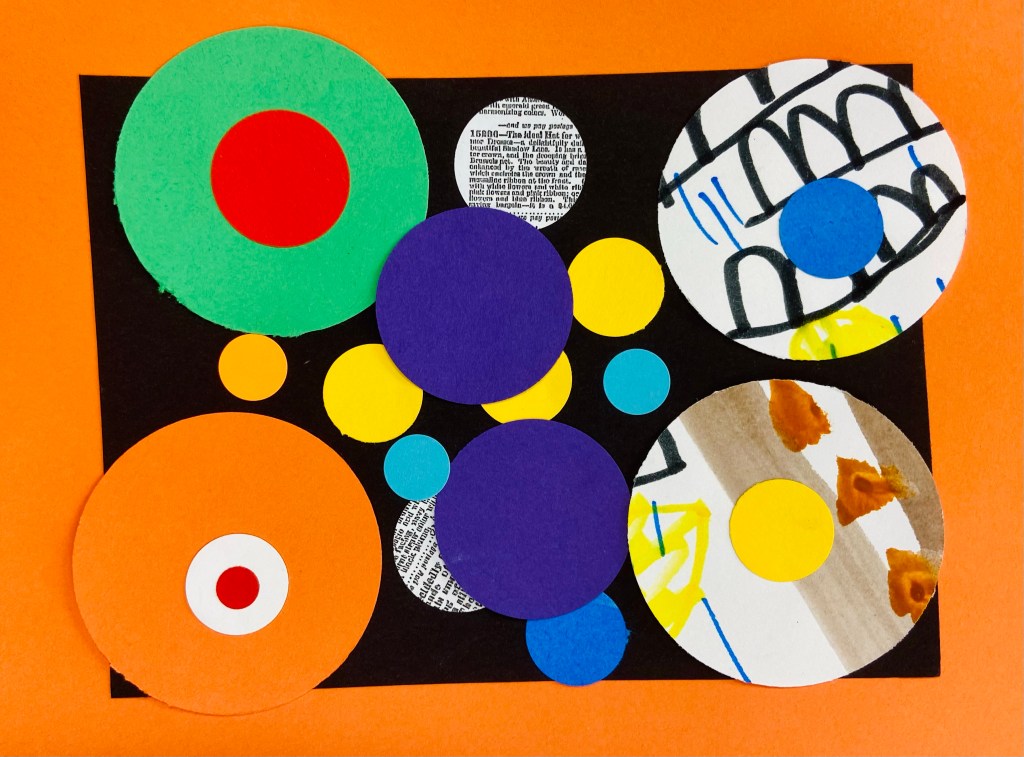
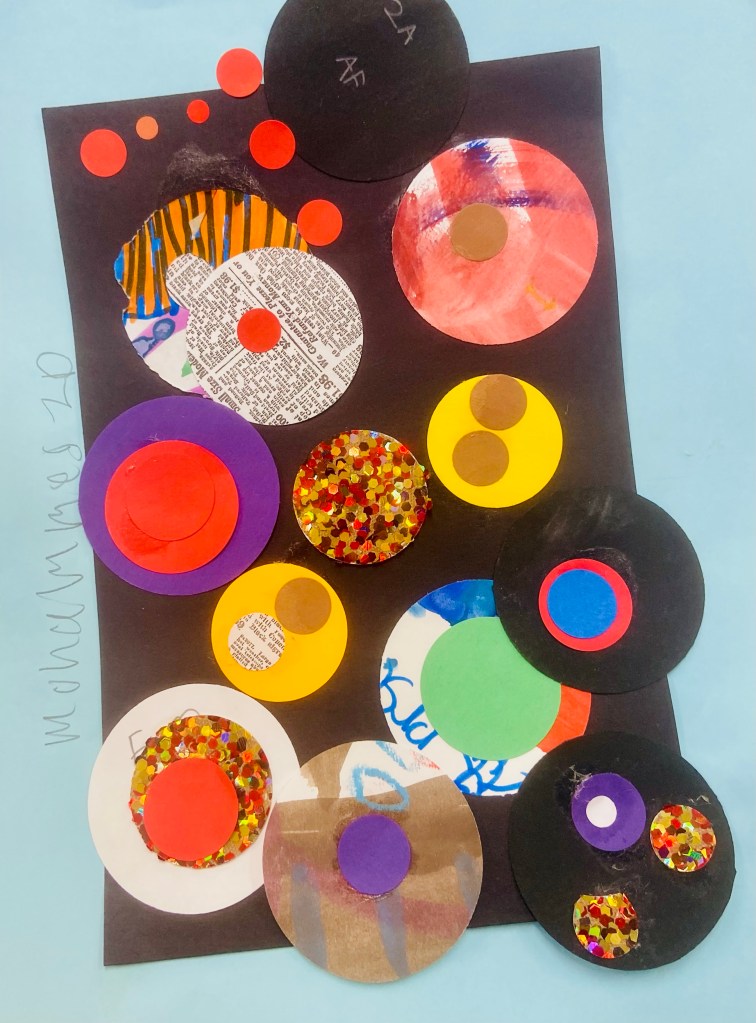
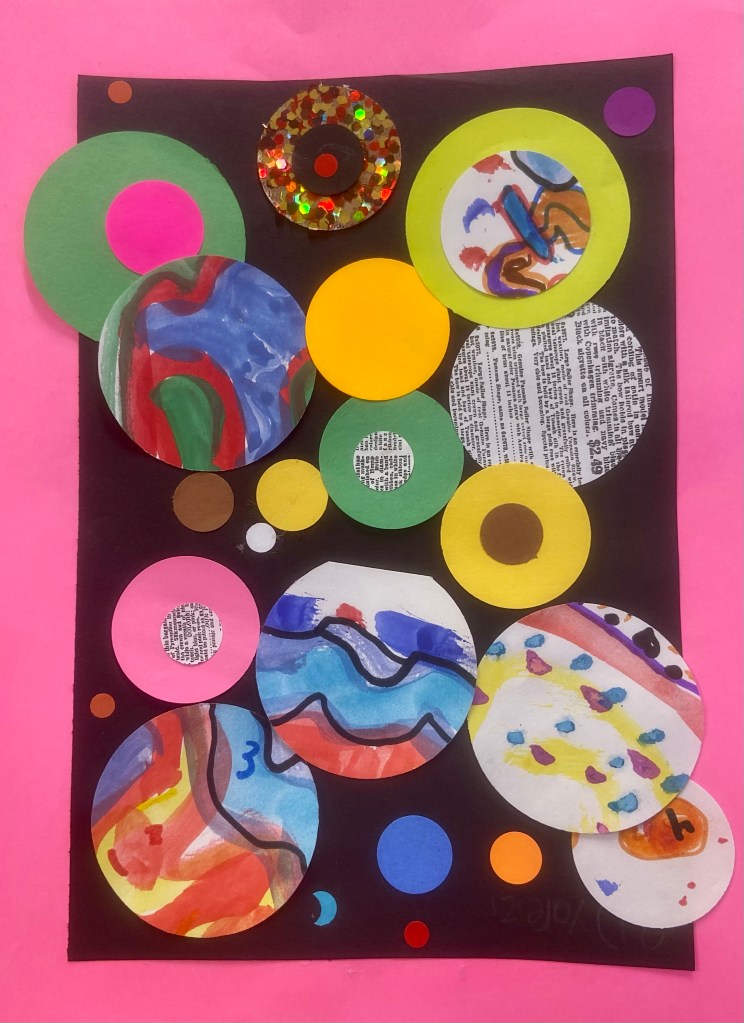
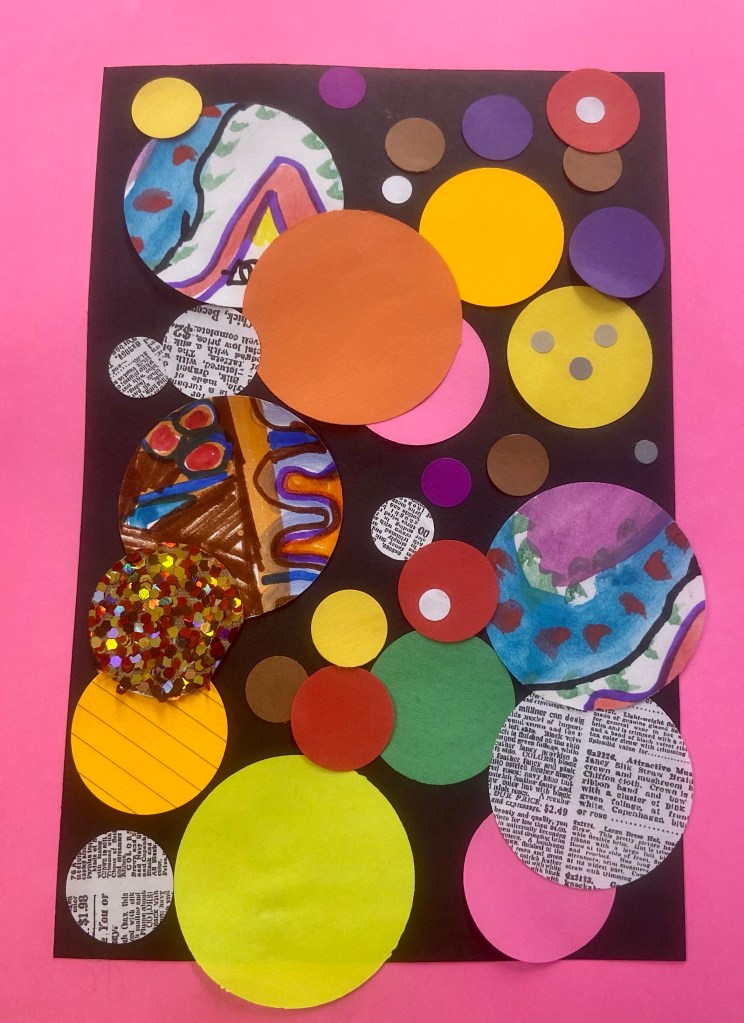
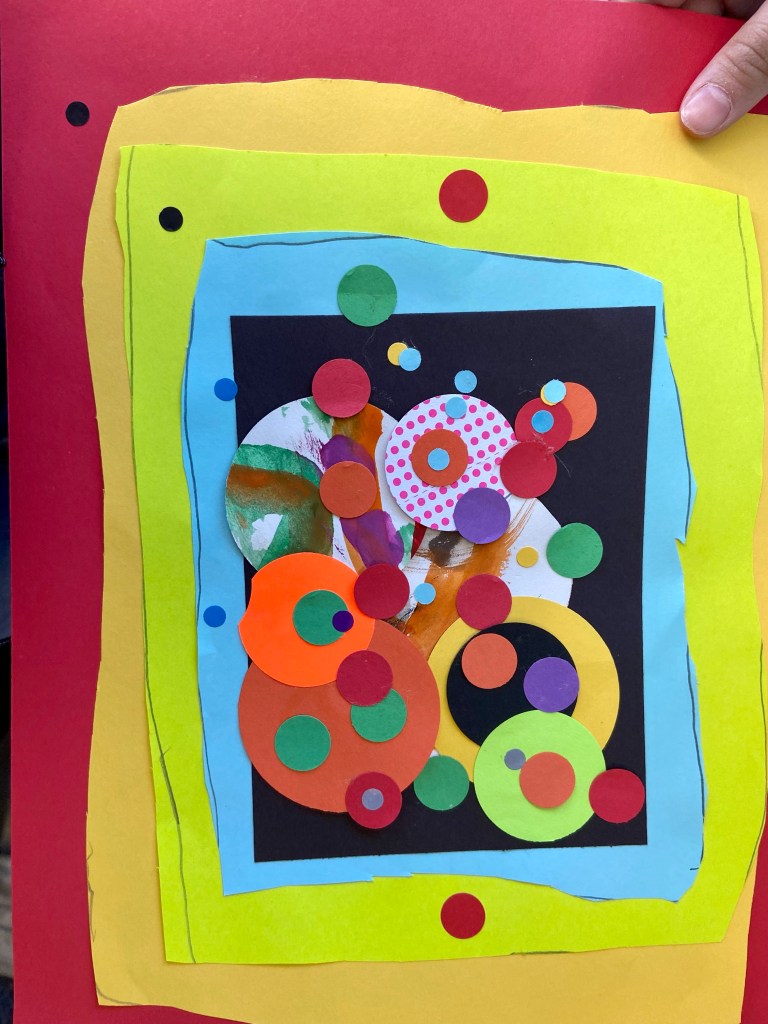
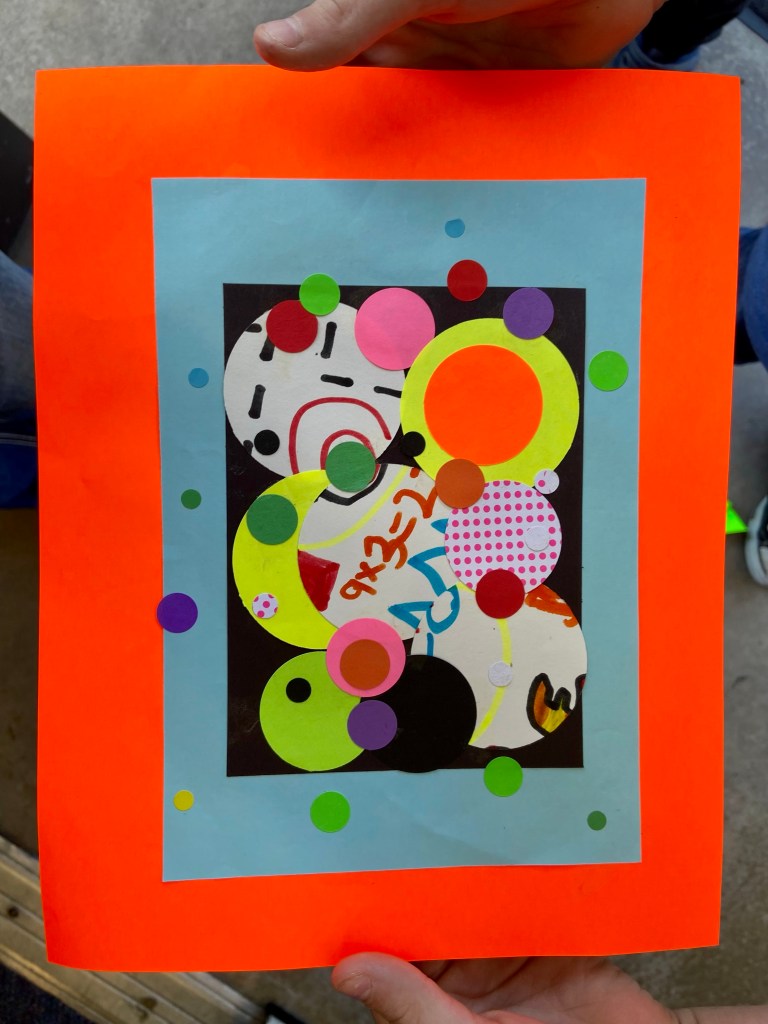
Circles are central to Howardena Pindell’s artwork. They’re painted, punched out, and arranged vertically. The circle is both the base for large works and the form taken as hundreds of them together create the “meat” of her work in many of her paintings.
The students started their project by learning about the artist and discussing her circle paintings as a class.
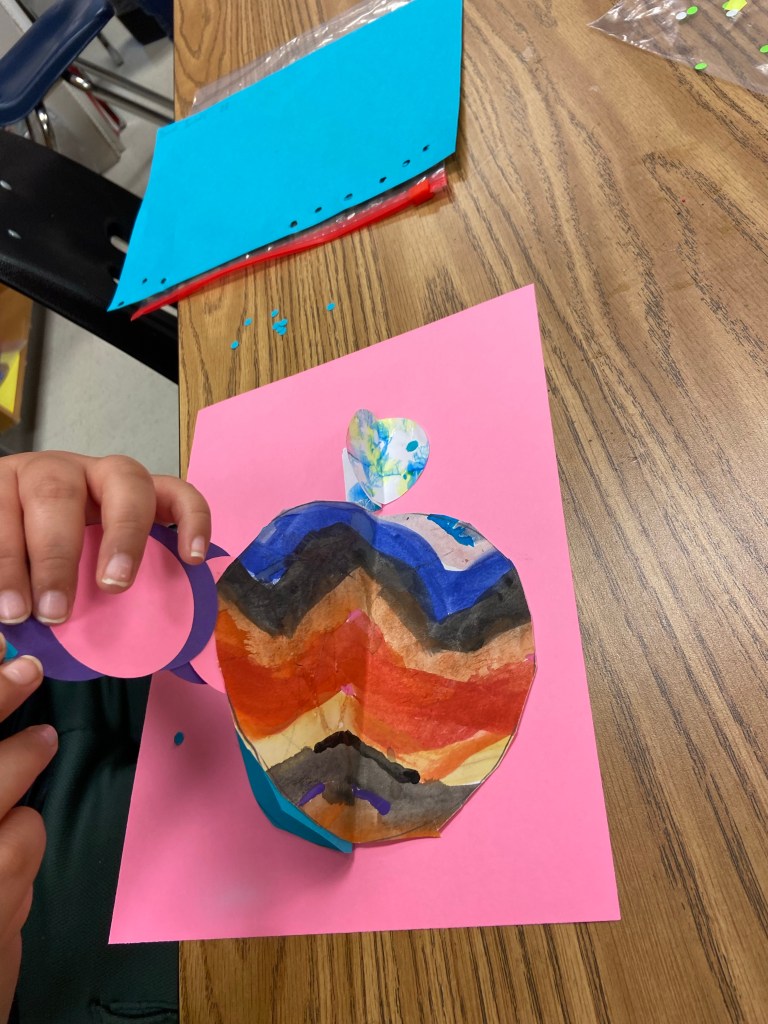
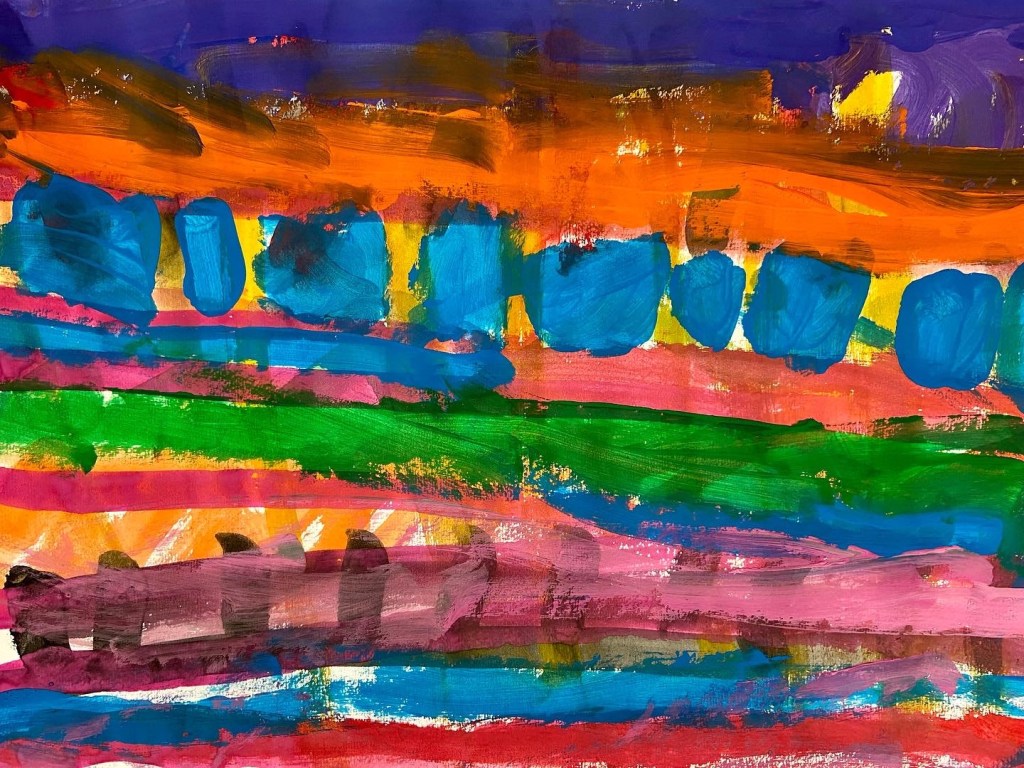
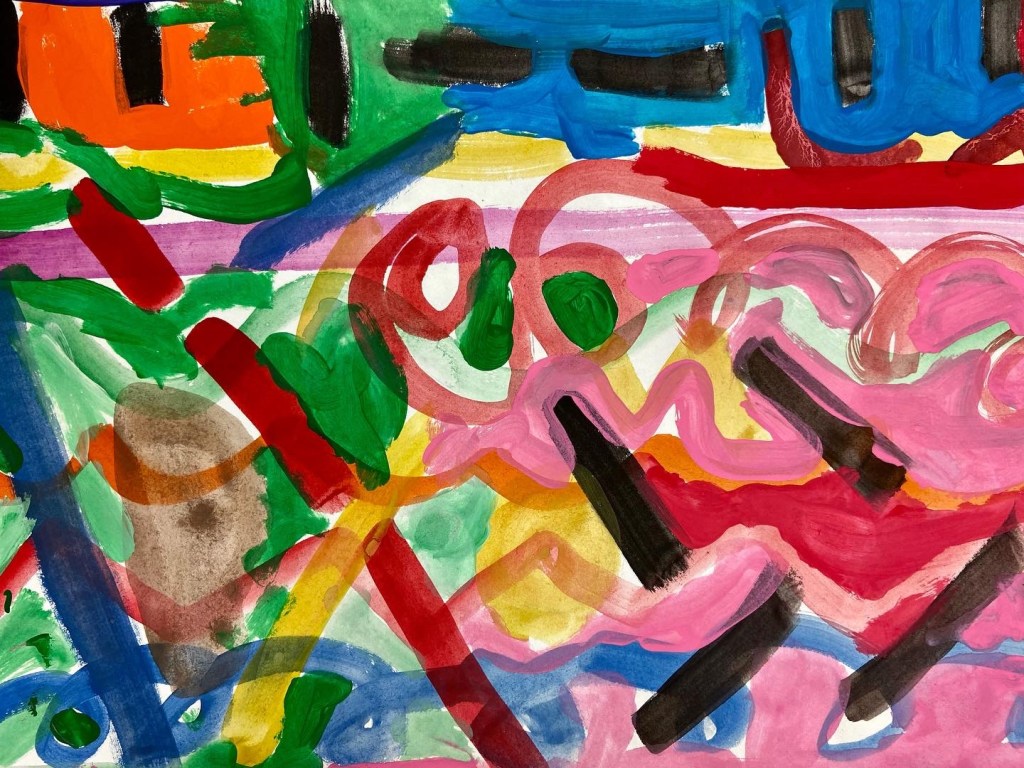
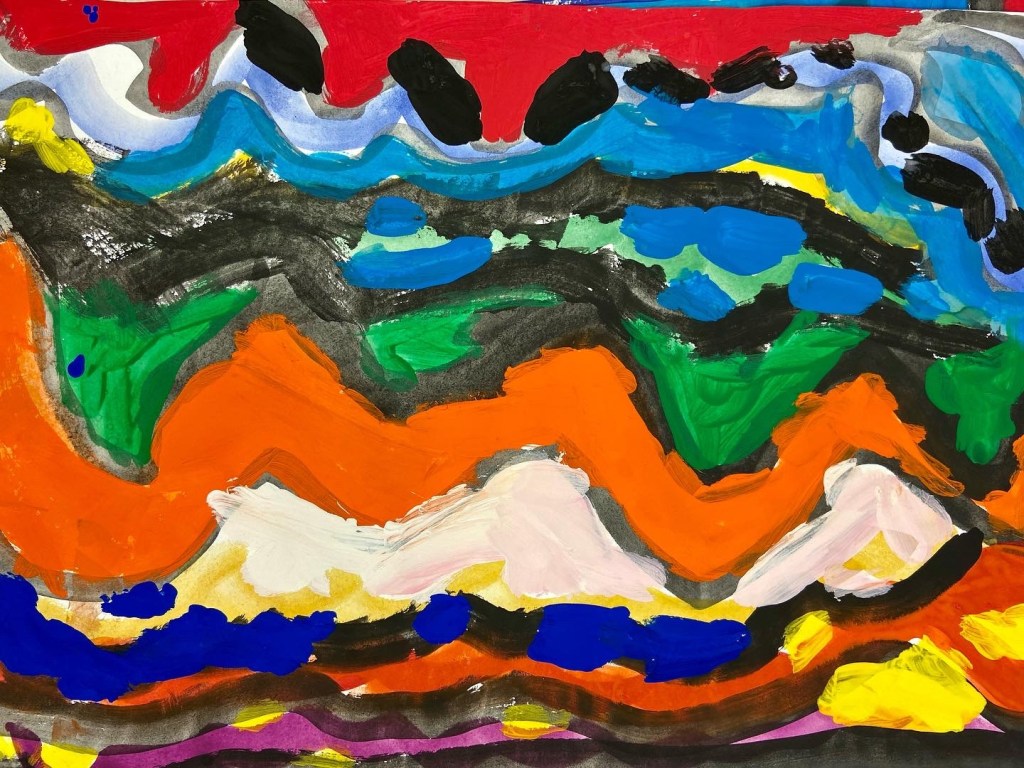
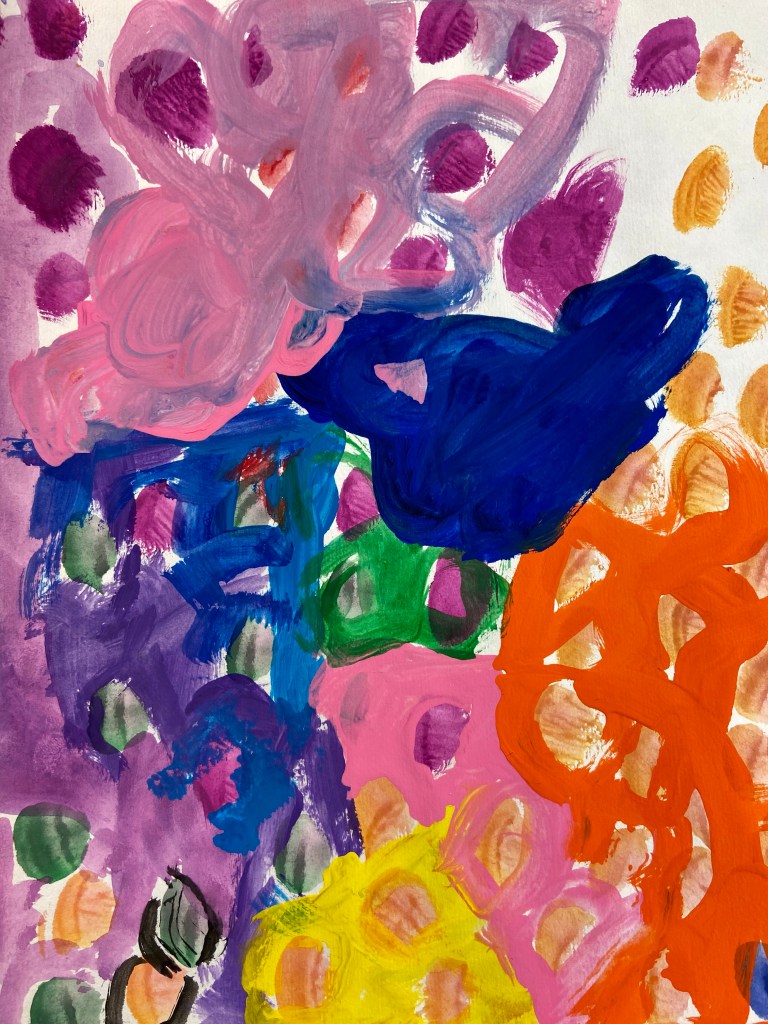
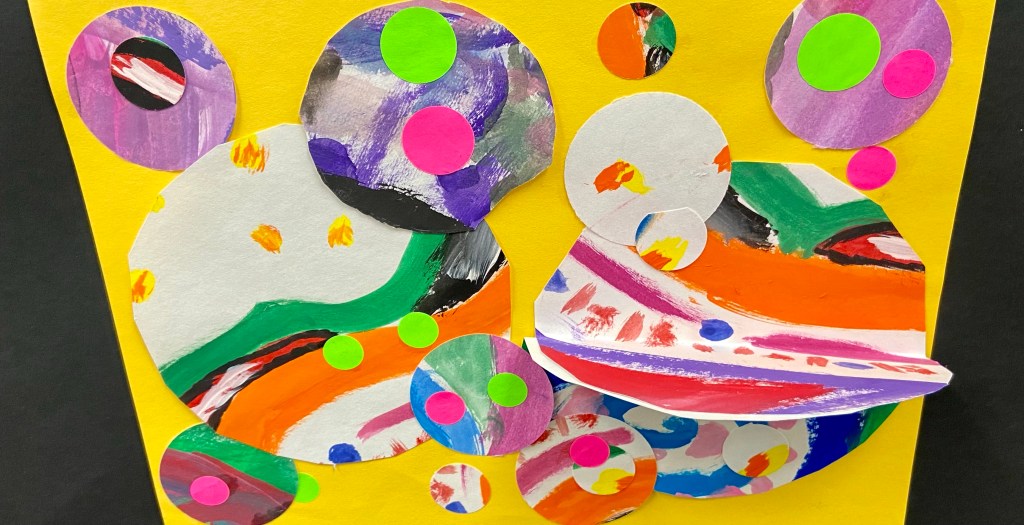
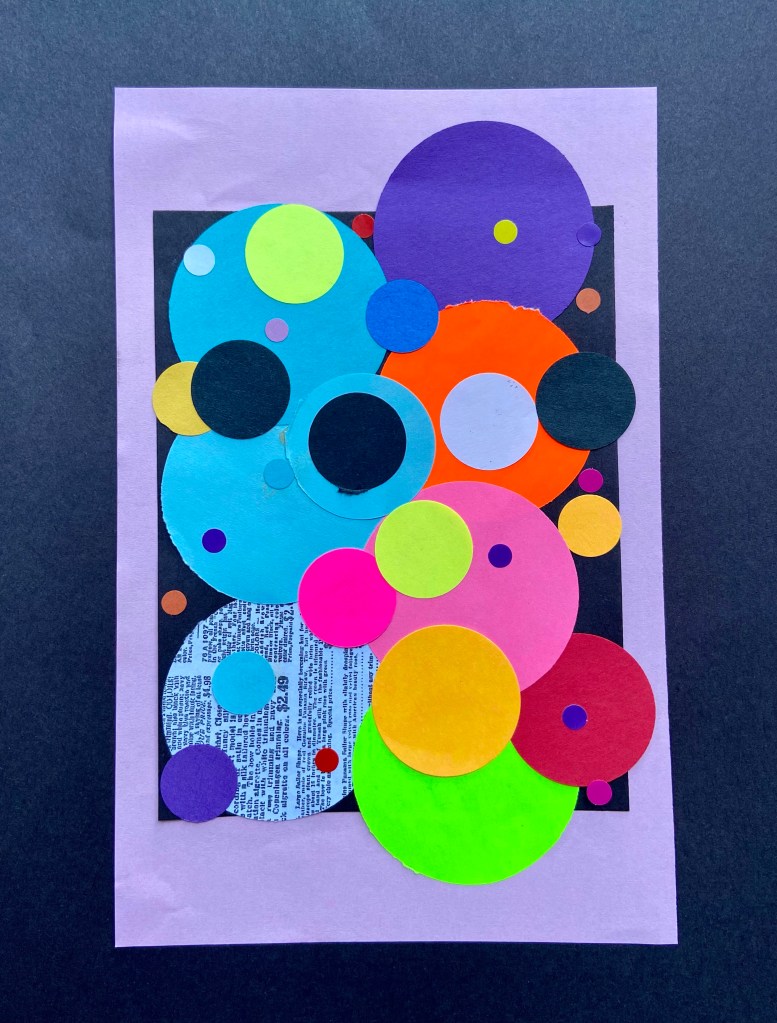
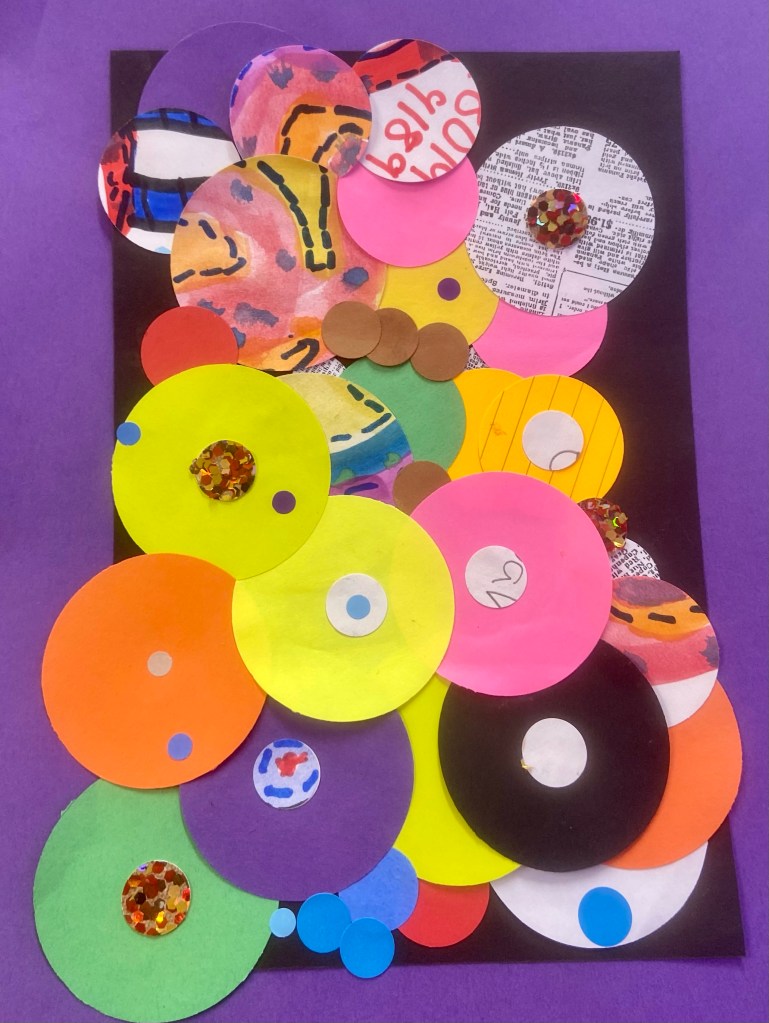
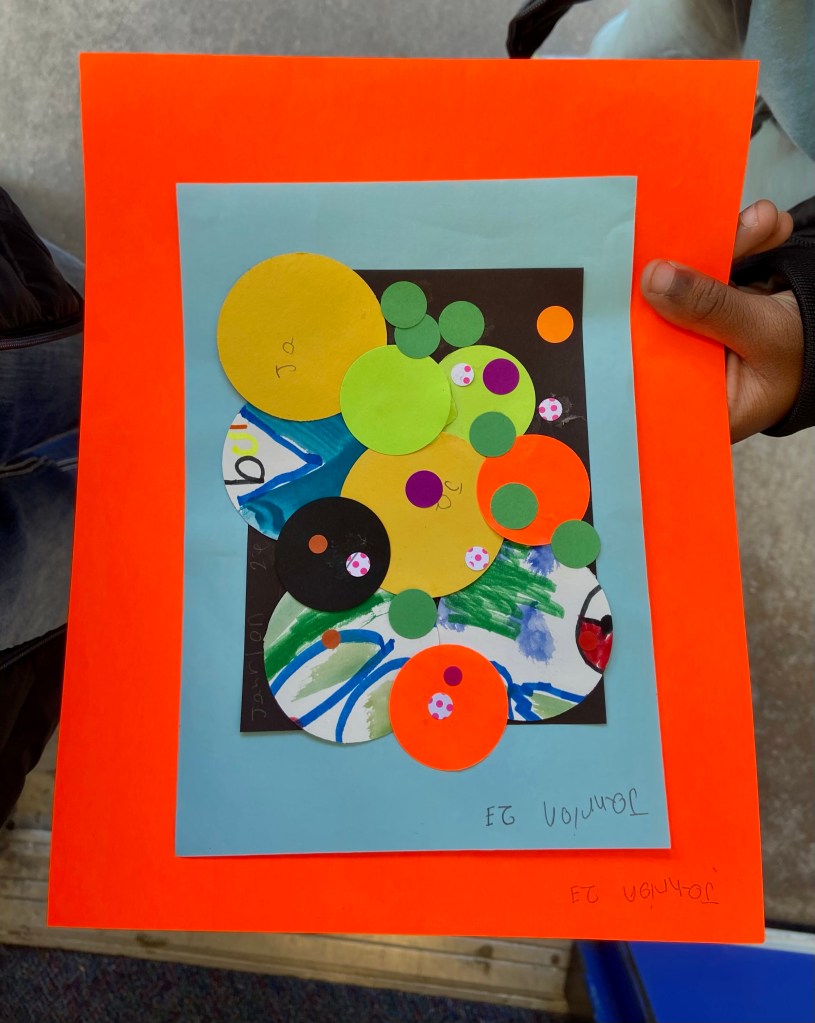
Then they painted large abstract paintings of their own, where they were challenged to include each type of line in their paintings.
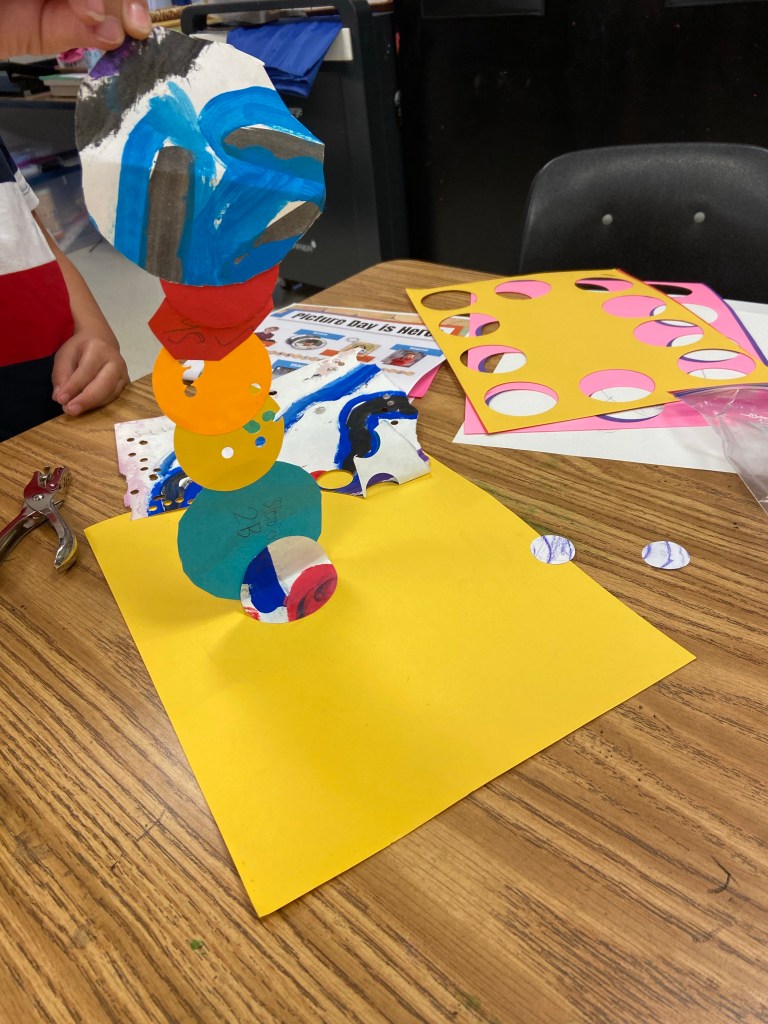
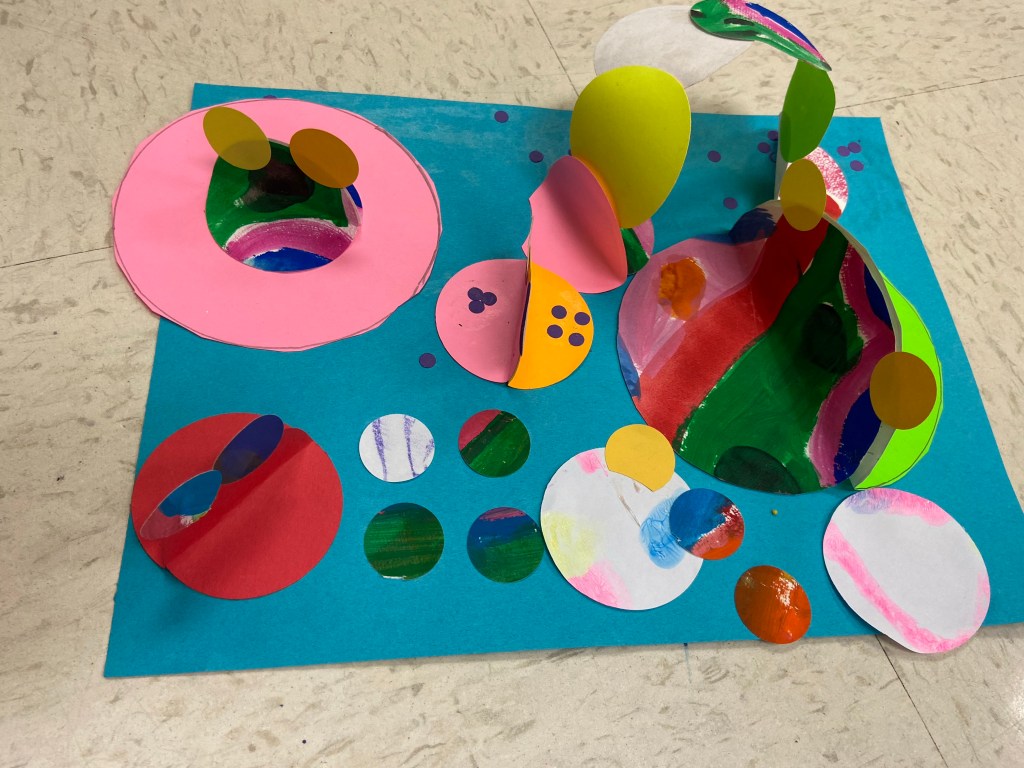
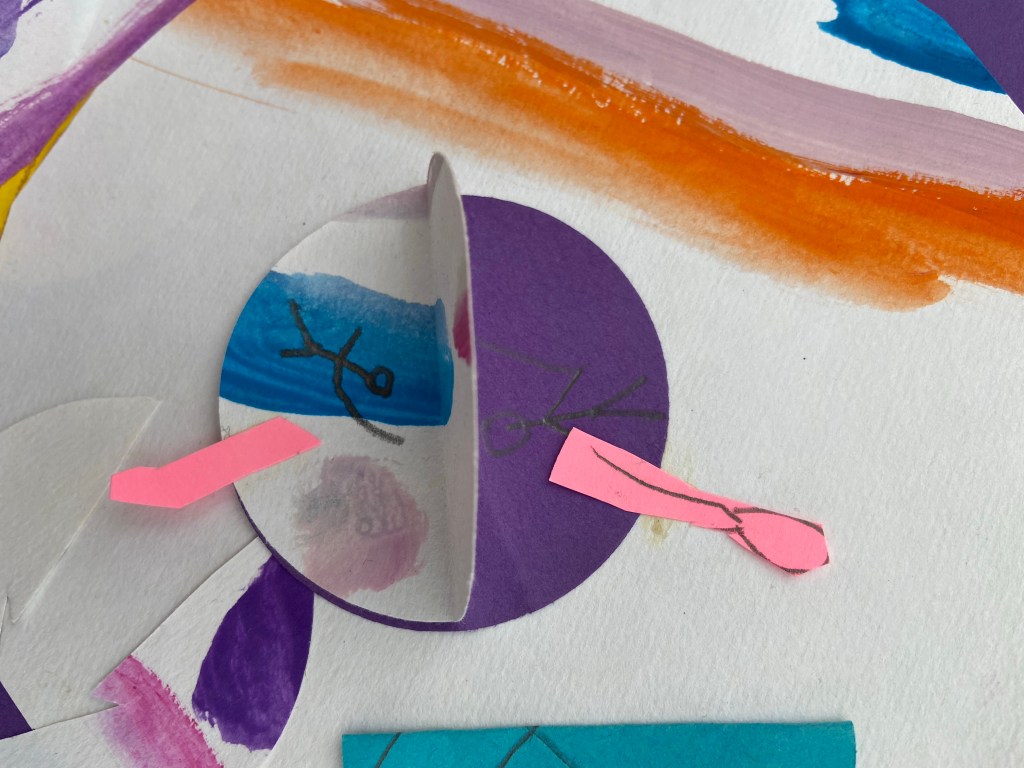
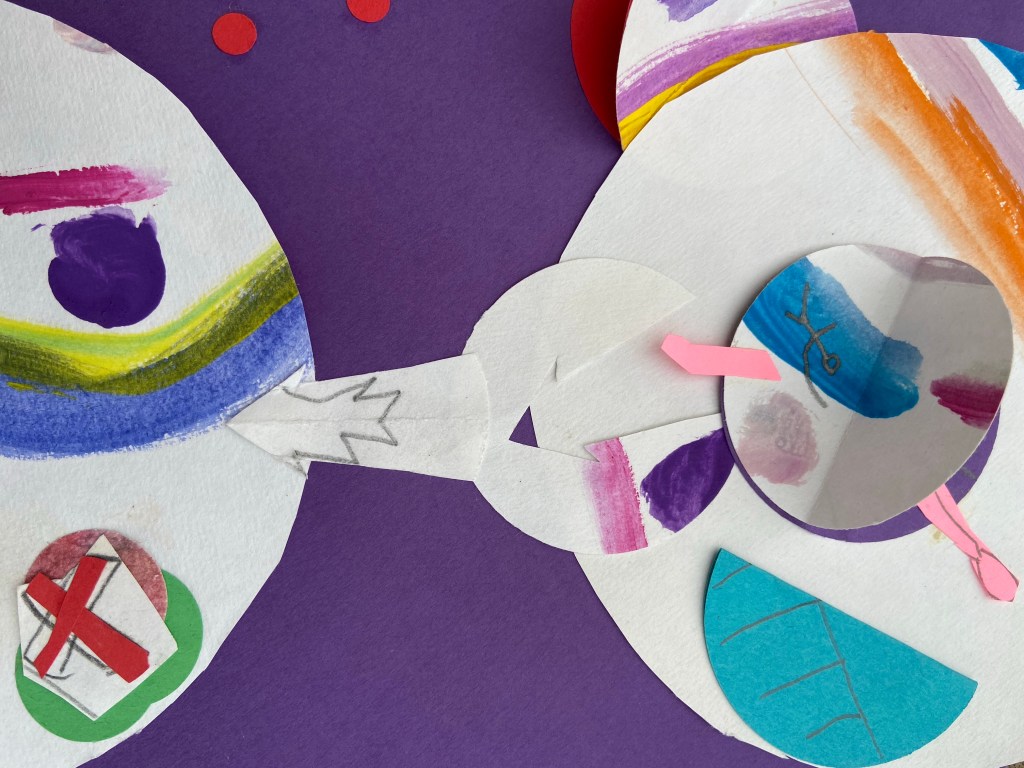
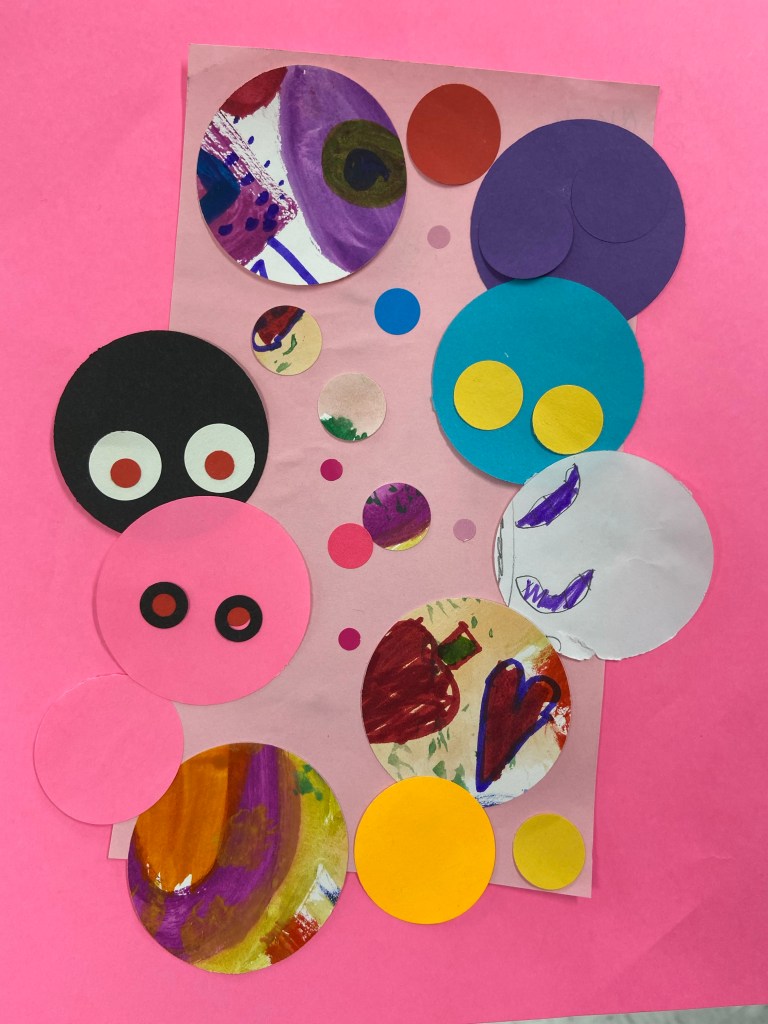
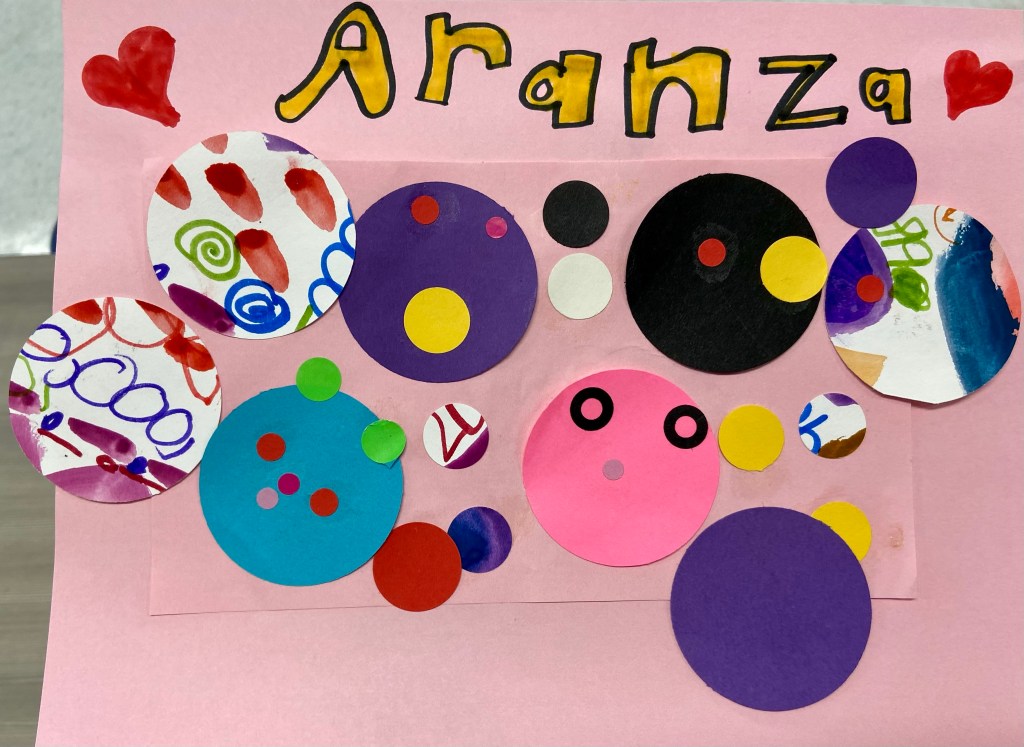
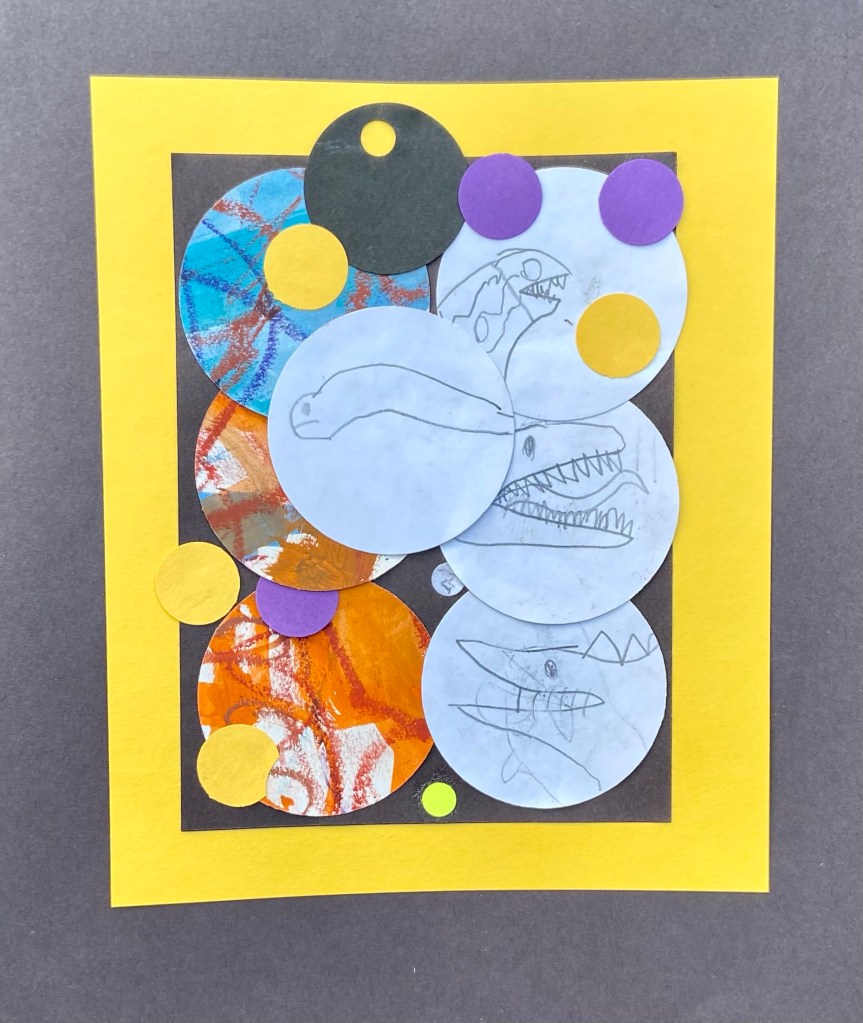
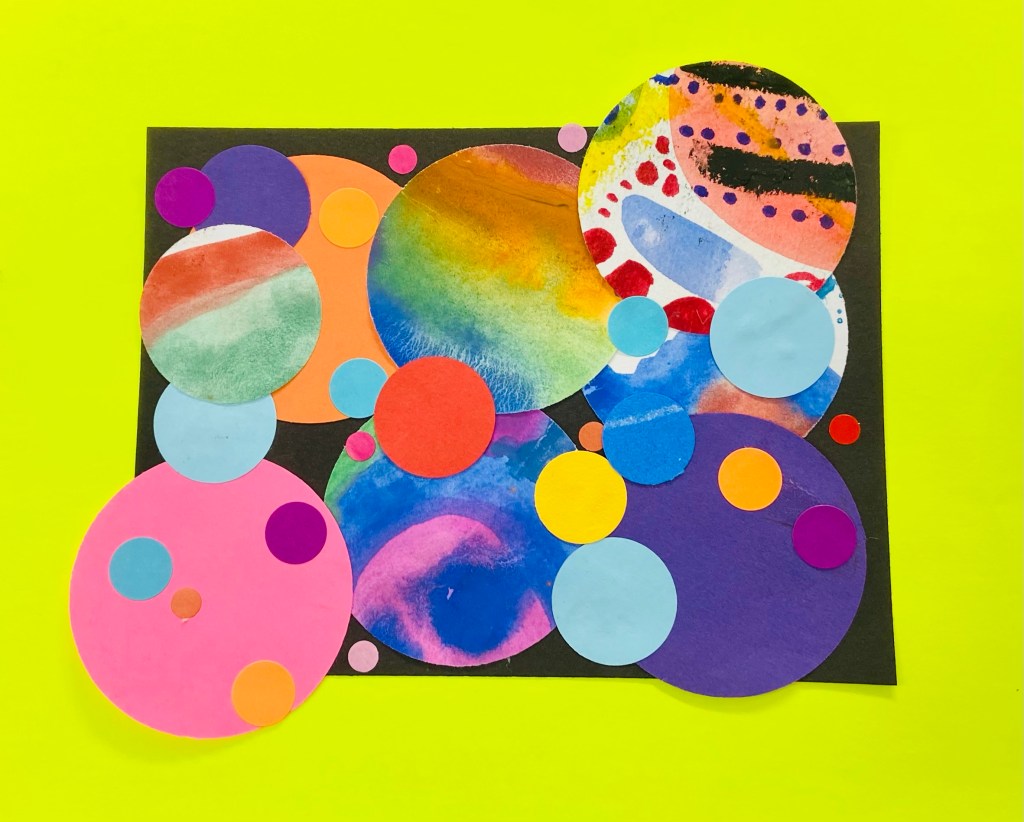
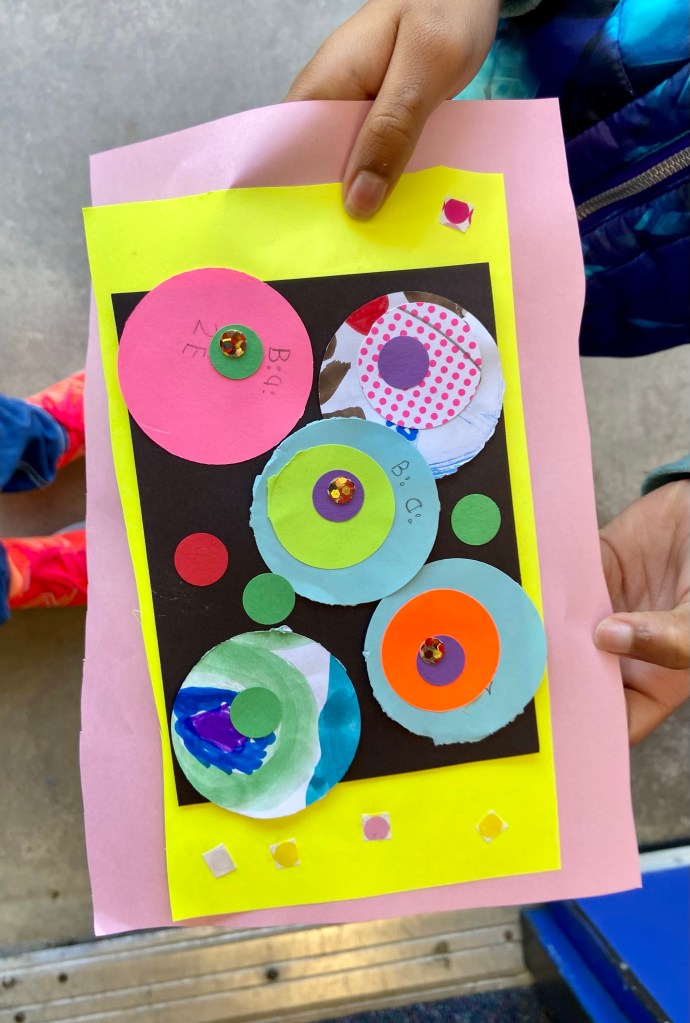
I liked how they learned new ways to join paper and ways to add a 3D element to their work if they chose to use it. I’ve wanted to go TAB in the art room, and this project introduced choice.

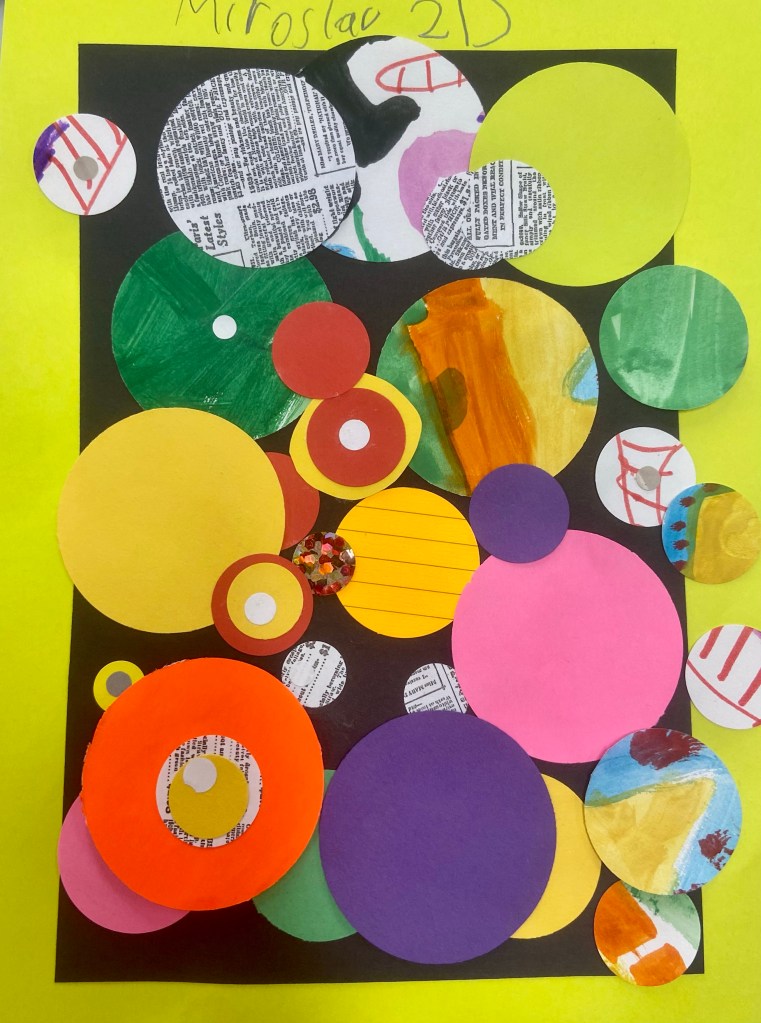
This was one on the most continually engaging projects we’ve done for a while. From painting original abstract compositions to punching their own paper with a hole punch (they loved that part!) to arranging their own compositions with the art in a variety of circle forms, this project kept up their interest throughout the stages of it.
I learned by teaching this the 1st time that our paper sizes for the abstract painting and the base for gluing the circles on both need to be smaller. I’ll make that change next time.
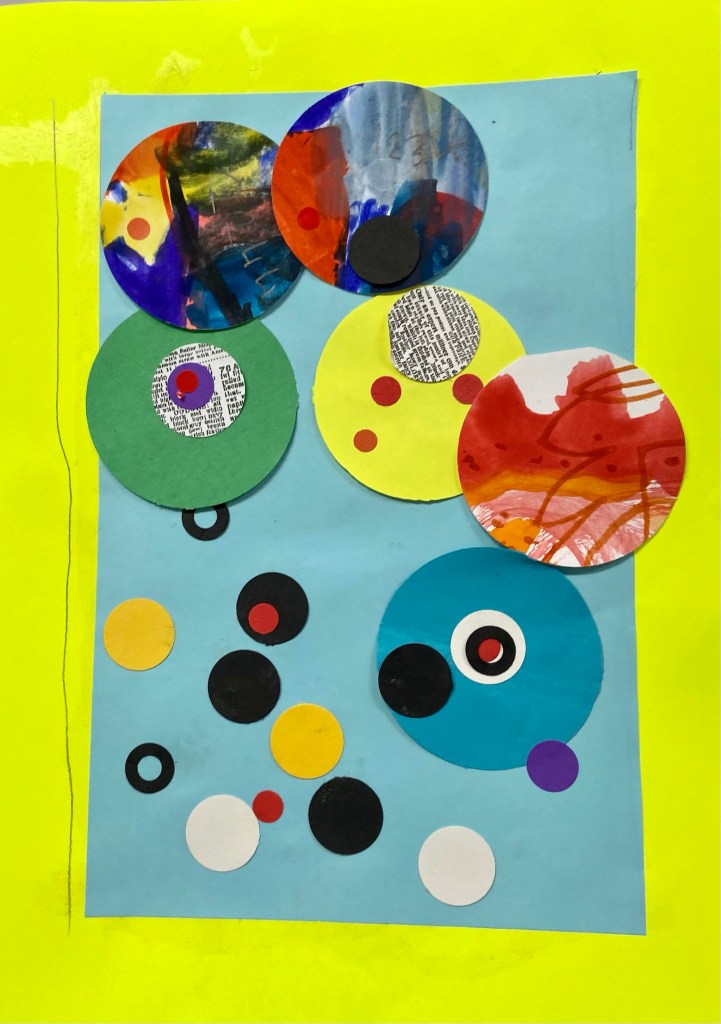
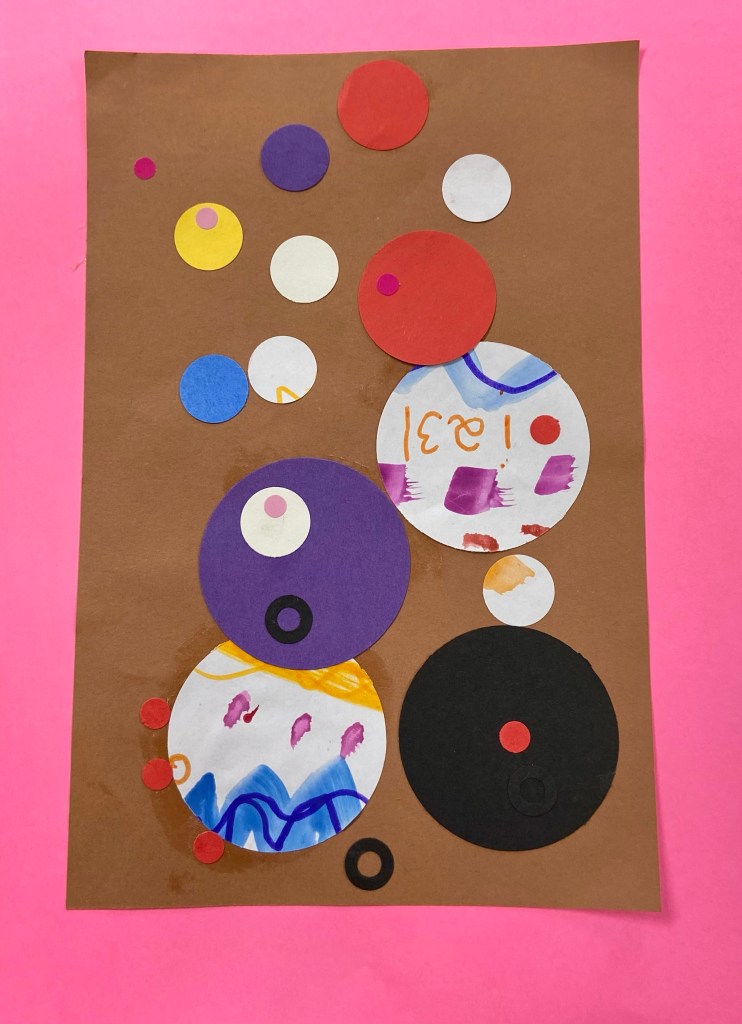
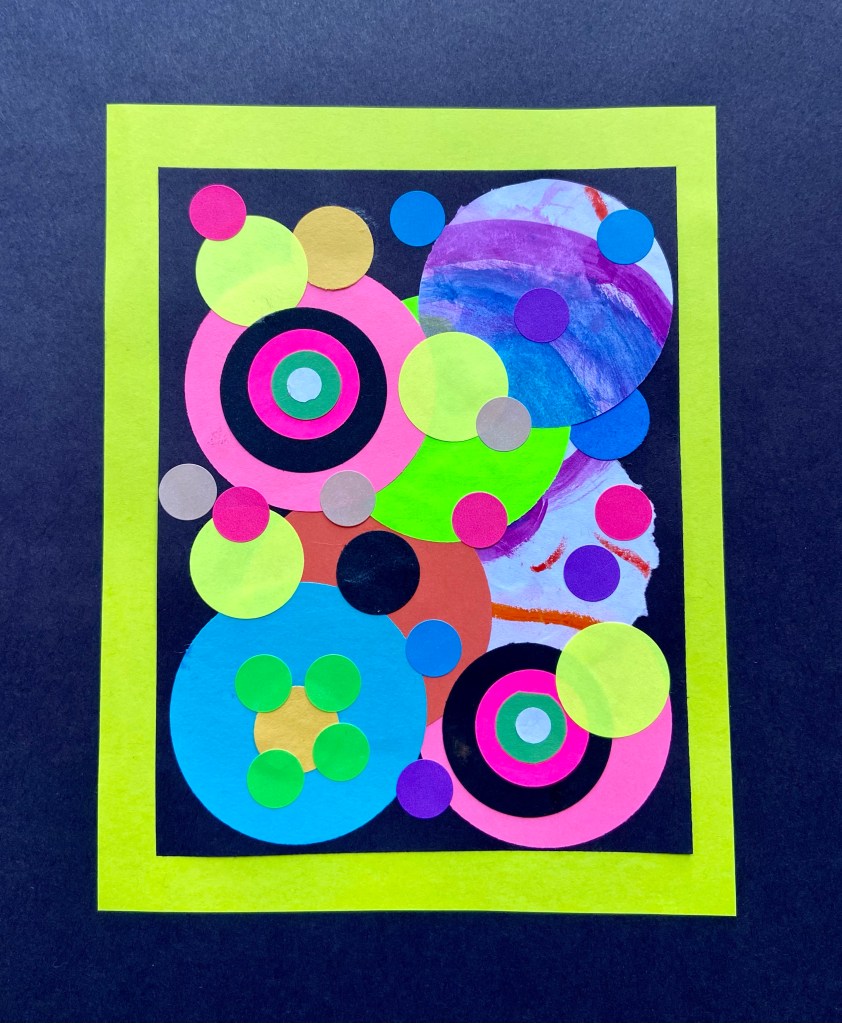

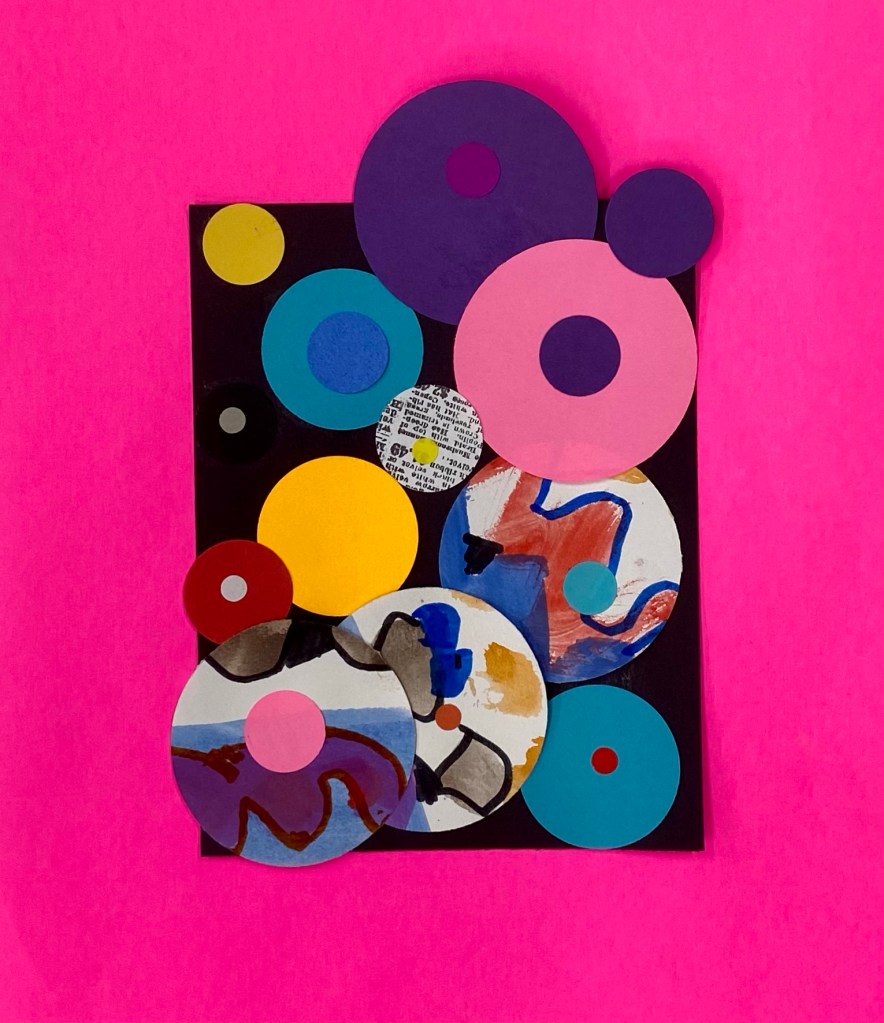

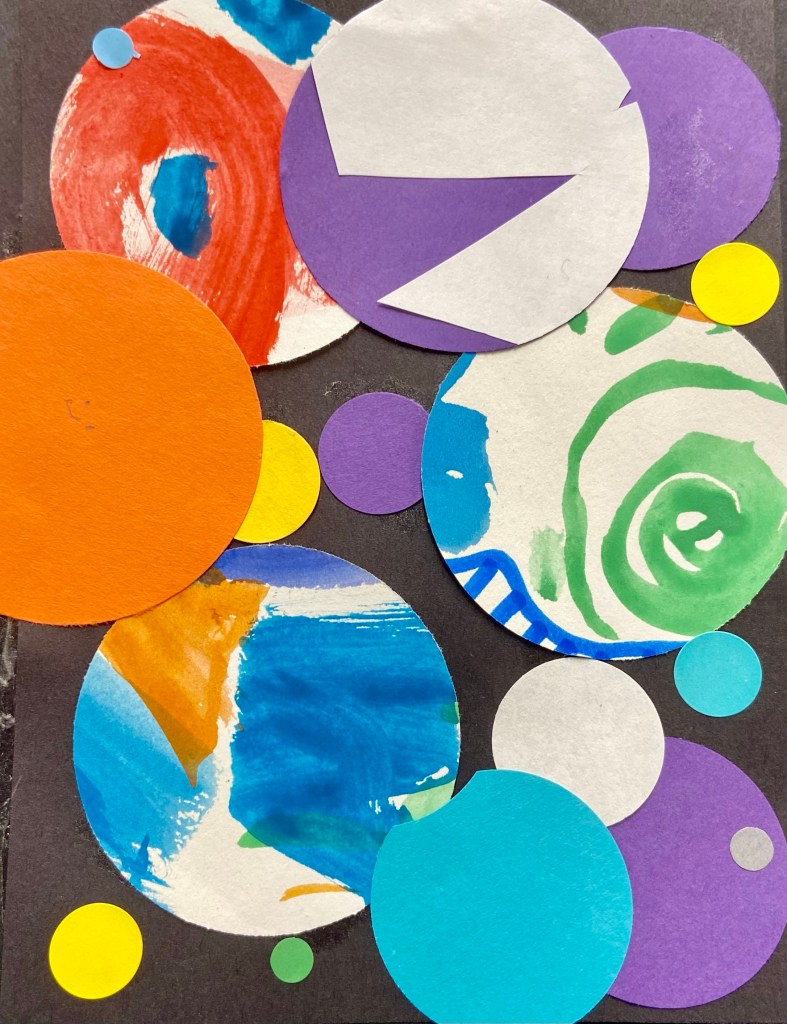
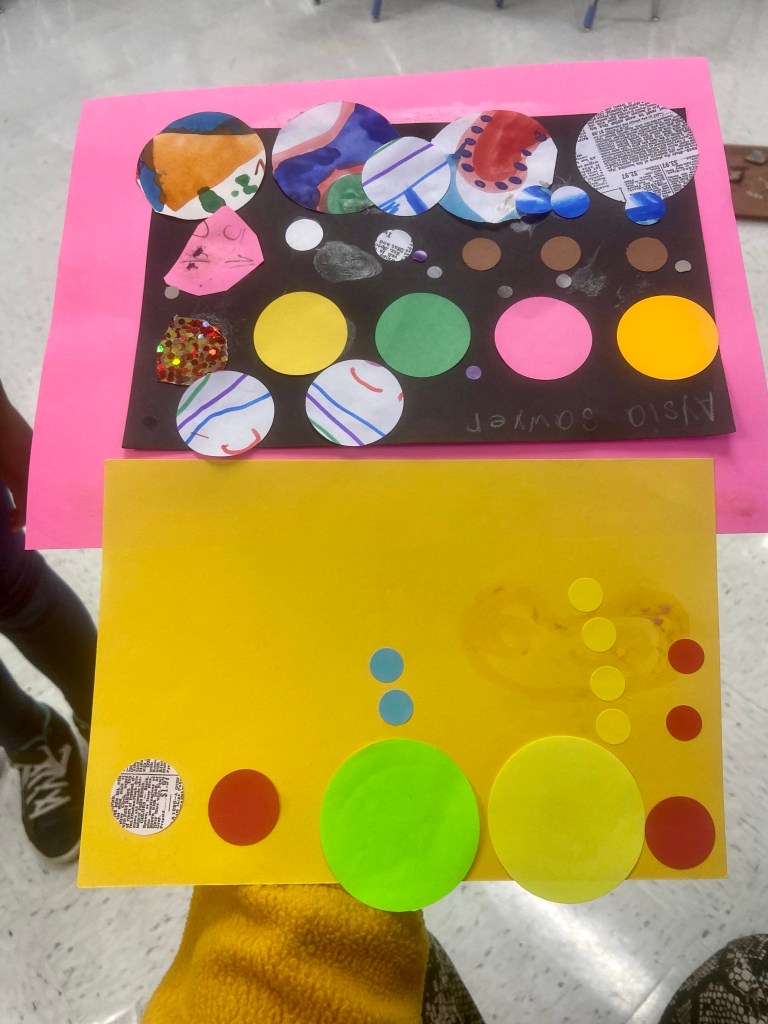
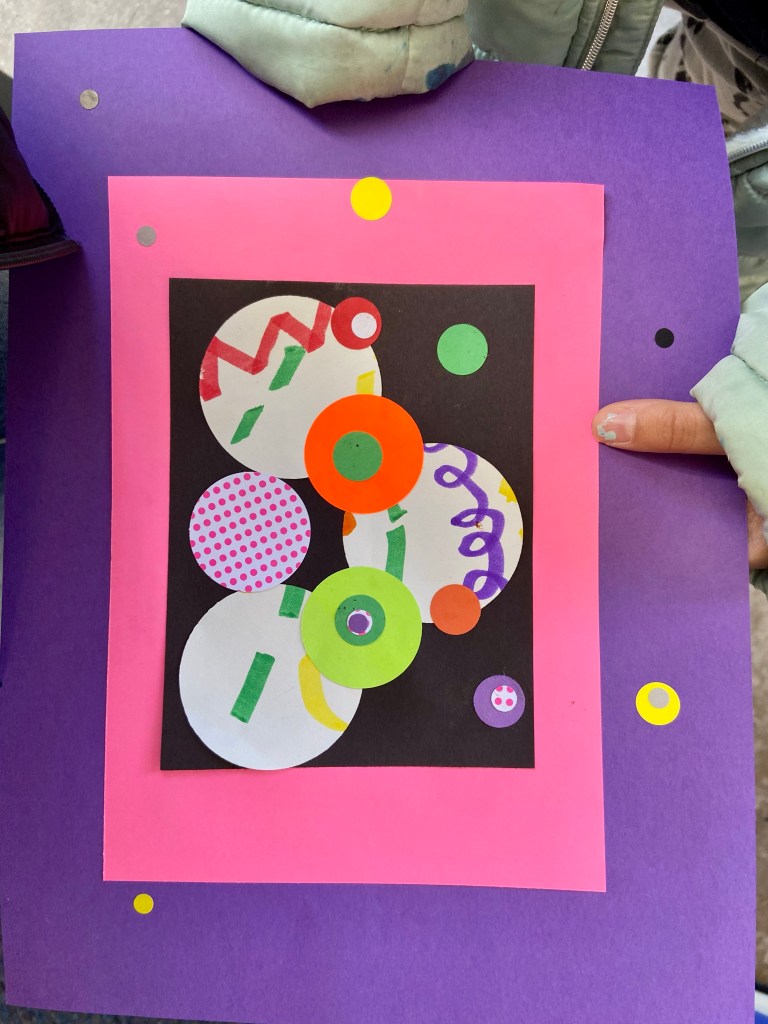
Here are some of their original abstract paintings before we cut them into circles.