
Want a project with 3 distinct engaging steps that incorporates action art plus art history action that preps the kids for seeing the Dale Chihuly art at the DMA in 4th grade? Here ya go! I so appreciate the Kids Fine Lines blog for posting this lesson that inspired many of my art classes to make these.
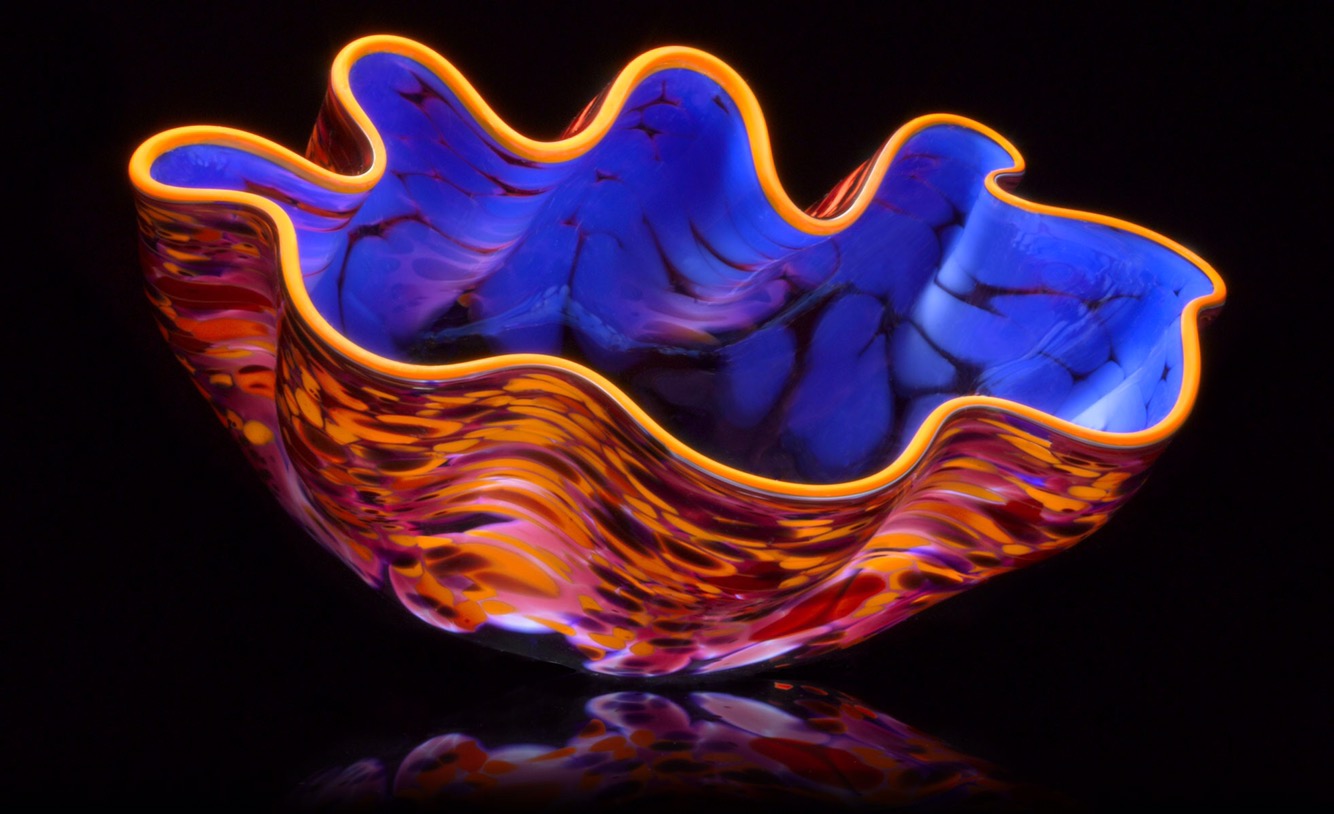
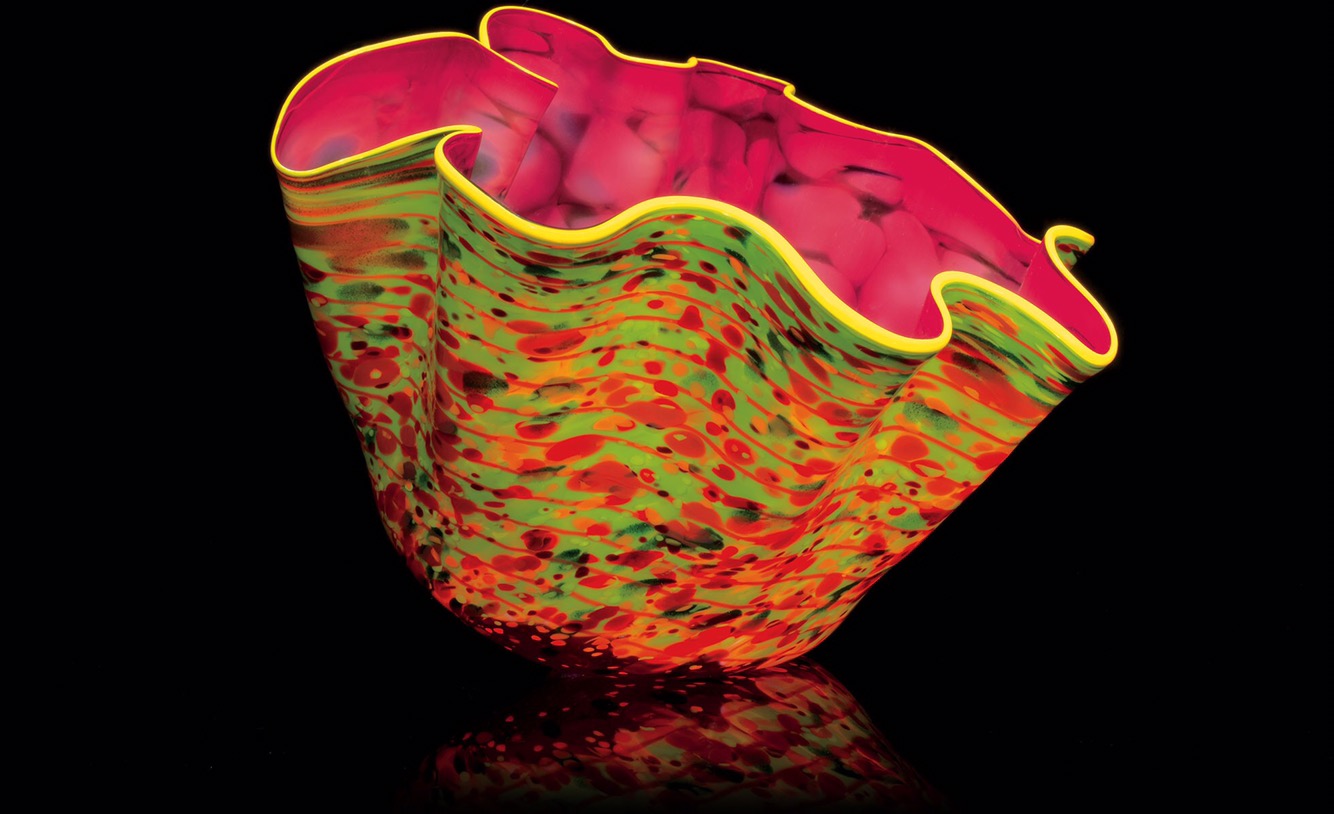
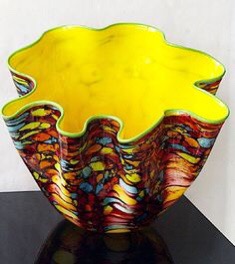
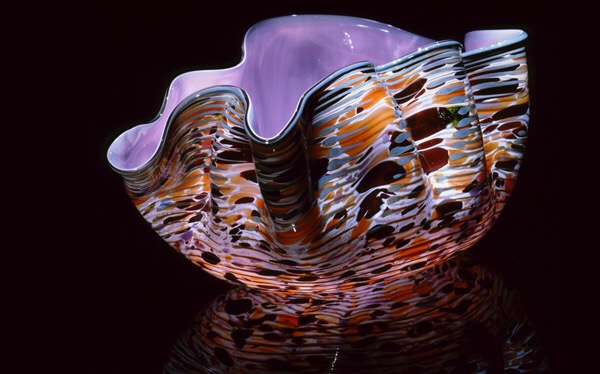
This is a workhorse of an art project that the artists in other grade levels ask about. We start our intro looking at Dale Chihuly’s Macchias on the SmartBoard. I call on some students to share which their favorites are, and we compare and contrast them.
We then watch a dated but still awesome video clip called Gathers and Folds. This shows the students a lot about the art of glassblowing as seen through Dale Chihuly and his team of glassblowers. This clip answers many questions about the technical side of glassblowing.
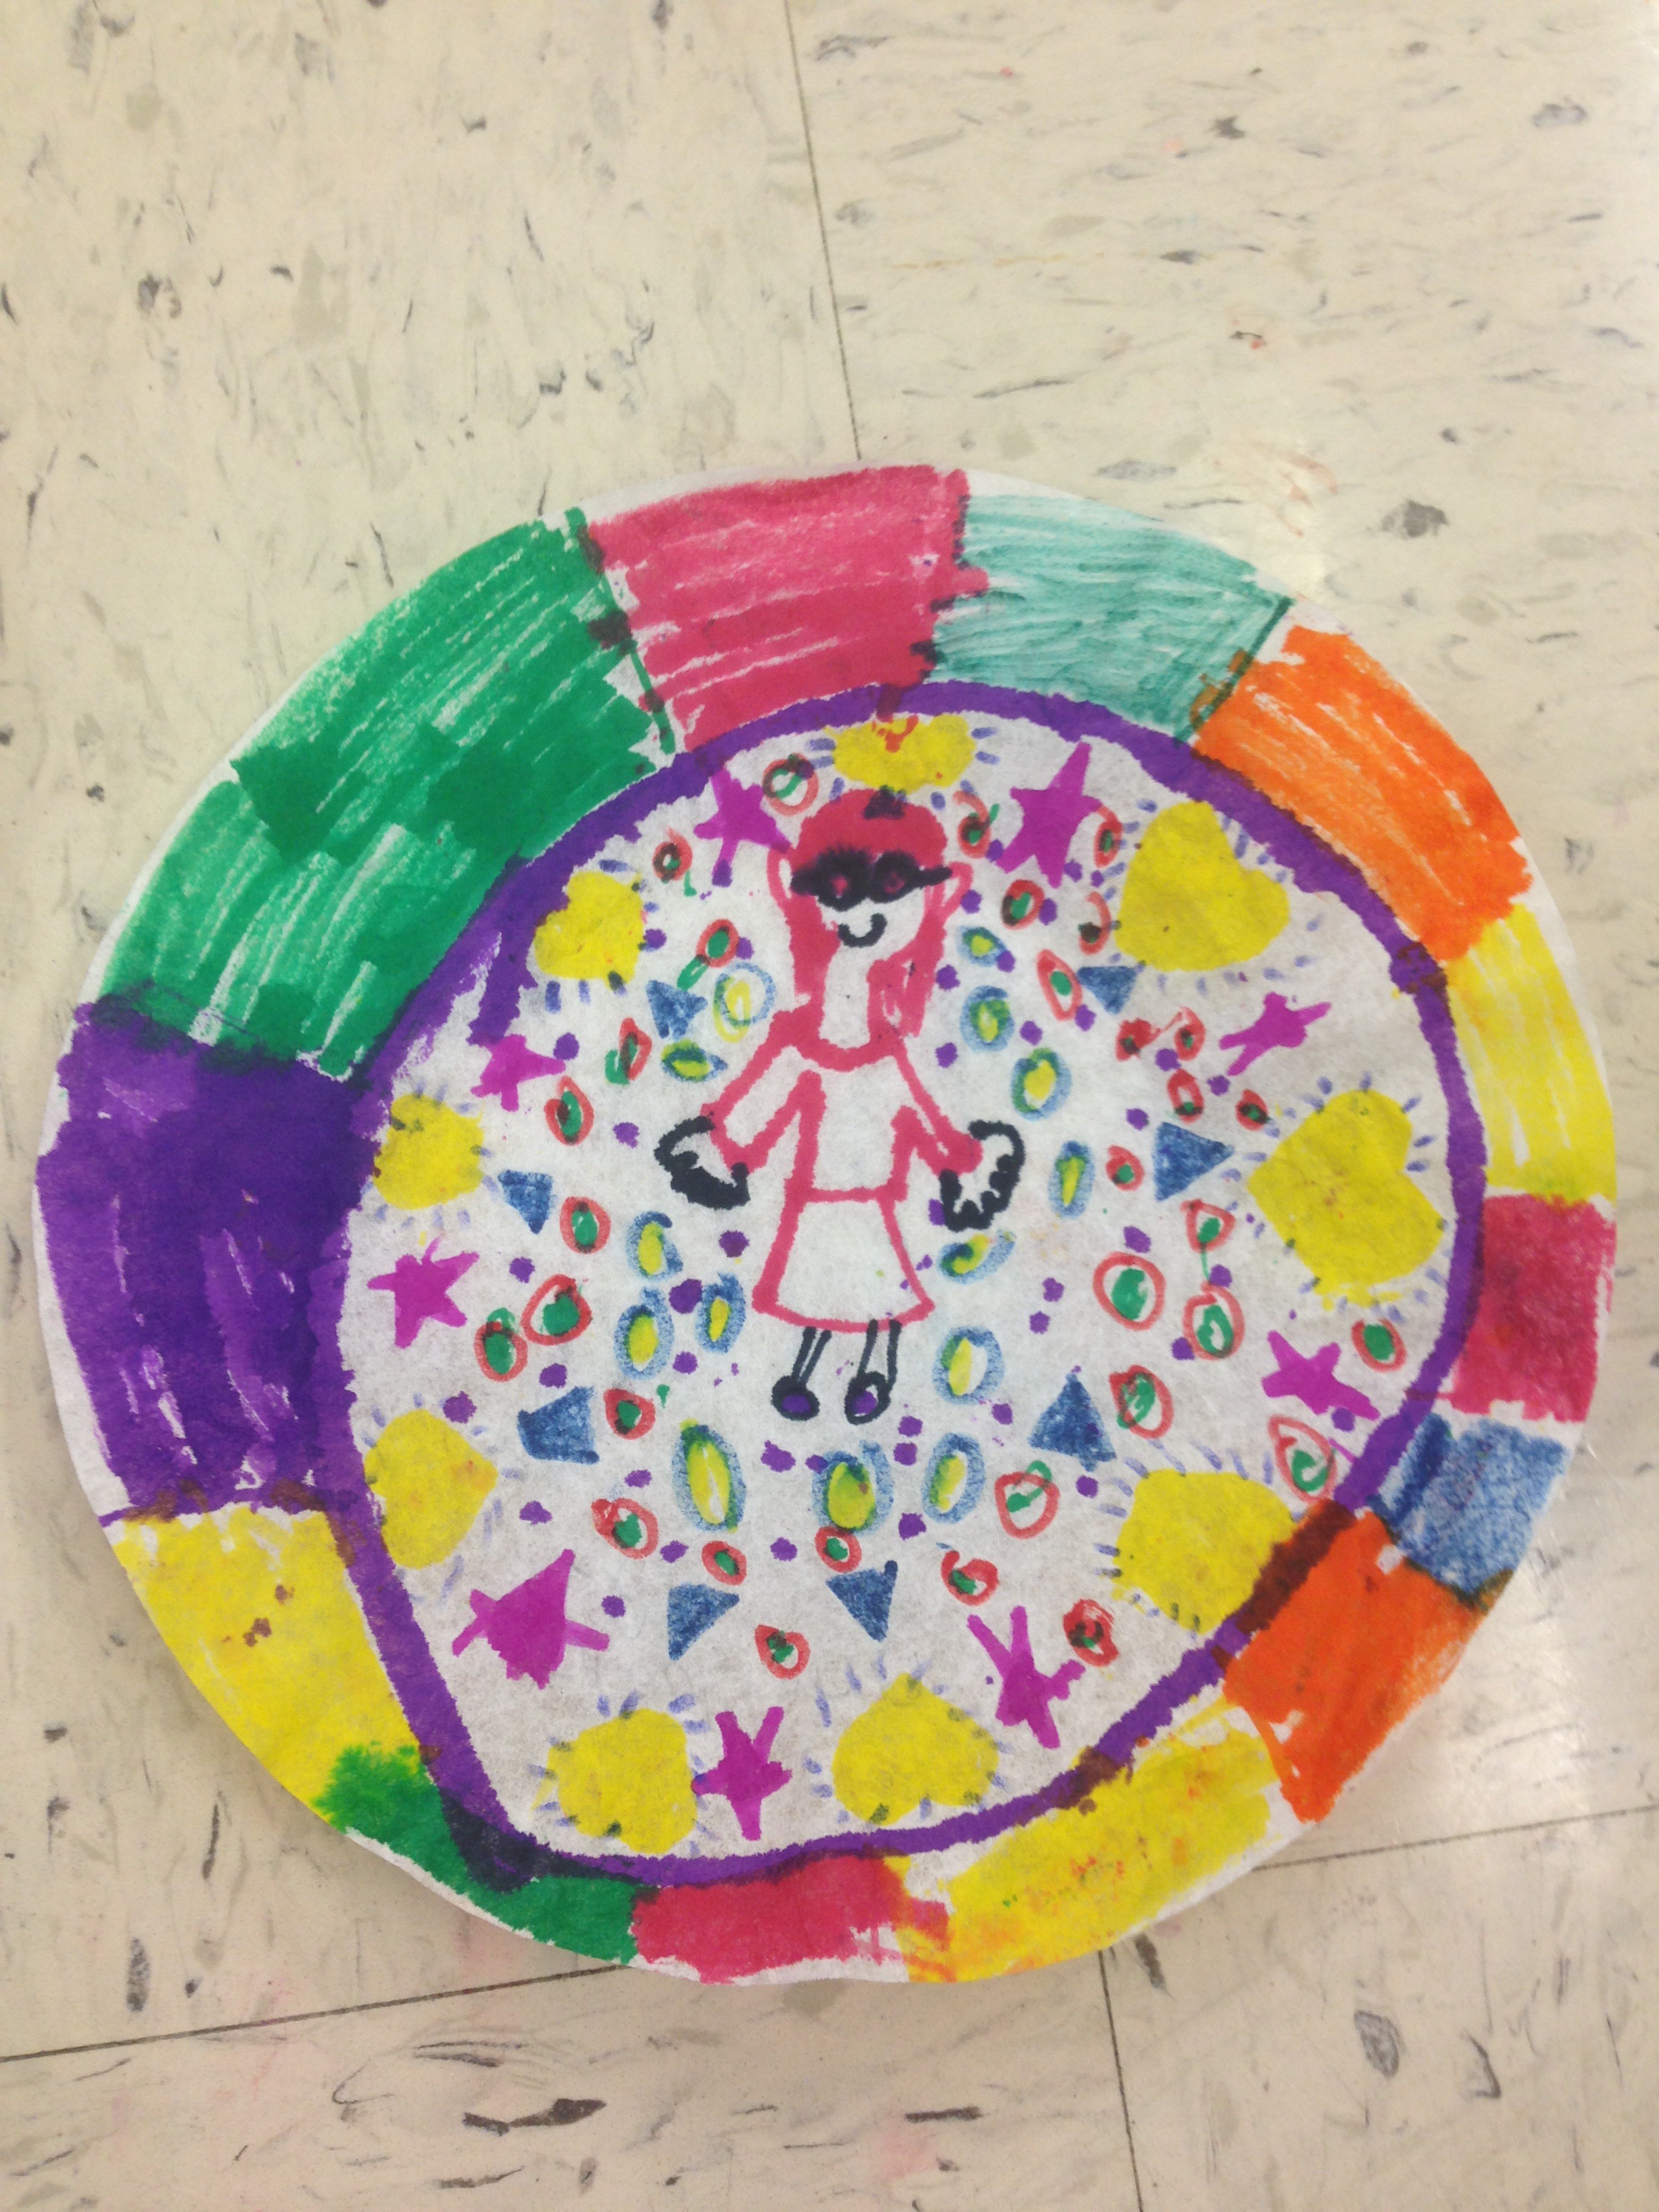
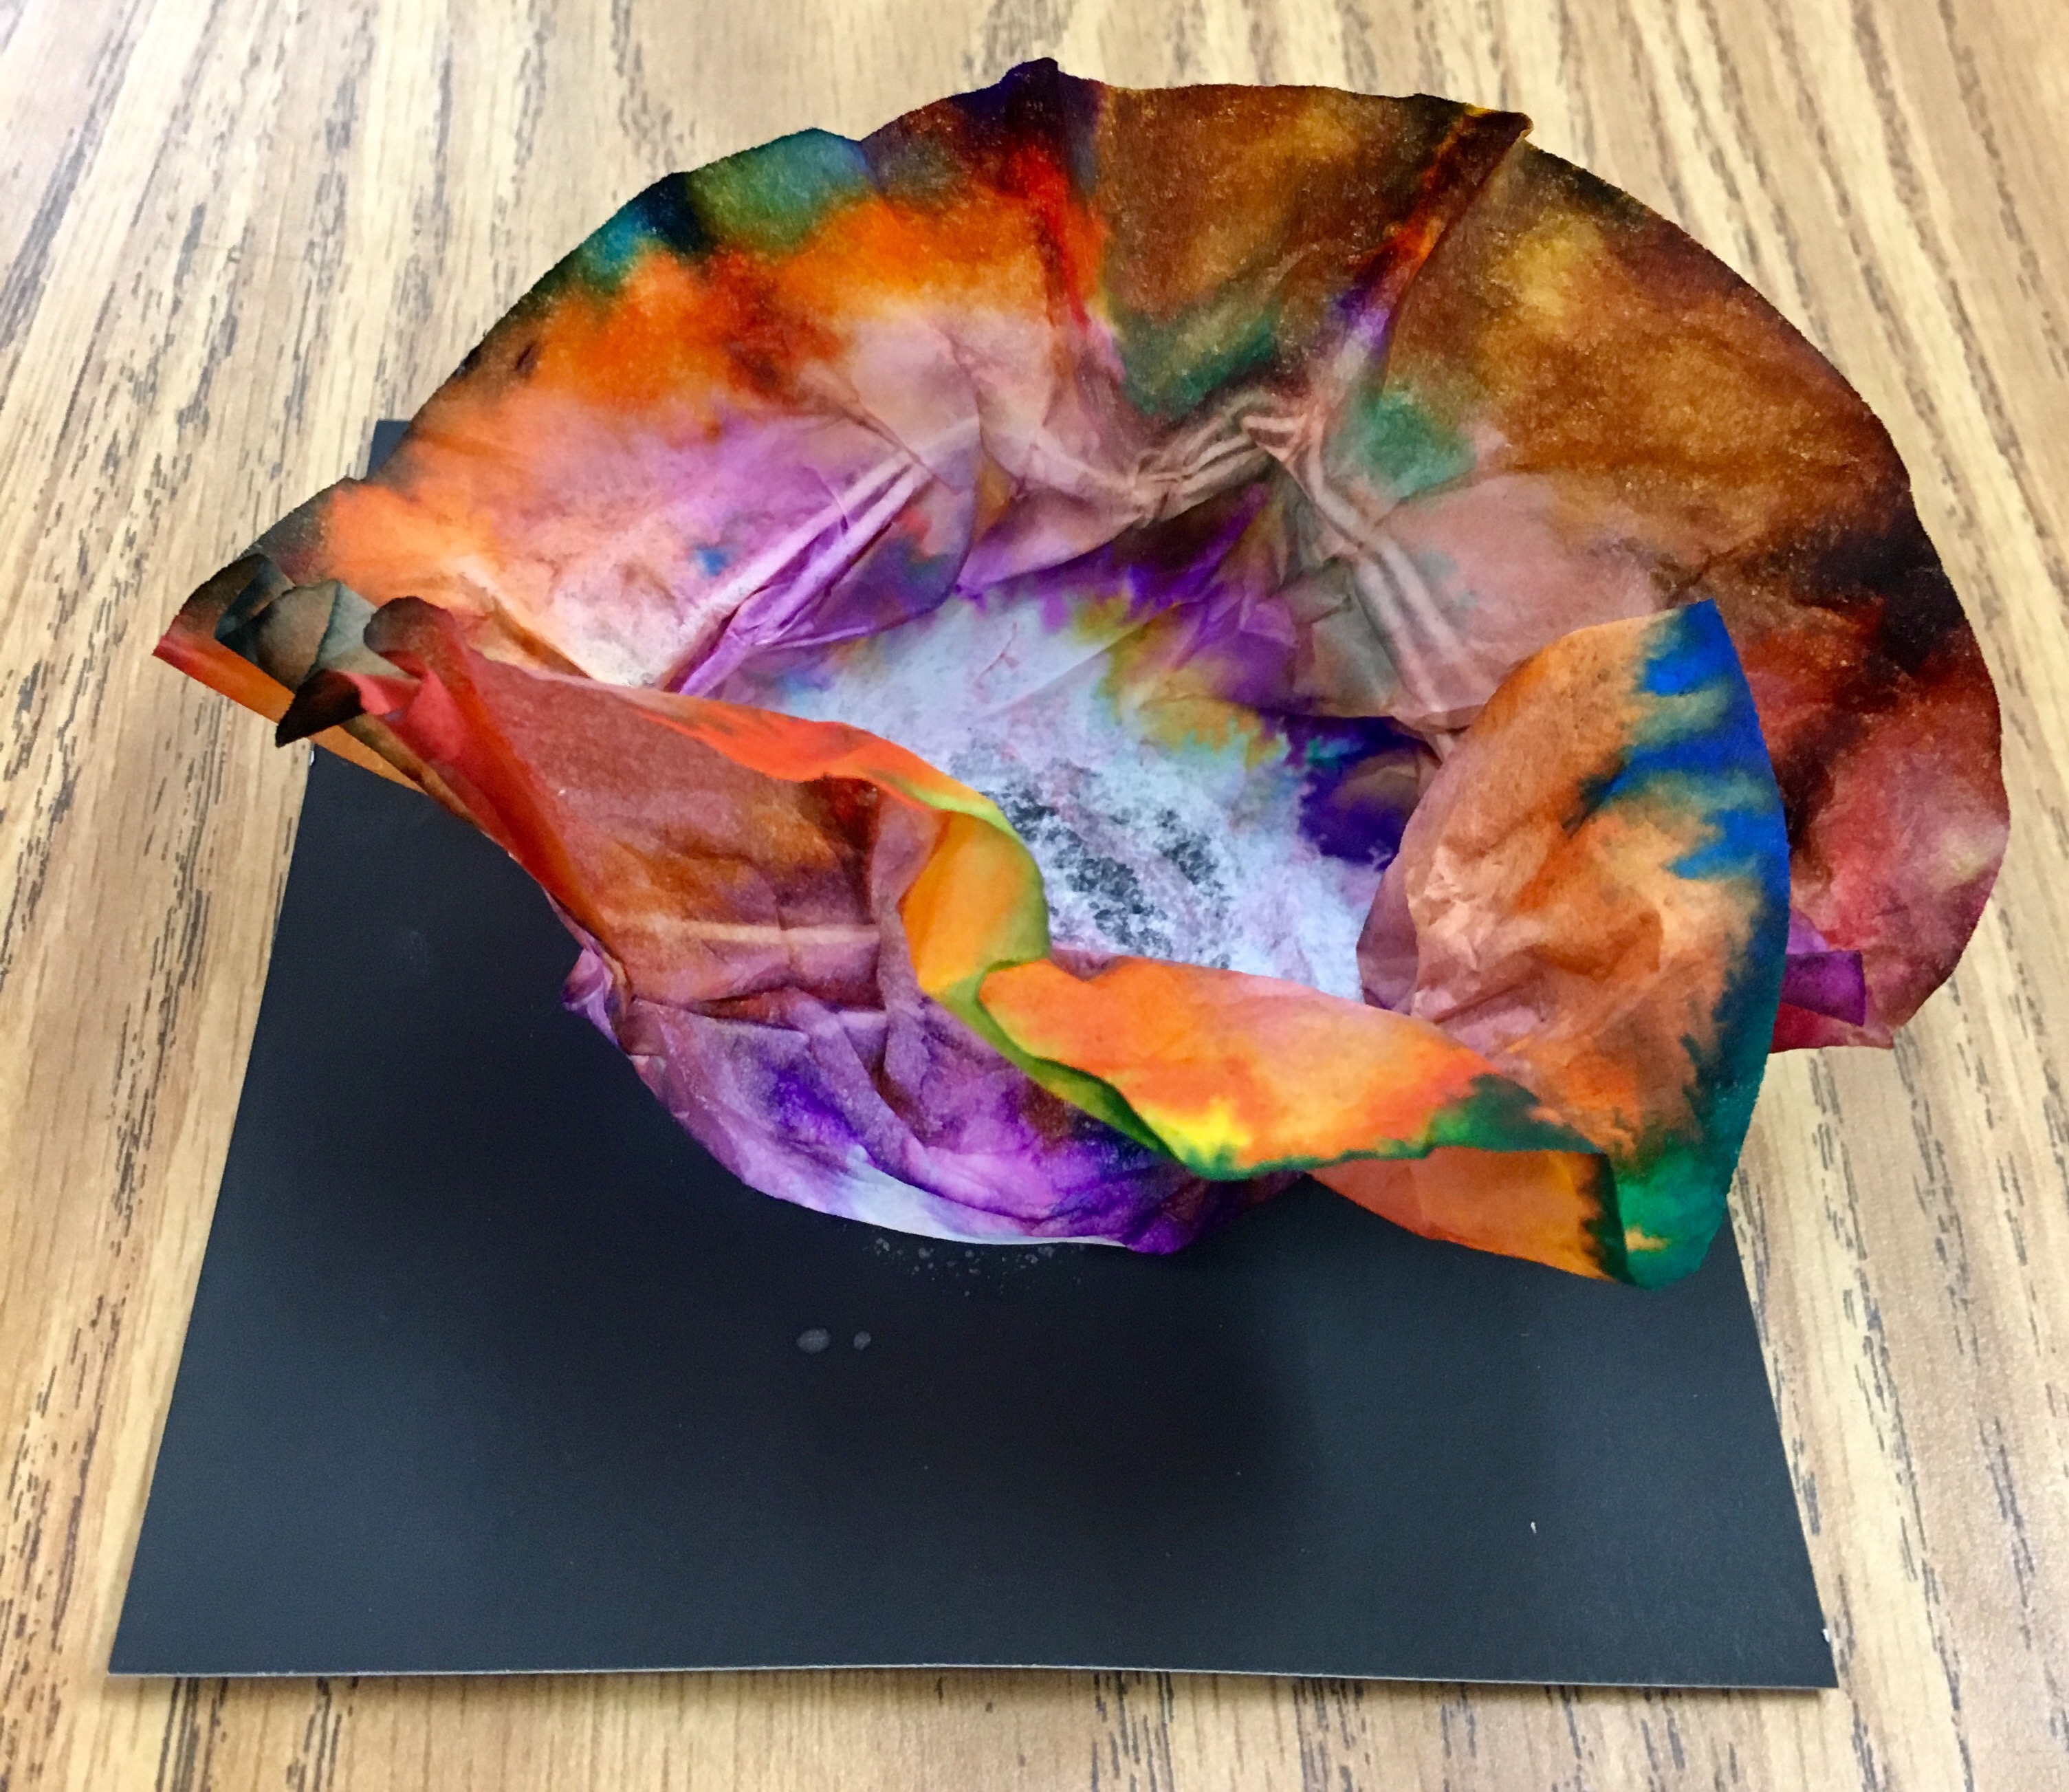
We watch and discuss an Artrageous with Nate animated video clip that takes us through Dale Chihuly’s early years through the present. Then I demo how to fill the coffee filter with marker drawings (at least 10 colors of markers, patterns, a bright outer border, different shapes and types of lines making a beautiful composition.)
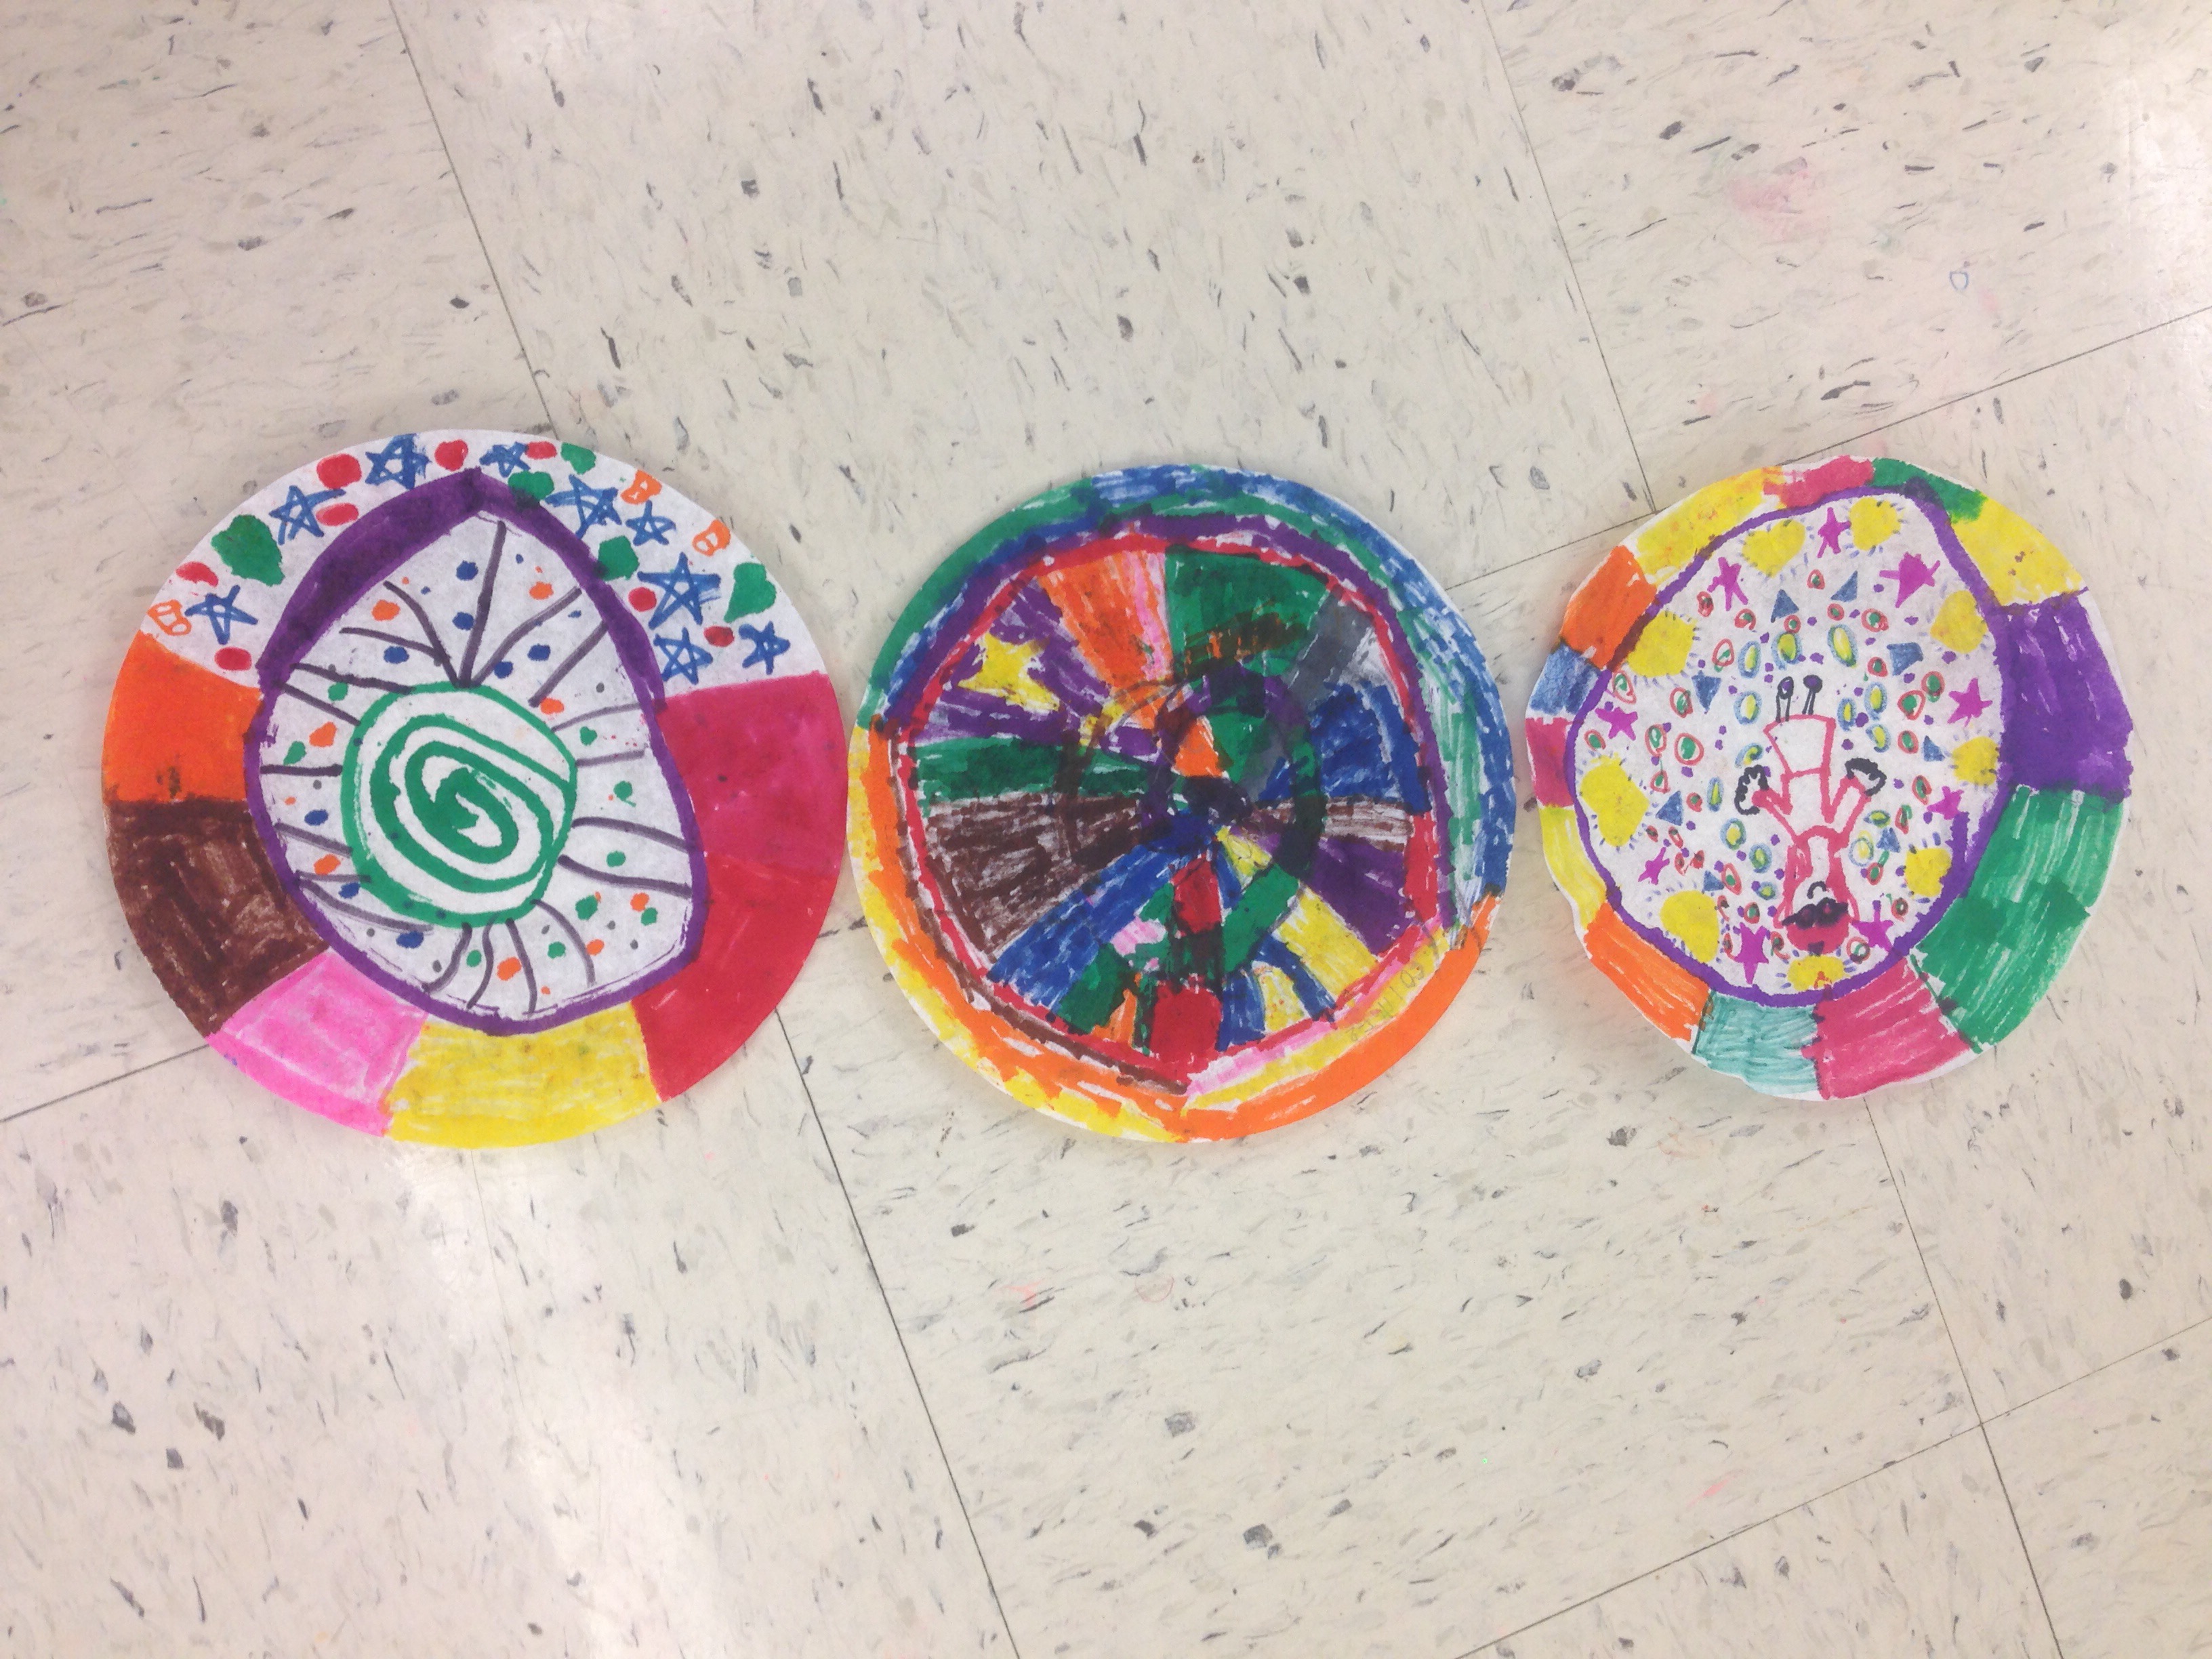
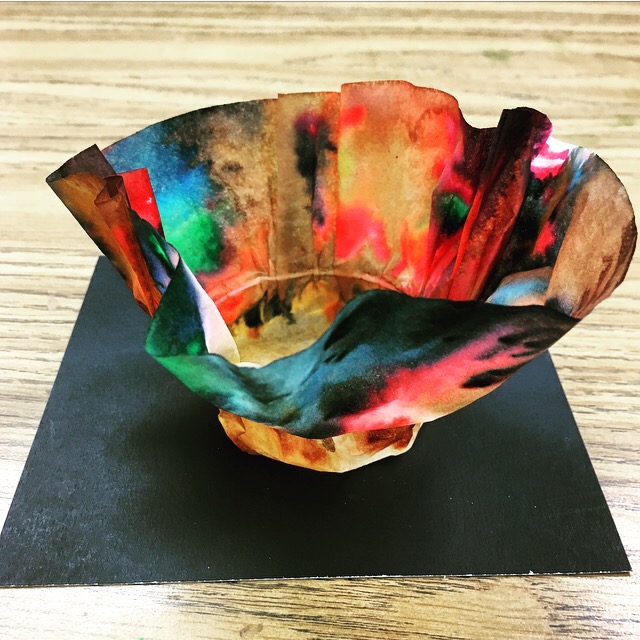
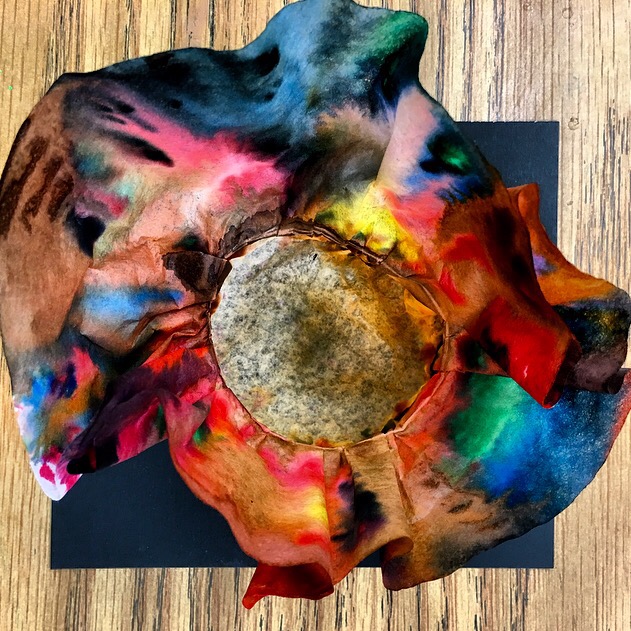
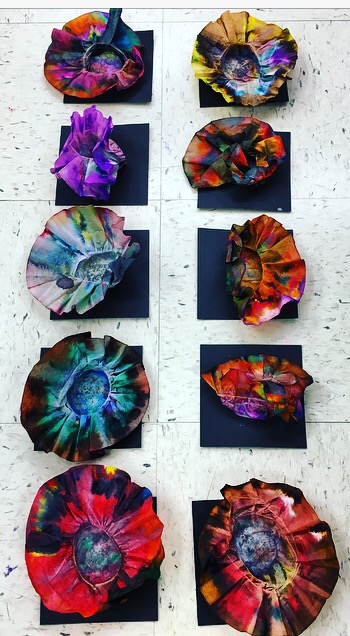
Completed coffee filters before their metamorphosis into mini macchias
Even more pro tip – write their names and art addresses inside the Solo cups the day before your class starts.
Once the whole class is done, I demo how to attach the rubber band on the completed coffee filter art. Most get it, but some struggle with this step. I ask the ones who got it to show the ones needing help how they did it.
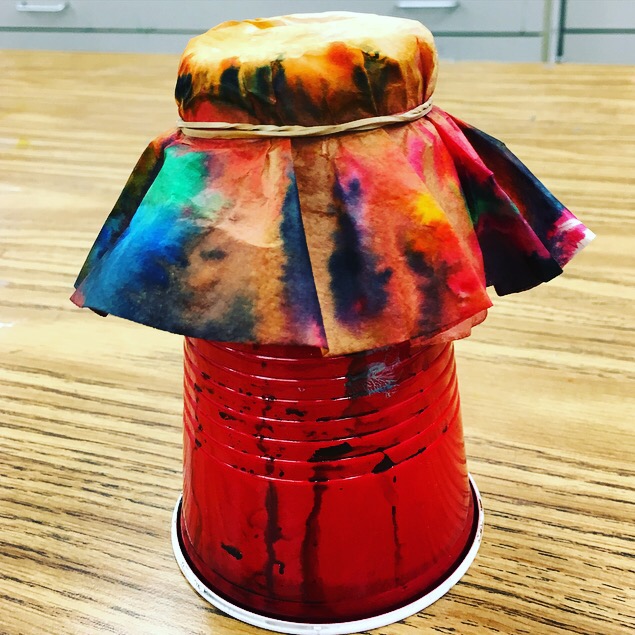
The students stretch out a long paper towel, and I demo how to spray the spray starch onto their coffee filter art that’s rubber-banded onto their upside-down Solo cup. Then they take turns spraying while the rest of the class oohs and ahhs. This is where the magic happens.
The students move their sprayed coffee filters on cups onto the back countertop and then everyone wipes up the floor together.
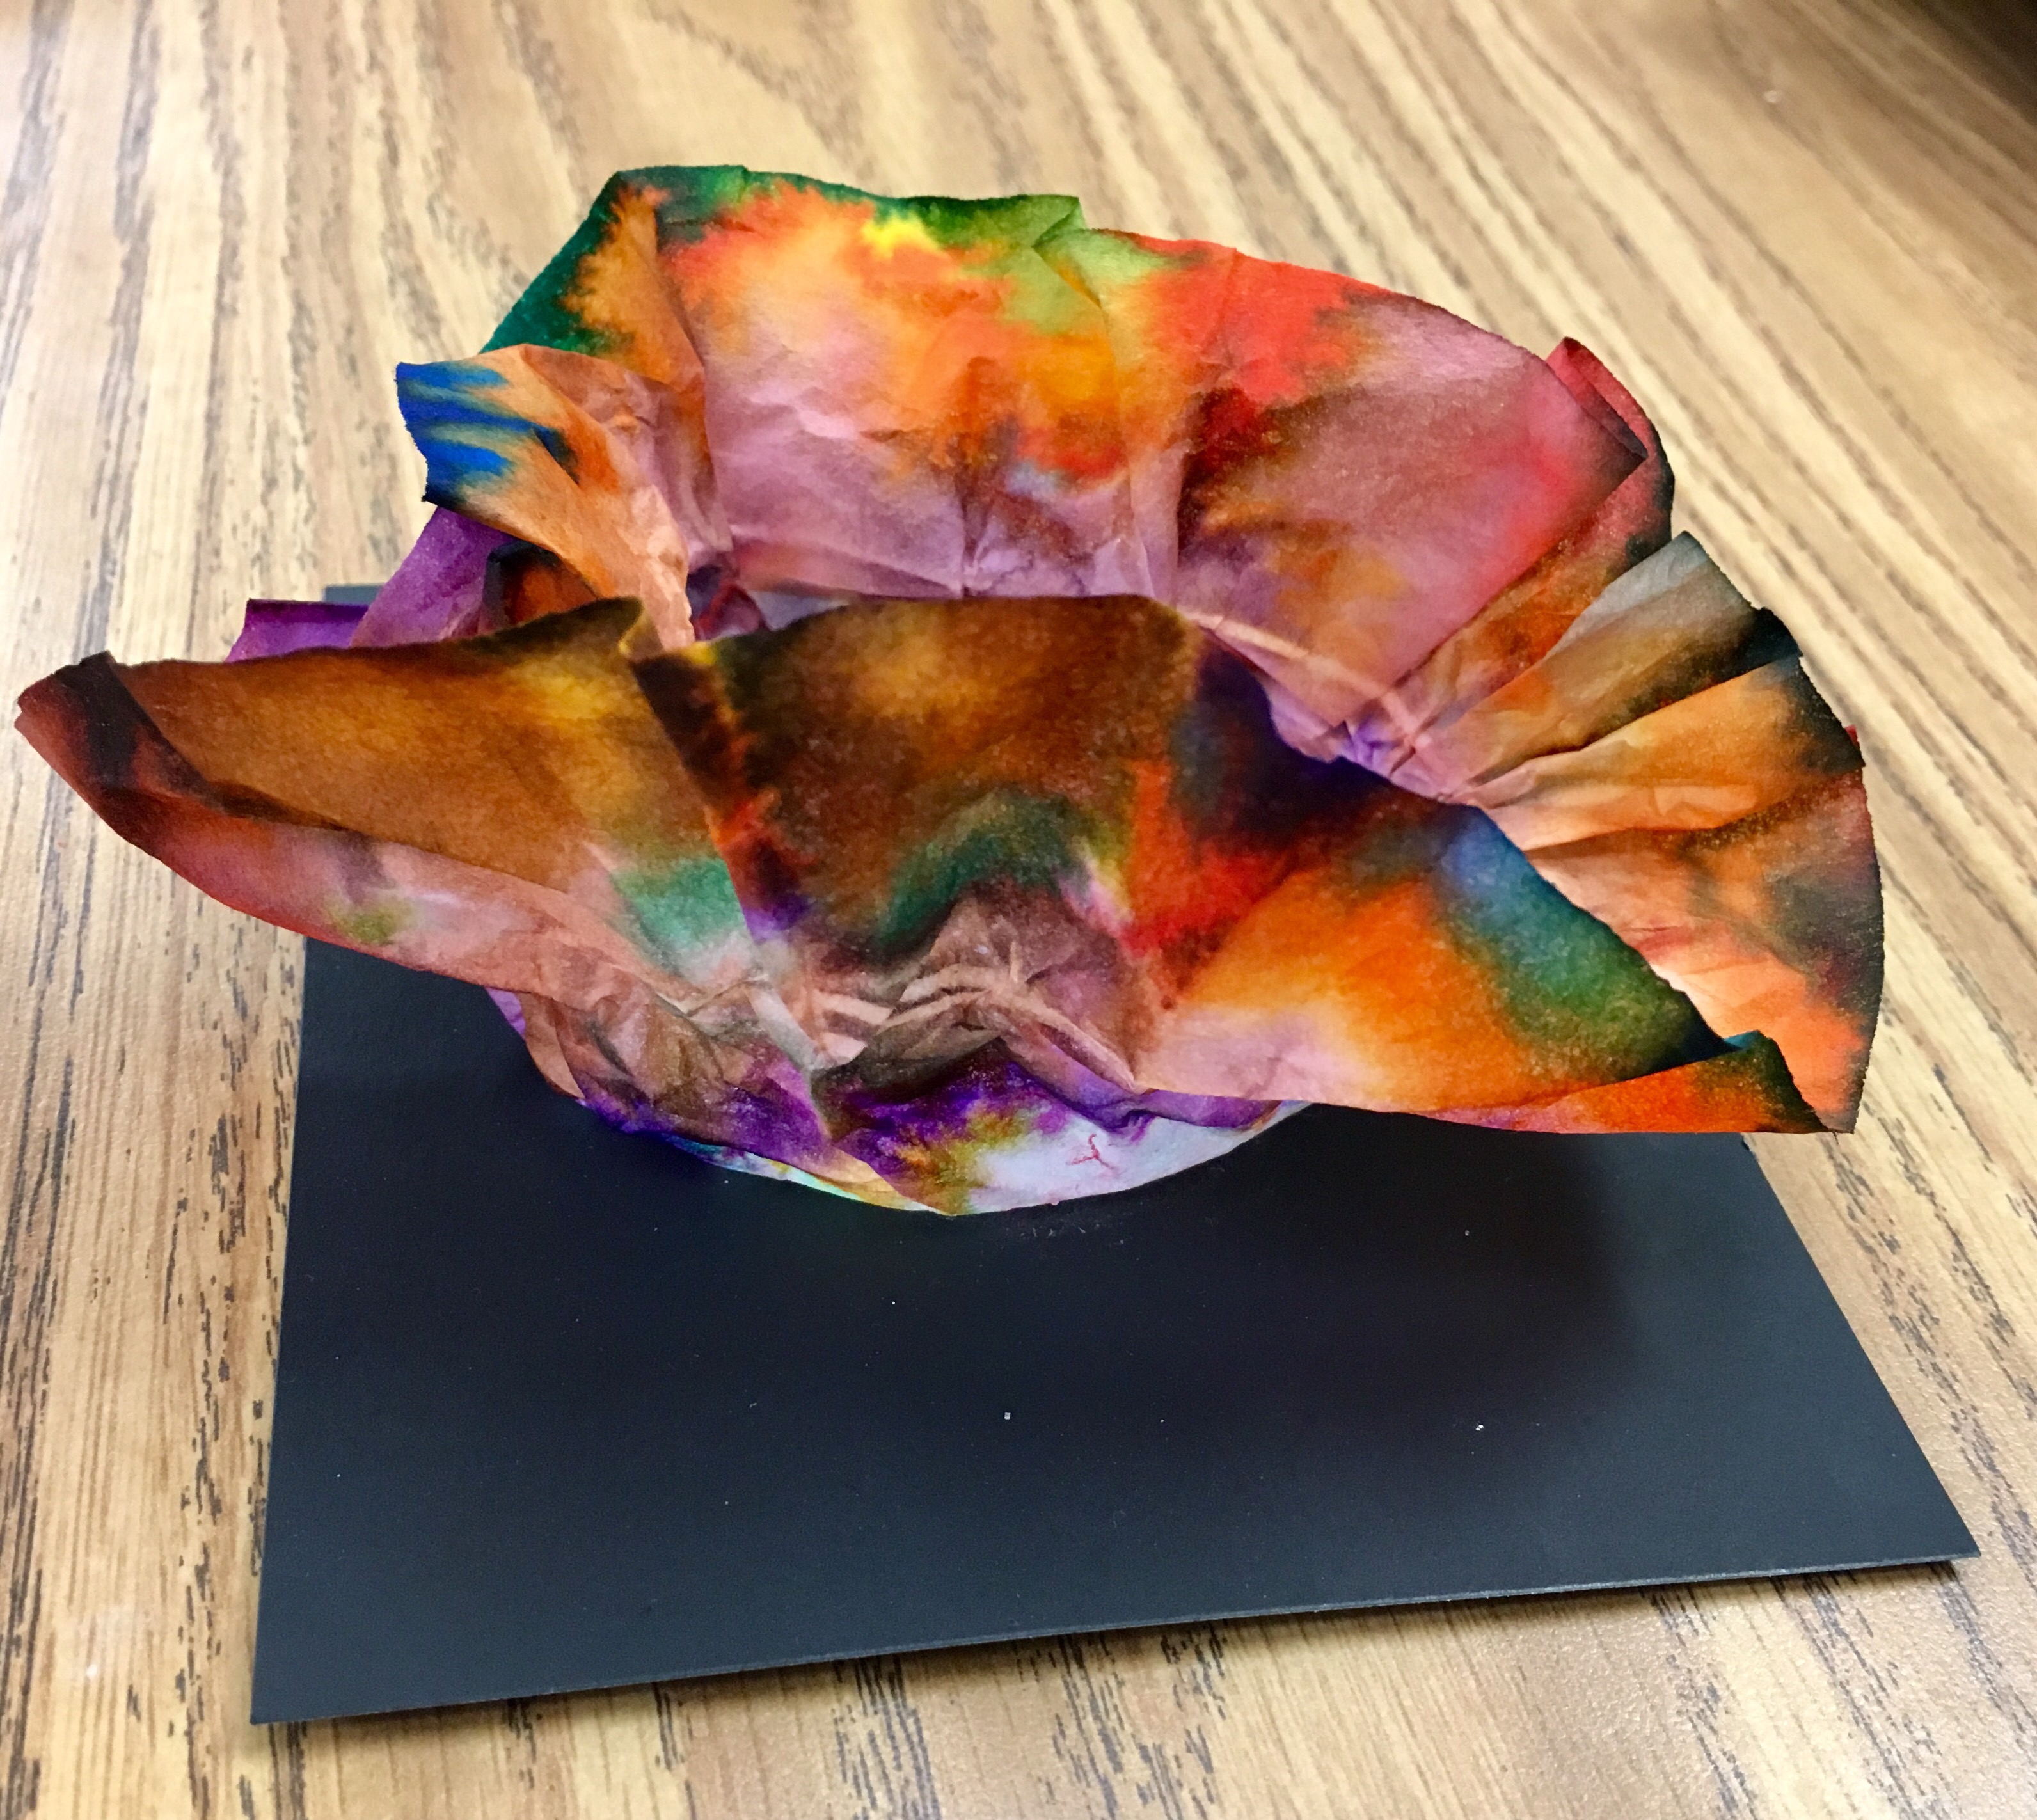
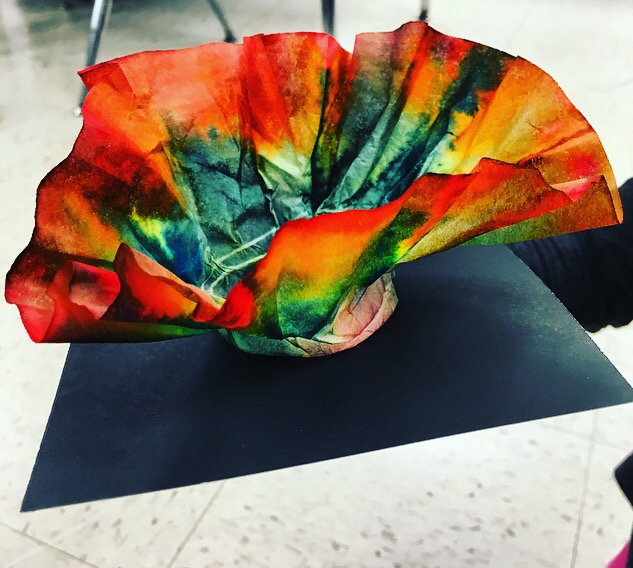
Some are a little smushed after sitting under paintings all year, but several kept their shape.
When they’re dry, we take them off the cups and glue them to a 6″ x 6″ cut poster board base they’ve signed their names and art addresses onto.
Some real Dale Chihuly Macchias:
Certain projects are heavy on the art making but light on the art history or process of making the art, but this mini-macchia project brings lots of art history, lots of art, lots of science and chemistry, and lots of fun to make it one of my all time faves.
Materials:
- coffee filters
- washable markers (not Sharpies)
- 6″ x 6″ black posterboard squares
- liquid glue (not glue sticks)
- spray starch
This project lends itself to deeper learning through video. I like to spend a couple of minutes watching and discussing educational glassblowing videos either at the beginning or end of class, or both if the planets align and great work is efficient on that particular day.
Let me know how yours turn out at @wowartproject on Twitter or @juliaforsythart on Instagram.
