These clay sea turtles were such a hit! Students in other grades experienced severe project envy and asked why they didn’t get to make these too – ha. This was an art project I created out of necessity because I didn’t see any other clay sea turtle projects that I liked or Cambodia clay projects out there when I needed them.
***At the bottom of this post, you’ll see a quick checklist to see if you are ready or not for this advanced project. I thought I was, but I’ll share what I wished someone shared with me BEFORE I started this project***

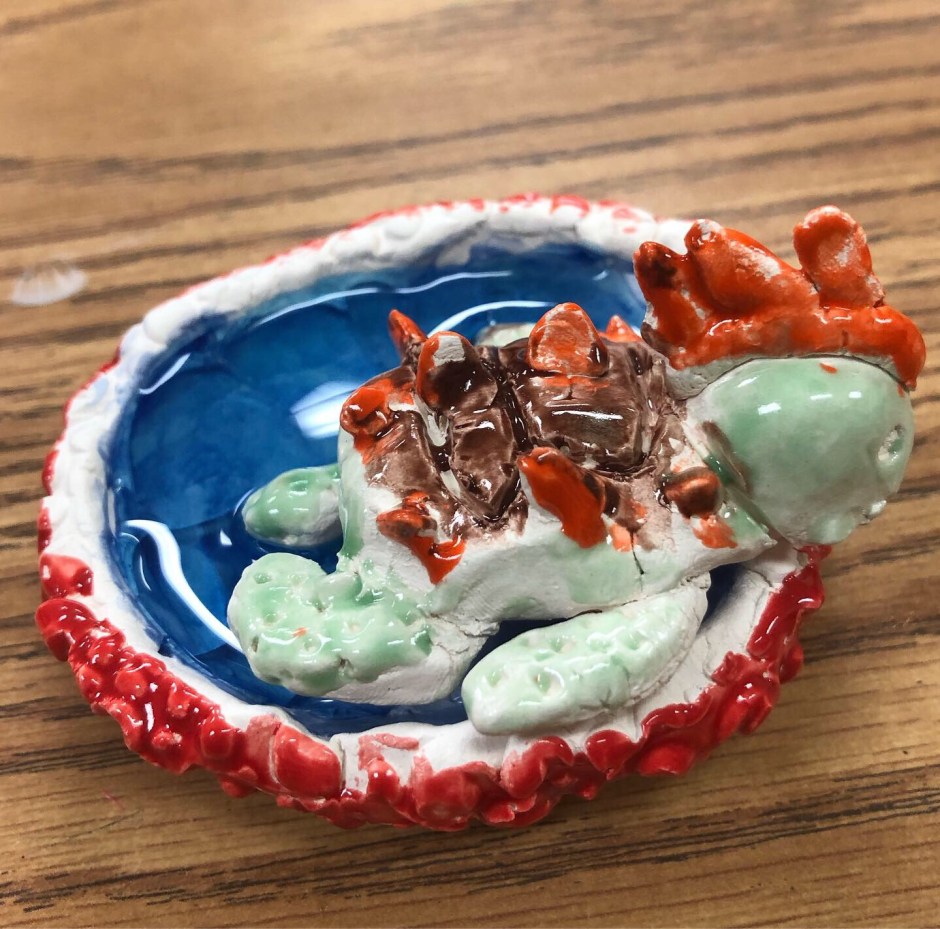
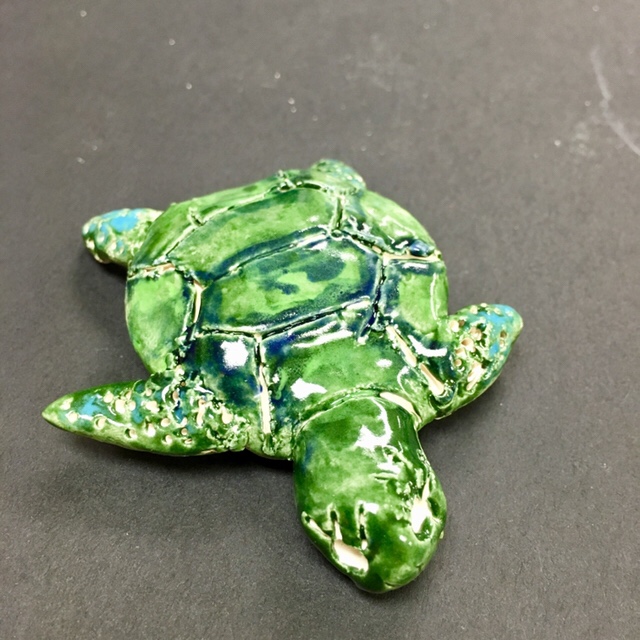
My sea turtle teacher example batting her super long eyelashes
We looked at Cambodia on a map and discovered what countries it borders. We saw how far McKinney TX is from Cambodia on a map. We watched some video clips about Cambodia that show us the beautiful countryside and the ocean. The water in Cambodia is such a gorgeous blue!

Bisque fired sea turtles before glazing
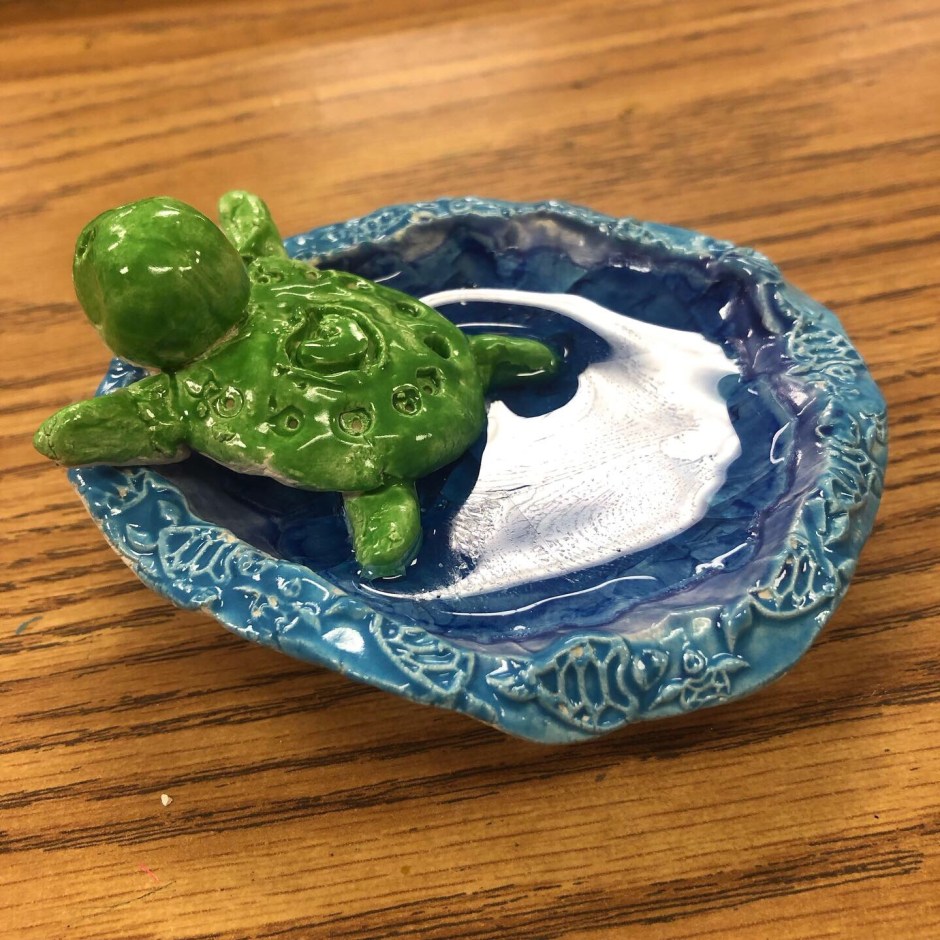
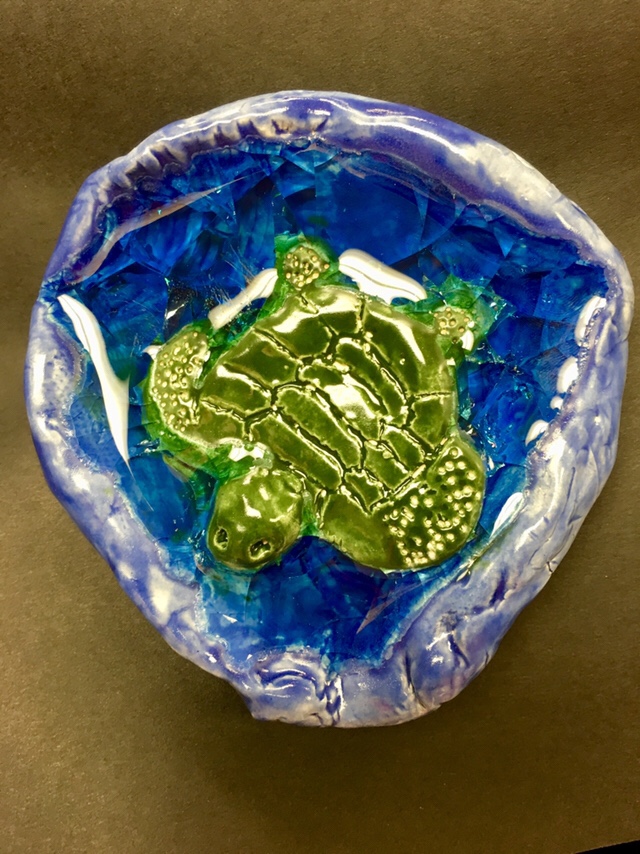
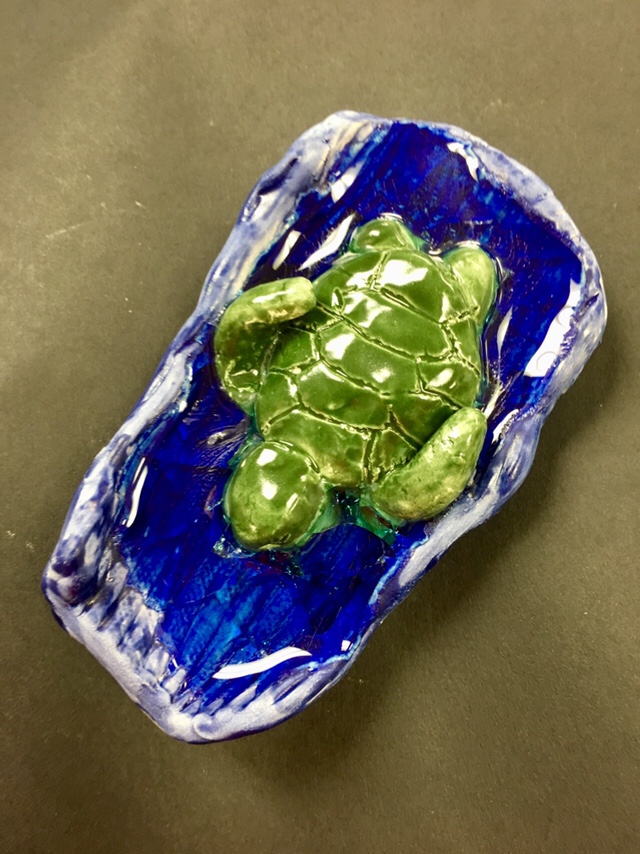
We made clay sea turtles and attached them to textured slabs of clay. This took either 2 or 3 class periods to get the turtles made, pull up all the edges of the textured slabs to create a shallow bowl, and then attach our turtles to the textured slabs.

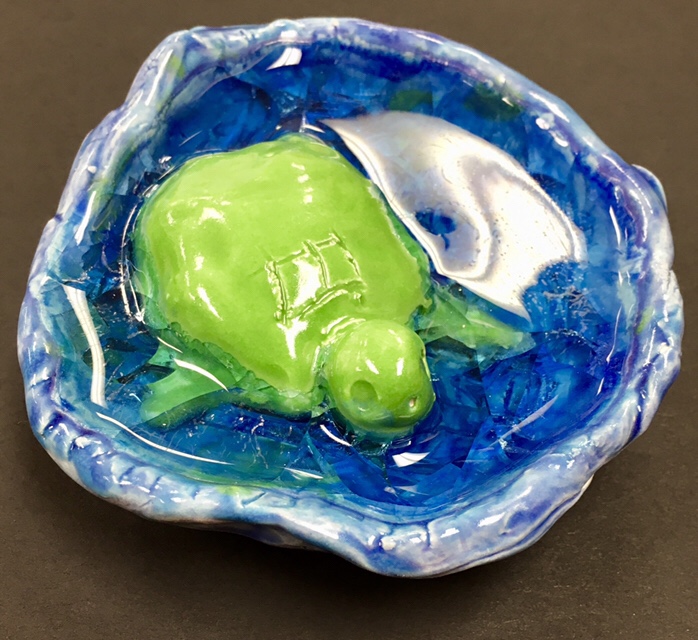
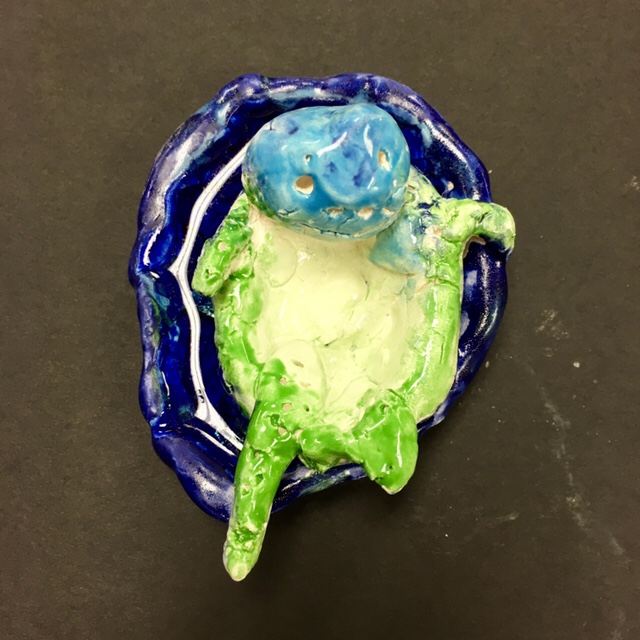
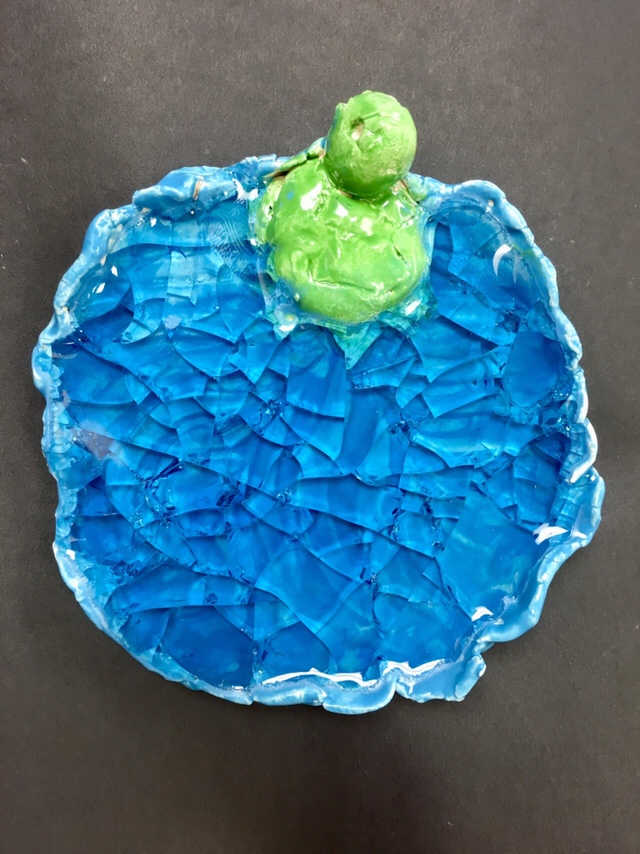
Glazed but not yet fired sea turtle lazily floating on its back
We stored the clay sea turtles in progress in Ziplock bags labeled with their names and art addresses until we attached everything. I fired their turtles, then demoed how to glaze.
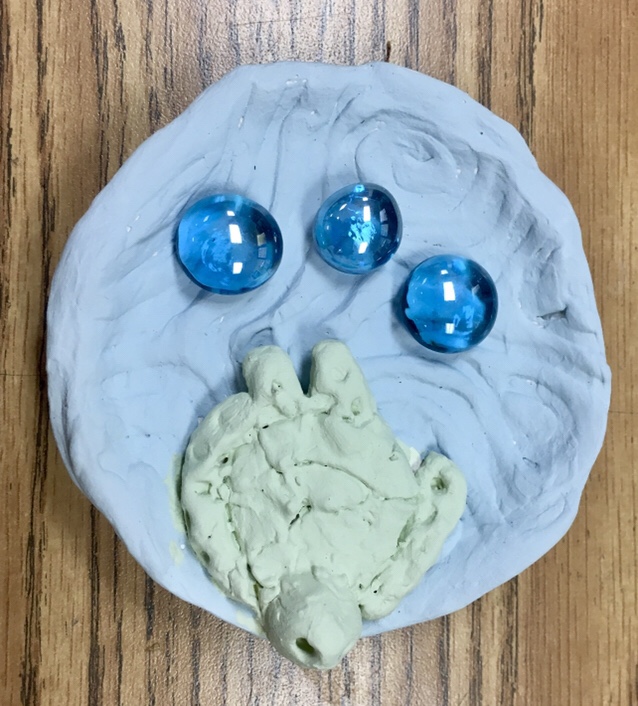
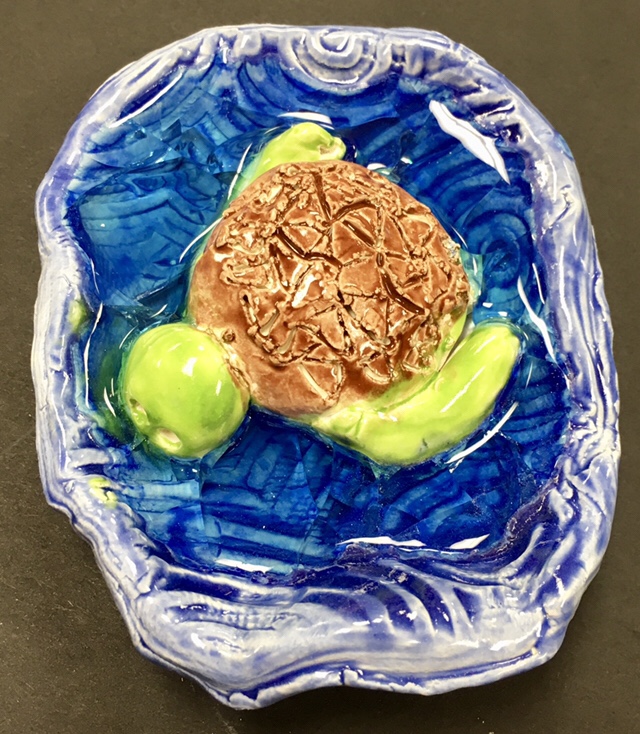
3 glass marbles aren’t enough. I would add 3 more but that’s it
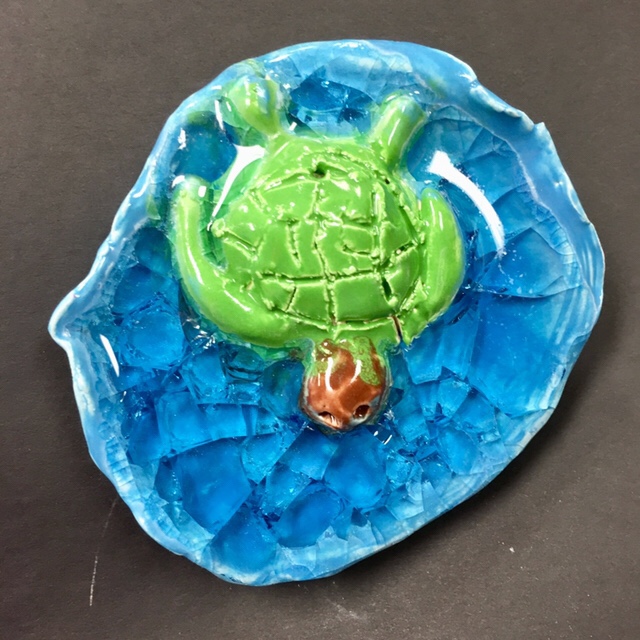
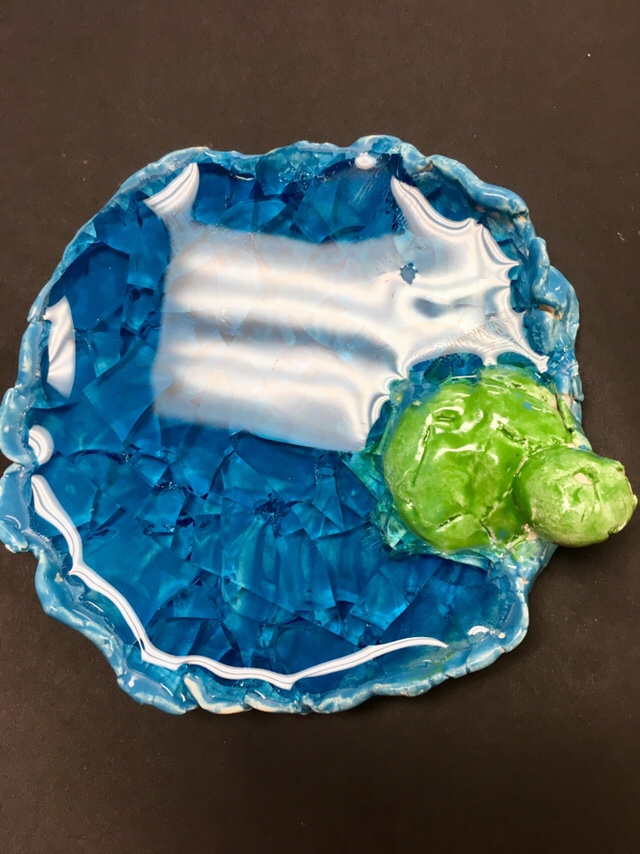
After they glazed their sea turtles and bowls but before my 2nd firing, I explained that we were going to put 3 blue glass marbles in their bowls. These glass marbles turn from a solid glass to a runny liquid since they’ll get heated up to almost 2000 degrees in the kiln, but then when they cool down to room temperature and get hard again.

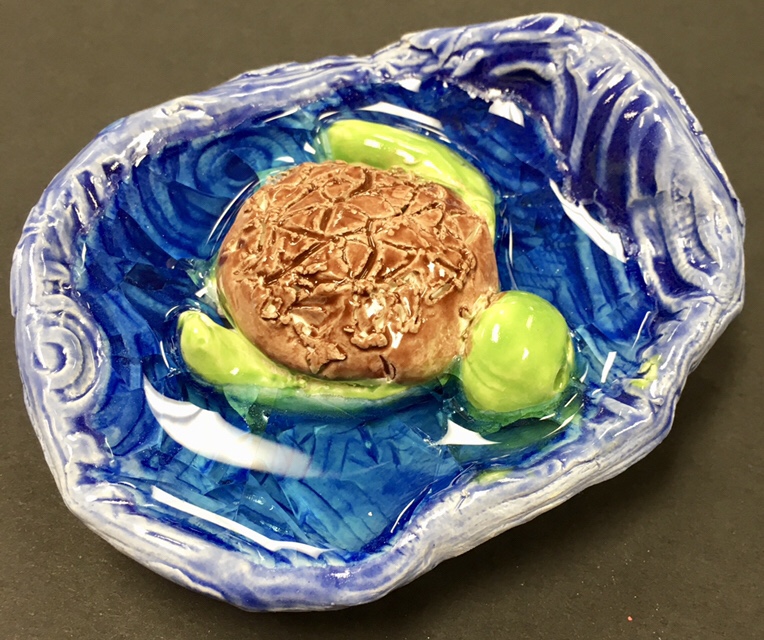
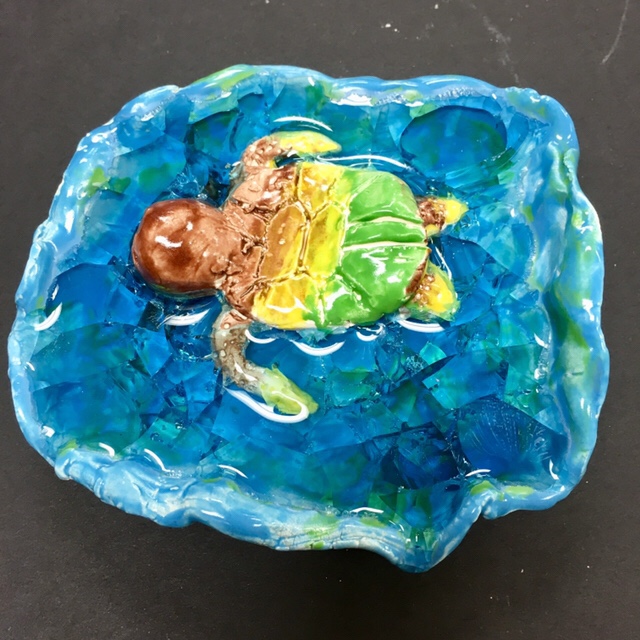
See if you can guess which ones have way too many glass marbles…
The glass marbles melting then cooling is kind of like a volcanic explosion. The liquid lava gets shot out of the hot volcano but then cools to a solid once it’s outside the volcano in the not-as-hot air. The glass marbles (like lava) melt into liquid in the hot kiln (like the hot volcano) but then change into solid glass once they’re out of the kiln (exploded out of the volcano) and surrounded by room temperature.
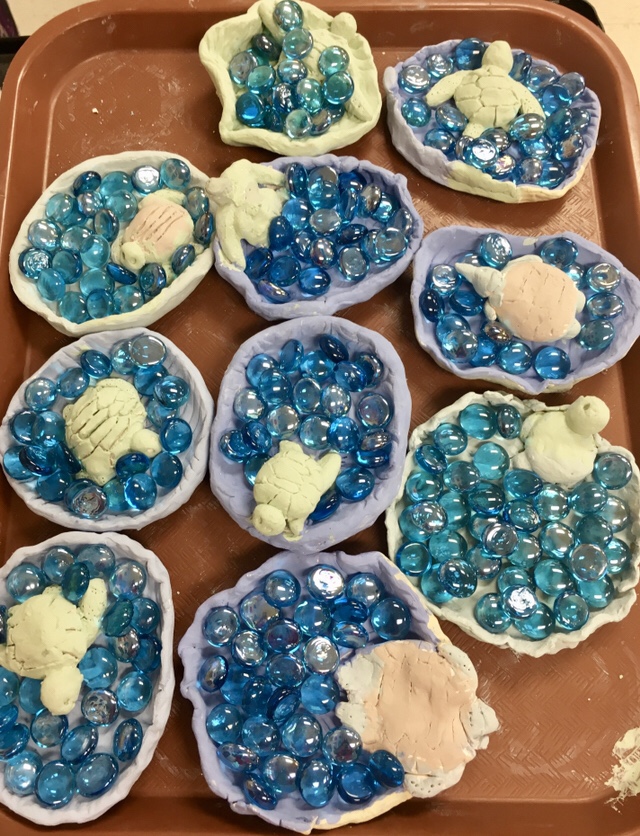
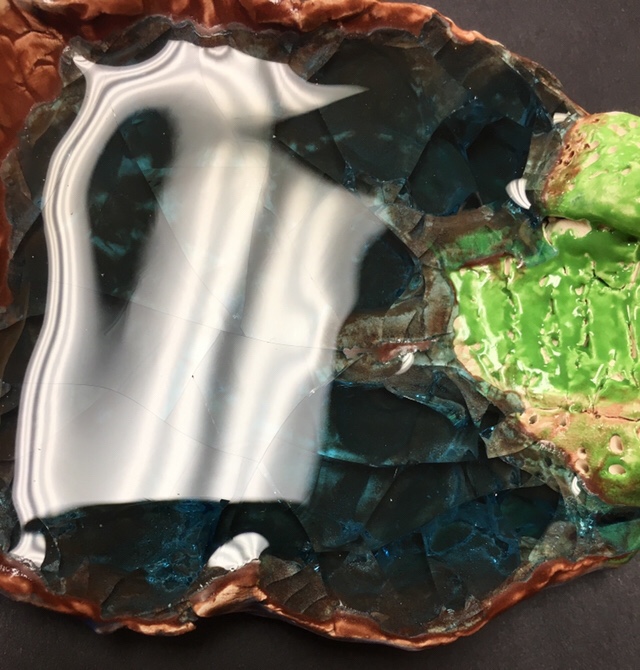
All of these have way too many glass marbles! Please learn from my mistakes and don’t overload the glass marbles
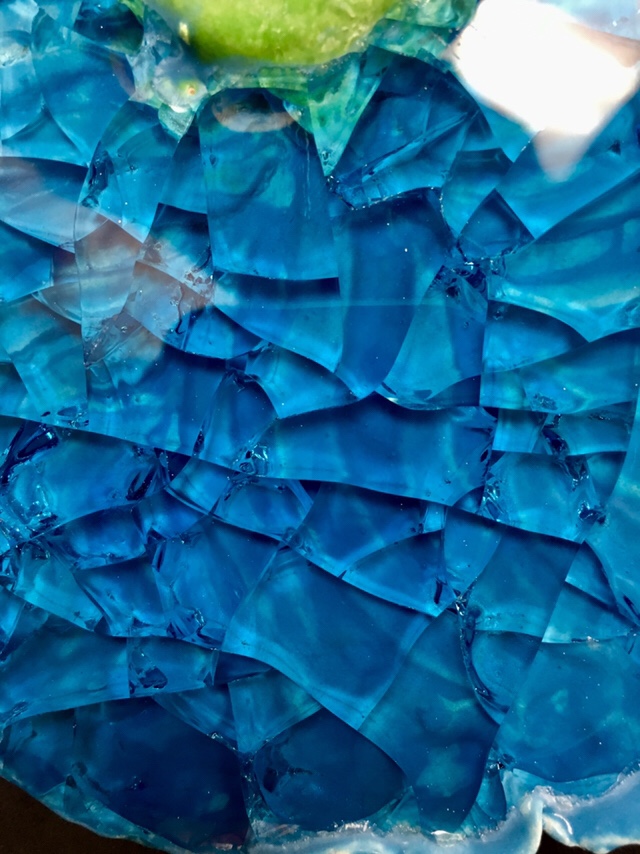
These were displayed in the library for Multicultural Night, and everyone who came in to see them oohed and ahhed. Everyone touched them to see if they were liquid because it’s so shiny it’s almost an optical illusion – it looks like it would be wet if you touched it. Surprise! The other optical illusion is that if you turn it in another direction, it looks like there are so many fractured pieces of glass that the surface would feel like mostly cut glass. Instead, it’s like smooth glass if you touch it.

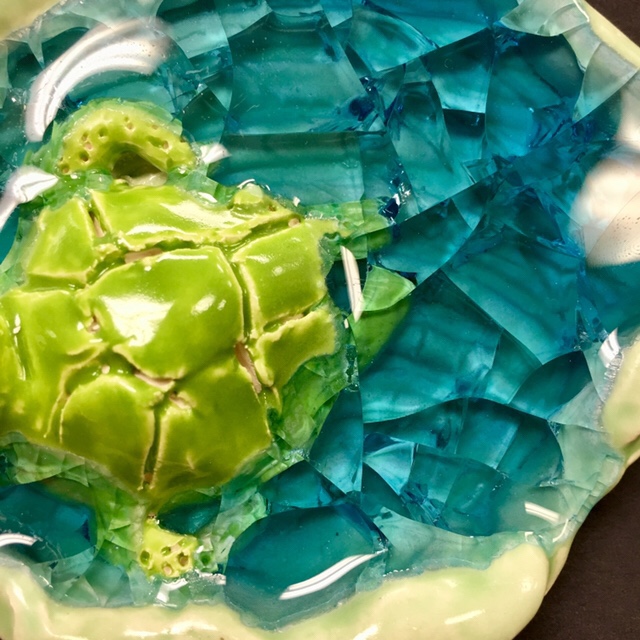
When I teach this project again, I’ll skip texturing the slabs. The glass marbles melt in their own texture that covered up the texture we pressed into the clay, so that was just wasted time. I think another change I’ll make next time is to teach the kids how to make a pinch pot instead of using slabs. I went with the slabs since I wanted the texture the first time, but we had a problem with some of the bowls not having sides tall enough or having a surprise hole in the slab base that the liquid marble runs out of…onto the kiln shelf. God bless the art teacher before me (gigantic thanks Ashley!) with pristine kiln washed kiln shelves! It was the first time I’ve ever needed kiln shelves to be washed, and it was a lifesaver.
Enjoy this project!

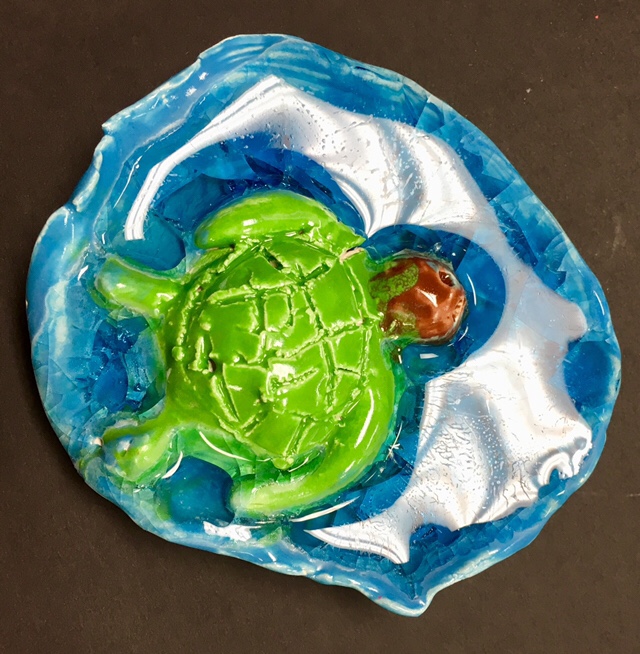

Sometimes you have to go with the permanent bubbles you get every once in a while with this melted glass marble technique… I still think it’s beautiful


Quick checklist to answer YES! to before beginning this clay project:
- Are my kiln shelves freshly kiln washed? If not, then kiln wash ’em right now
- Can I put fewer glass marbles in each bowl than I think I need? If yes, phew – you’re ready. If not, take a breath then take 3 marbles out. You’re welcome.
- Can I realistically check each bowl thickness and hole-proofness? (can’t have any holes or you’ll have an awful molten glass marble leak mucking up your shelves)
- Can I realistically assess the wall height of every bowl? The lowest part of their bowl is your weakest link (the molten glass marble spill gateway). This one got me – ugh
- Can you put away the darker glaze (royal blue, black, and dark brown) until another project? These glazes as a base to place the blue marbles in all get too dark when the marbles melt. Just save ’em for another project where they really shine!
If you answered yes to every question here, congrats! You’re ready. If even one question was no, maybe, or I don’t know, make the changes you need to get to your yes. Enjoy your clay projects responsibly!