
I like the drawing skills that Zentangle helps develop, but I always want a little extra something when it’s done. My mentor teacher Kathleen Zeigler is an incredible artist and tech in art leader, and I knew when she posted about their Quiver Dot Day AR (augmented reality) adventures that I had to figure out how it worked.

We’re so lucky at my district that we have a class set of iPads now. I thought combining both Zentangle drawings with the creative changing abilities of the Quiver app would work great. One way to find out…

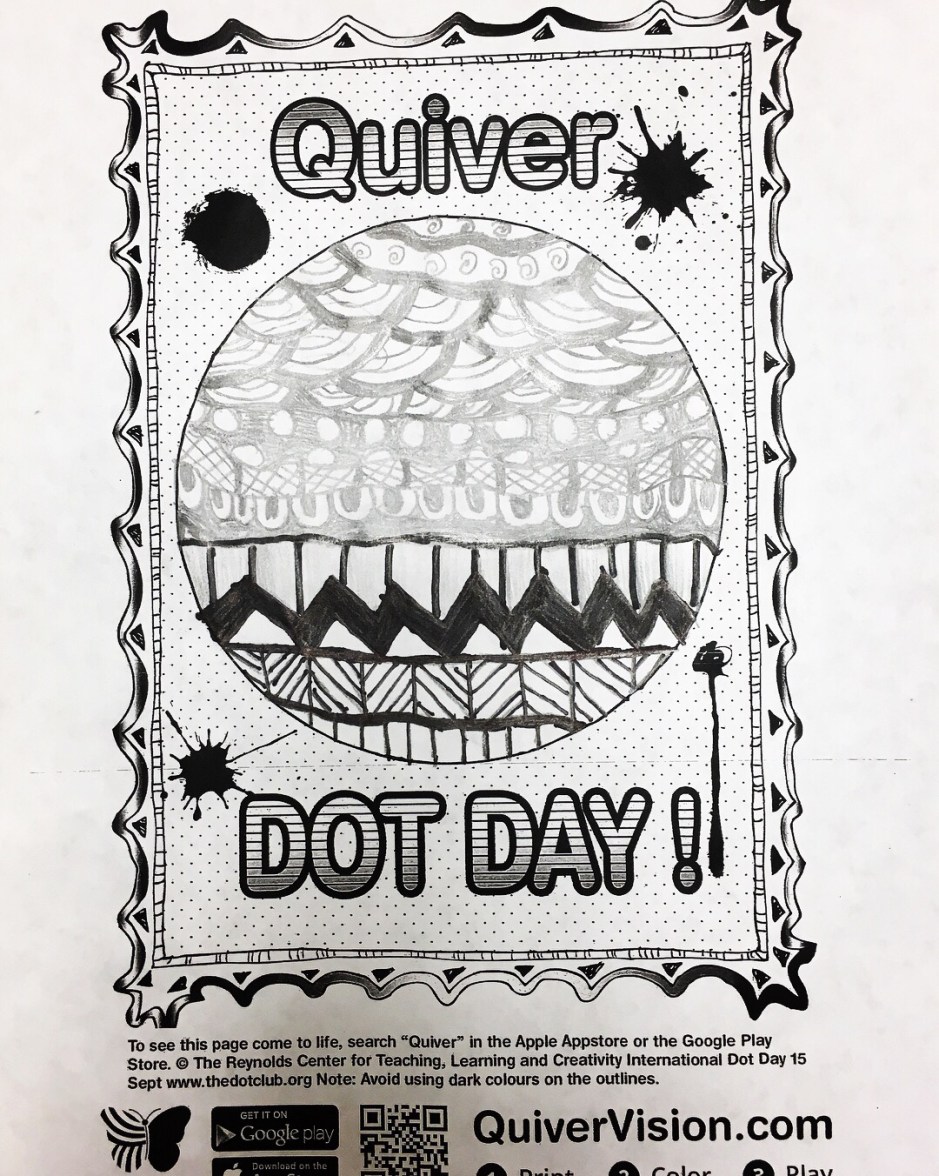
We practiced how to train our brain to break down Zentangle drawings line by line and shape by shape. I passed out a sheet with several squares and several pages of Zentangle drawings, or tangles for reference.
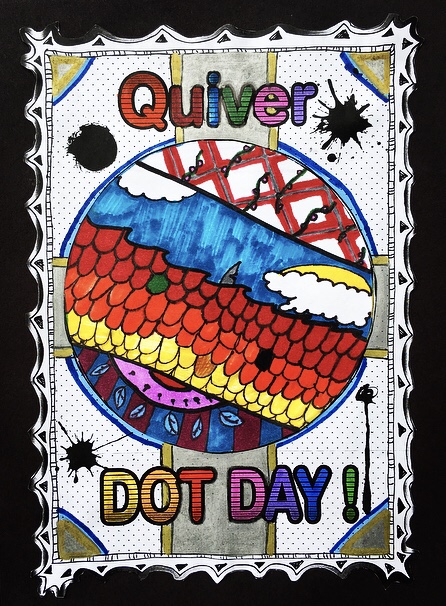
I demo’ed how to draw several of them and we discussed what we saw and how we could make it our own, too. They filled up at least 6 squares with Zentangle designs before they moved from their squares Zentangle practice page to the official circular Quiver page.

We started our designs with pencil on the blank Quiver Dot Day page. Then we added color and depth to our Zentangle designs with Sharpie markers.


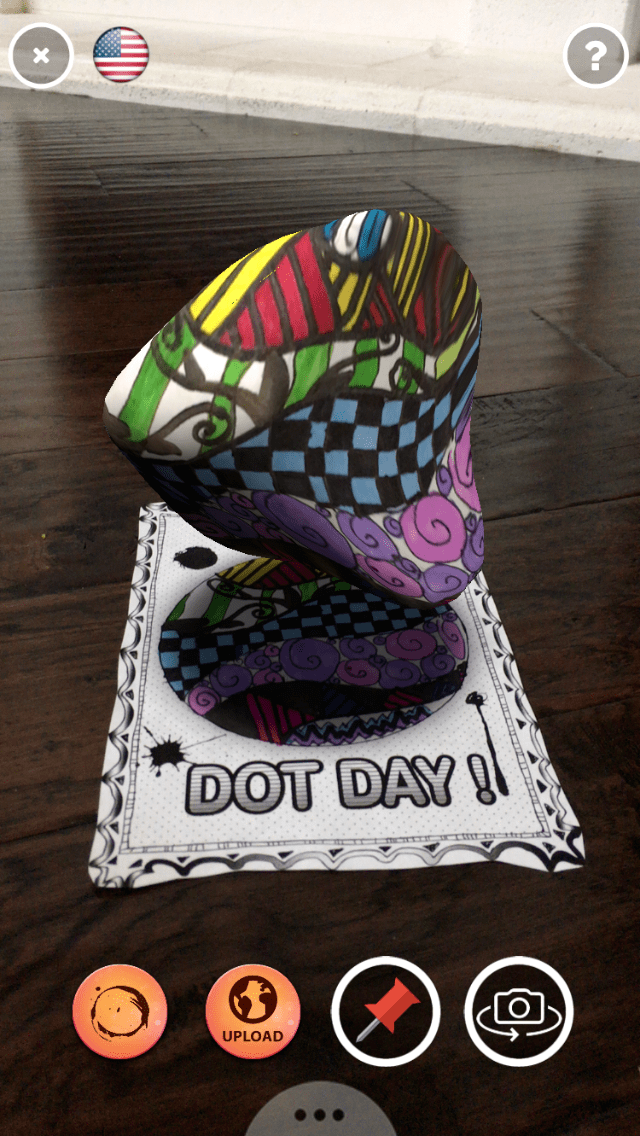
Once we completed our radial Zentangle compositions, we got ready to activate the AR part of it. To do that, we placed our drawings on the desk or the ground, put our iPads above the drawing, and tapped the Quiver app. The Quiver app loads every time it’s used, but then it uses the camera to find your drawing on its paper. Once discovered, you can toggle between 5 different functionalities that transform your design into something even more wonderful.
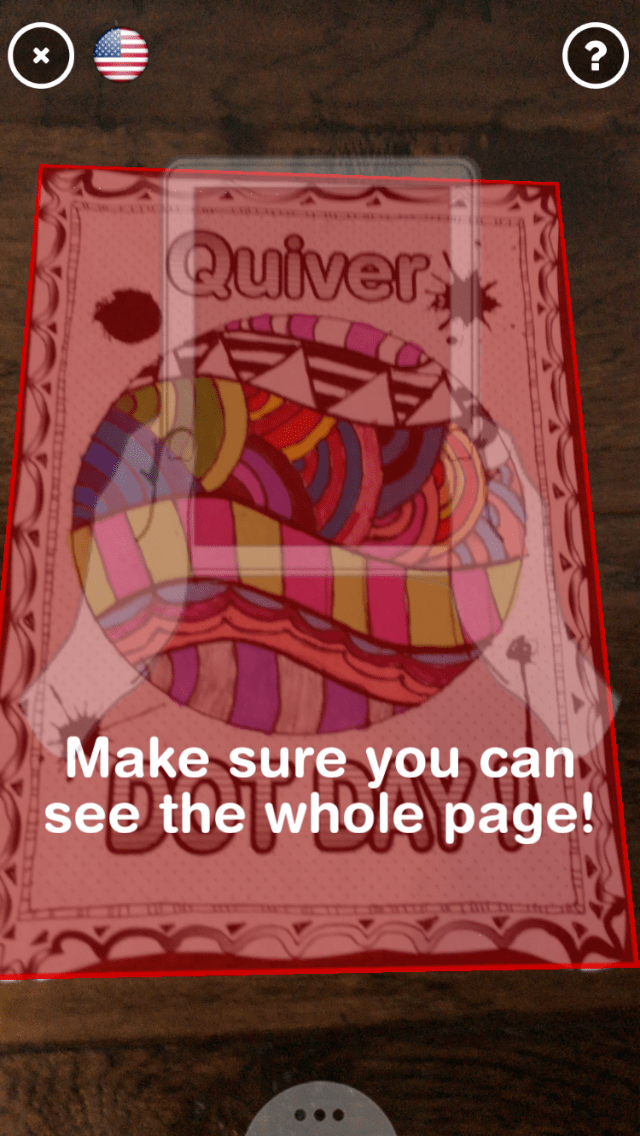
If the camera isn’t getting the whole drawing, it will light up your drawing with red and prompt you to “Make sure you can see the whole page!”
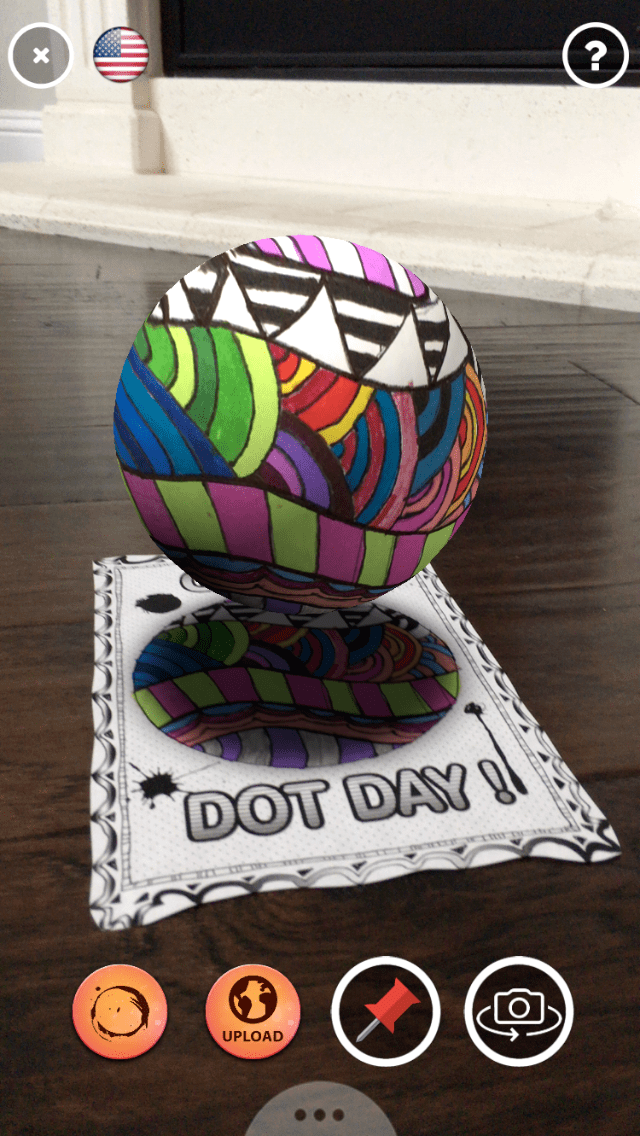
When you’ve successfully aligned the drawing with the Quiver camera, your drawing glows purple. Something awesome’s about to happen!

Your drawing first transforms into a very round, dimensional-looking hologram of a sphere. It rotates slowly so you get to see every side of it. The students discovered that you can spin it manually too by swiping the screen.

As you continue to toggle through the transformative possibilities of Quiver, you can transform your drawing into: a playable maze where the 3D AR grid is over your drawing and the ball is a shrunken sphere of your drawing,
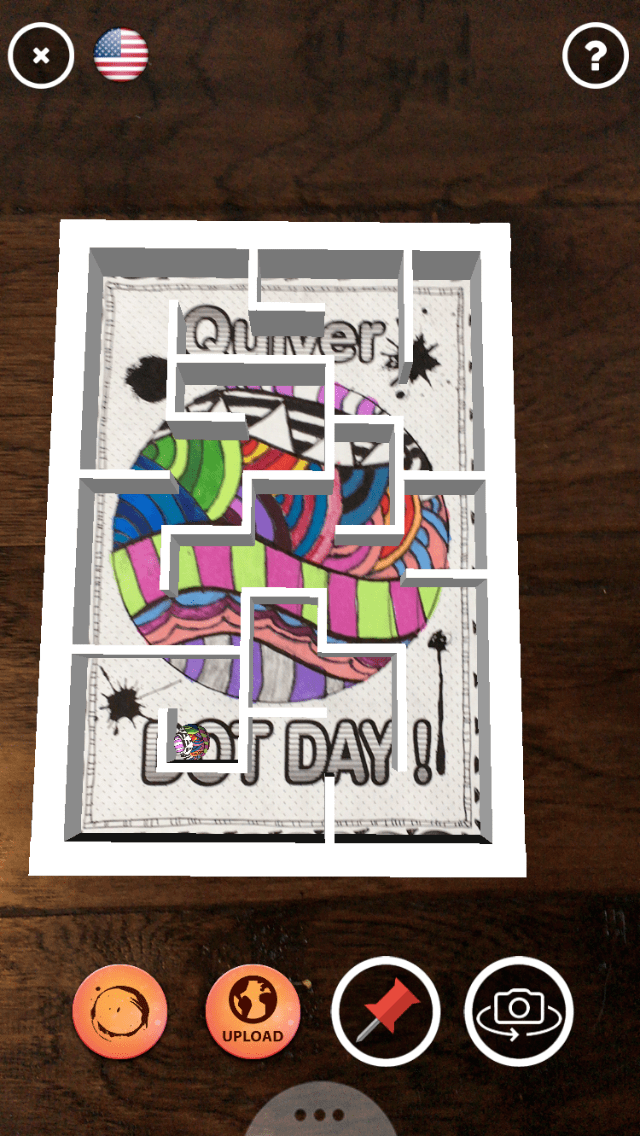
The students also learned that you can manipulate your drawing around to guide the drawing sphere to victory through the maze.
A spinning, shape-shifting 3D organic form of your drawing is another way to change up your drawing.


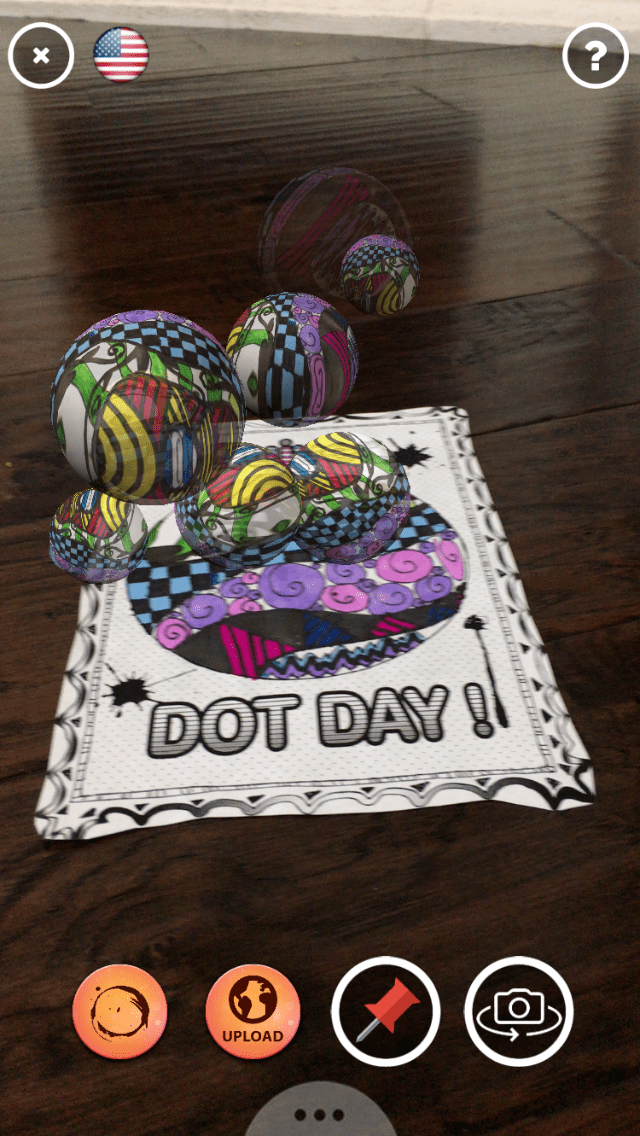
Using the Quiver AR app can also transform your drawing into multiple semi-transparent spheres that rise from your drawing and appear to float upwards.

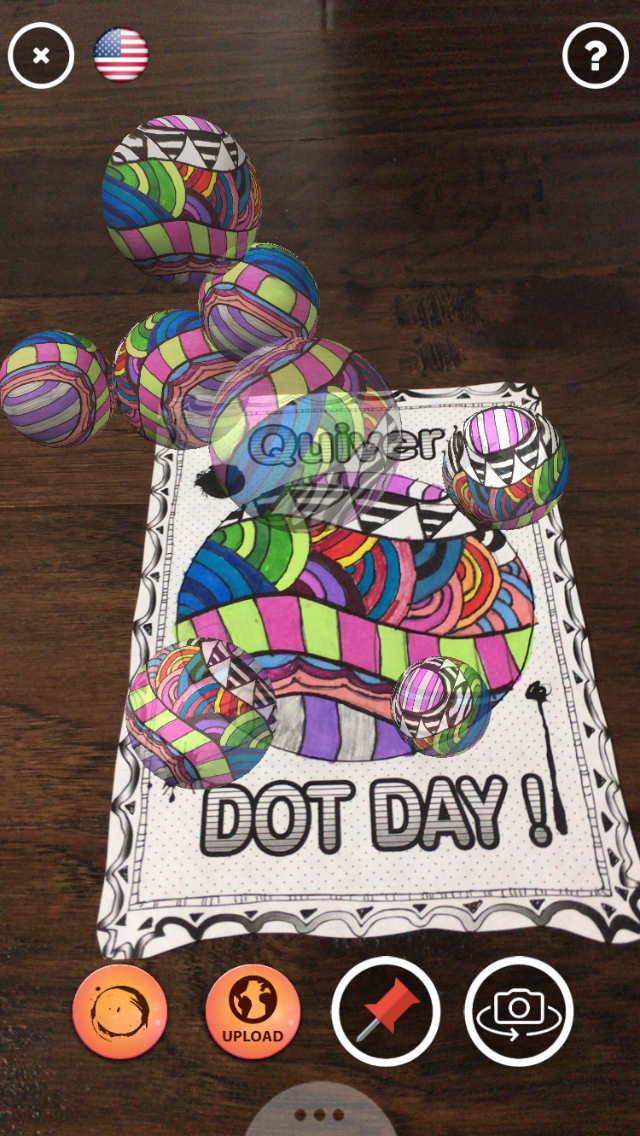
Wonder what your drawing might look like if it was a series of interlocking, spinning, clicking circles? Let’s find out! This mode can get annoying if you haven’t asked your classes to turn their volume way down when 6-15 iPads start firing off all the loud clicking noises in this mode, so make sure you ask them to turn their volumes down BEFORE you get started.

Give this a try when you want to dip your toes into AR. Your students will love it!
