
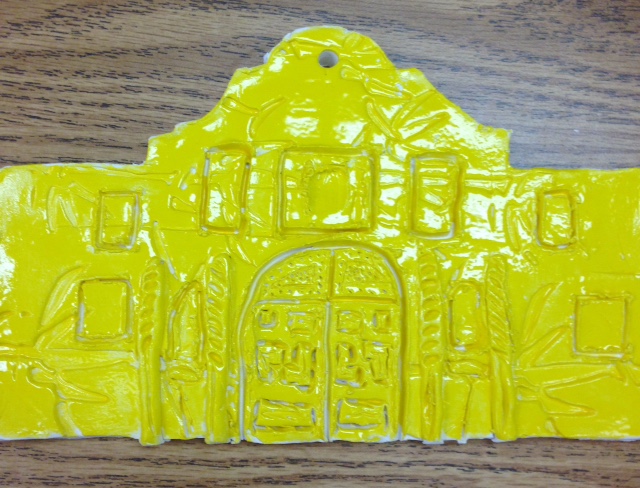
What’s a new teacher to do when she inherits a school with a decade of students who look forward to making their clay Alamos in 4th grade but no notes about how to make them? Learn how to make them on your own and continue the tradition!

I cut out a class set of Alamo-facade-shaped cardstock templates. Then I learned from my mentor teacher Kathleen (who made a special after-school trip to help me at my new school – thanks!) how to use my slab roller and how to roll out the slabs in the correct thickness.

Then, before school started, I rolled out a class set of slabs and put them in their own large Ziplock bags.
I also created handouts to show the students how different sections of the Alamo look (door detail, lentil detail, etc.) We reviewed on the SmartBoard which parts of the Alamo moved forward, which parts were windows (recessed when we made our clay Alamos), etc.

I made a demo Alamo to show them how to attach the clay and how to scoop out clay too. I showed them how to roll a texture roller on their slab for extra interest.
Then I passed out the clay cloths, clay tools, and the clay slabs. Showtime!

I love how these turned out. Can’t wait to do it again next year!
One thing I didn’t like but didn’t really have a way to change it was that I felt we were going super-fast since it’s a day and a half project and I borrowed time by giving up my planning period for Clay Alamo Week. In response to having to rush more than I like, we also made Alamo watercolors where we spent a ton of time looking and creating.


Pingback: 5th grade Clay Alamos | Wow Art Project